Setup HTTP Web Container
Prerequisites
- VirtualBox or VMware Workstation Pro Installed.
- Virtual Machine
[project-x-corp-svr]is configured with Docker.
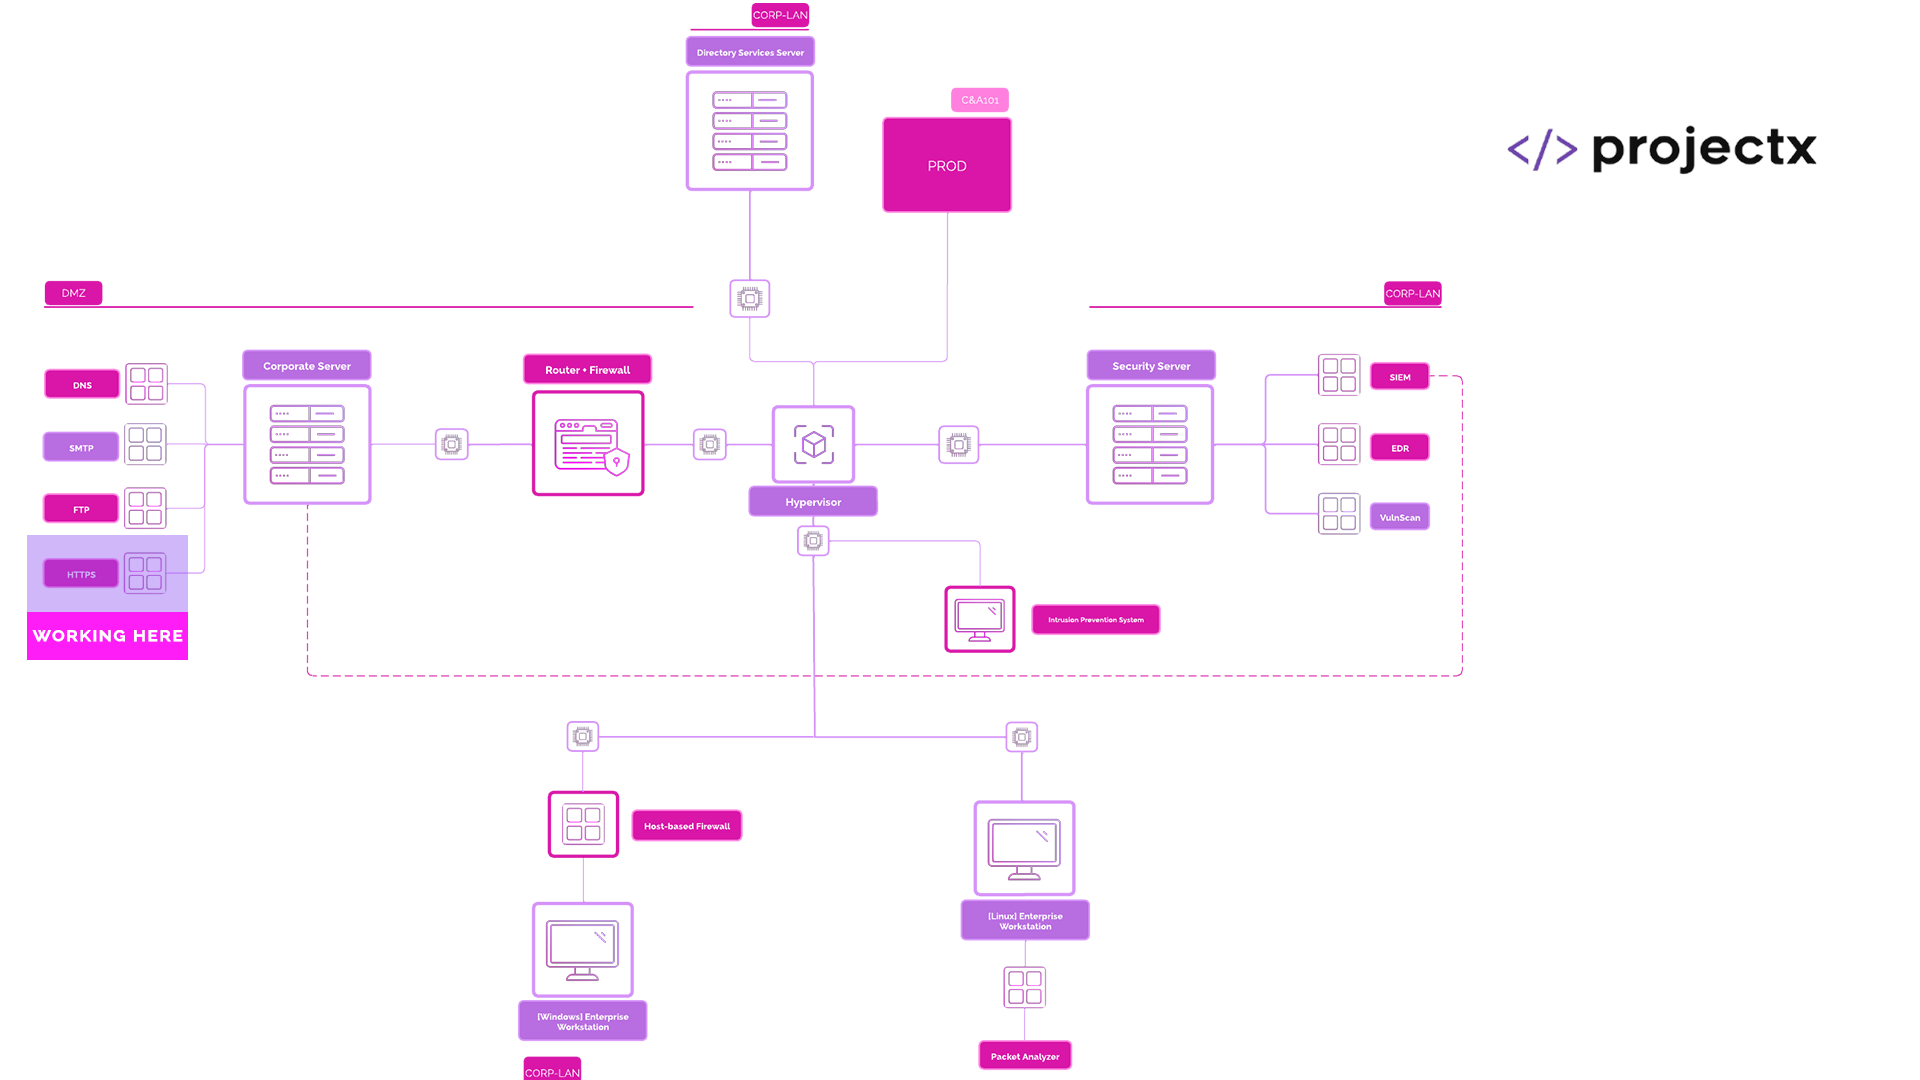
Network Topology
Web Servers Overview
A web server is software that handles HTTP requests from clients (typically web browsers) and delivers web content such as HTML pages, images, or APIs. It listens for incoming requests, processes them, and returns the appropriate response.
Web servers are critical components in both internet-facing and internal web applications.
What is NGINX?
There are many web server technologies to help serve and facilitate web requests. Common web server technologies include NGINX, Apache HTTP, and Microsoft IIS.
NGINX is a high-performance web server that can also function as a reverse proxy, load balancer, and HTTP cache. It is a popular web server.
How is NGINX used?
NGINX is commonly used to serve static content, forward requests to application servers, distribute traffic across multiple backend servers, and terminate SSL/TLS connections.
We will be using NGINX as a web server to serve a static web page. This web page will simulate an internal corporate knowledge base.
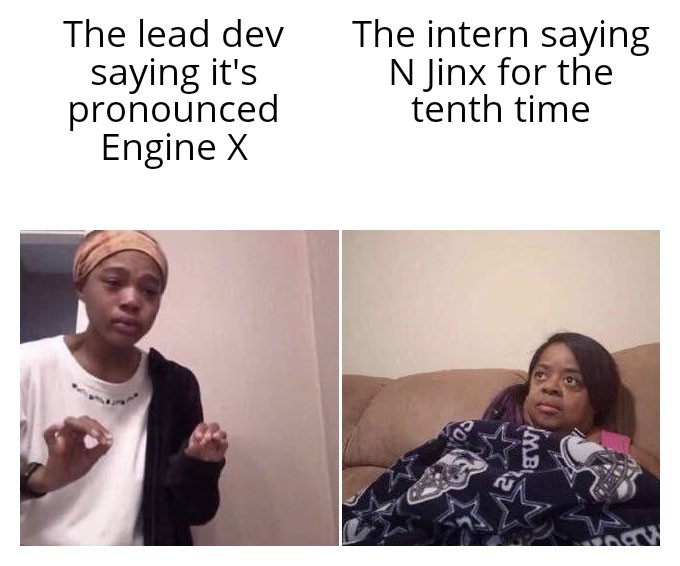
The real question is, is NGINX pronounced like "Engine X" or "N Jinx".
There's one correct answer in our opinion.
Security Implications
Misconfigured NGINX servers (and web servers) can expose sensitive data or become targets for attacks such as directory traversal, unauthorized access, or HTTP request smuggling. Keeping NGINX updated, implementing proper access controls, using HTTPS, and hardening configurations are critical for security.
Common attacks include (we will learn a lot more about these in Web & Attacks 101):
- Directory traversal
- Cross-site scripting (XSS)
- Remote code execution (RCE)
- SQL injection (if dynamic content is served)
- HTTP request smuggling or splitting
Configure Nginx Docker Container
Open a new terminal session.
Navigate to the home directory: cd /home.
Let's create a new folder called web: mkdir web.

The web directory will be where we store all of our configuration files to provision and run the [project-x-corp-svr-web-svr] container. We will create three files.
File 1: index.html
Our index.html file will serve our web page.
Make sure you are inside the ~/home/web folder. Create a new index.html file with nano: sudo nano index.html.
You can add the following HTML code into this file.
<!DOCTYPE html>
<html lang="en">
<head>
  <meta charset="UTF-8" />
  <title>ProjectX Login</title>
  <style>
    body {
      font-family: Arial, sans-serif;
      background: #f4f4f4;
      padding: 40px;
    }
    h1 {
      color: #2a7ae2;
    }
    .login-box, .content-box {
      background: white;
      padding: 20px;
      max-width: 400px;
      margin: auto;
      border-radius: 8px;
      box-shadow: 0 0 10px rgba(0,0,0,0.1);
    }
    input {
      width: 100%;
      padding: 10px;
      margin: 10px 0;
      border: 1px solid #ccc;
      border-radius: 4px;
    }
    button {
      width: 100%;
      padding: 10px;
      background: #2a7ae2;
      color: white;
      border: none;
      border-radius: 4px;
      cursor: pointer;
    }
    .error {
      color: red;
    }
  </style>
</head>
<body>

<div class="login-box" id="login-box">
  <h1>Login to ProjectX</h1>
  <input type="text" id="username" placeholder="Email or Username">
  <input type="password" id="password" placeholder="Password">
  <button onclick="login()">Login</button>
  <p class="error" id="error-msg"></p>
</div>

<div class="content-box" id="content-box" style="display:none;">
  <h1>Welcome to ProjectX Internal Portal</h1>
  <p>Here's the latest update on what's happening in ProjectX:</p>
  <ul>
    <li>Security audit scheduled for next week.</li>
    <li>New feature rollout planned for June 30.</li>
    <li>Remember to update your credentials regularly!</li>
  </ul>
</div>

<script>
  const users = {
    'Administrator': 'admin',
    '[email protected]': 'smile',
    '[email protected]': '@password123!'
  };

  function login() {
    const username = document.getElementById('username').value.trim();
    const password = document.getElementById('password').value;
    const errorMsg = document.getElementById('error-msg');

    if (users[username] && users[username] === password) {
      document.getElementById('login-box').style.display = 'none';
      document.getElementById('content-box').style.display = 'block';
    } else {
      errorMsg.textContent = 'Invalid username or password.';
    }
  }
</script>

</body>
</html>
Exit Nano with CTRL + X, then Y key, Enter Key.
File 2: nginx.conf
The nginx.conf file is a default NGINX file used to set the port to listen on, configure the domain, copy the index.html file, and add routing settings.
Make sure you are inside the ~/home/web folder. Create a new nginx.conf file with nano: sudo nano nginx.conf.
Add the following statements into this file.
events {}

http {
    server {
        listen 80;
        # server_name projectxcorp.com;

        root /usr/share/nginx/html;
        index index.html;

        location / {
            try_files $uri $uri/ =404;
        }
    }
}
👉 Notice the comment in
# server_name projectxcorp.com;. Leave this commented, we will add this local domain once we get our dns container running.
Exit Nano with CTRL + X, then Y key, Enter Key.
File 3: Dockerfile
As highlighted in previous guides, the Dockerfile will serve as our template to pull the latest version of NGINX and copy our configuration files inside the container.
Make sure you are inside the ~/home/web folder. Create a new Dockerfile file with nano.
sudo nano Dockerfile.
Add the following into statements into this file.
Inside this Dockerfile we are pulling from the NGINX base image and copying a few configuration files into our container.
👉 Notice how we are copying the two above configuration files into the expected locations within the container. This is where NGINX will look by default to serve our
index.htmlandnginx.conffiles.
You should now have all three files created.

We are ready to provision the docker container.
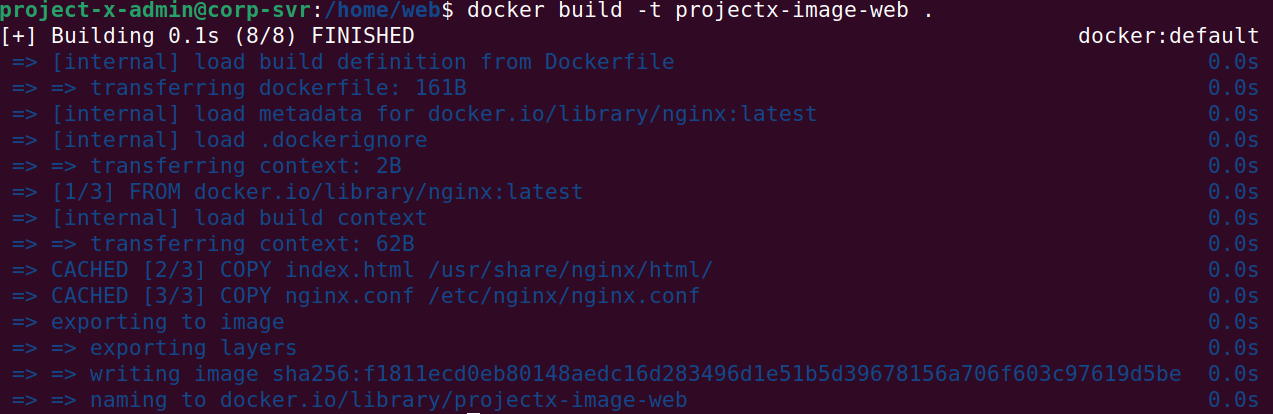
First, let's build the docker image.
docker build -t projectx-image-web .
Then we can create a new container from the image:
docker run -d --name web-svr --network=host projectx-image-web
--network host: Here we supply thehostparameter to automatically attach our container to our host IP(10.0.0.8), we have already done this with our other containers.

Supply a docker ps to see if the container is running. If you see the container running, that means it was successfully provisioned.

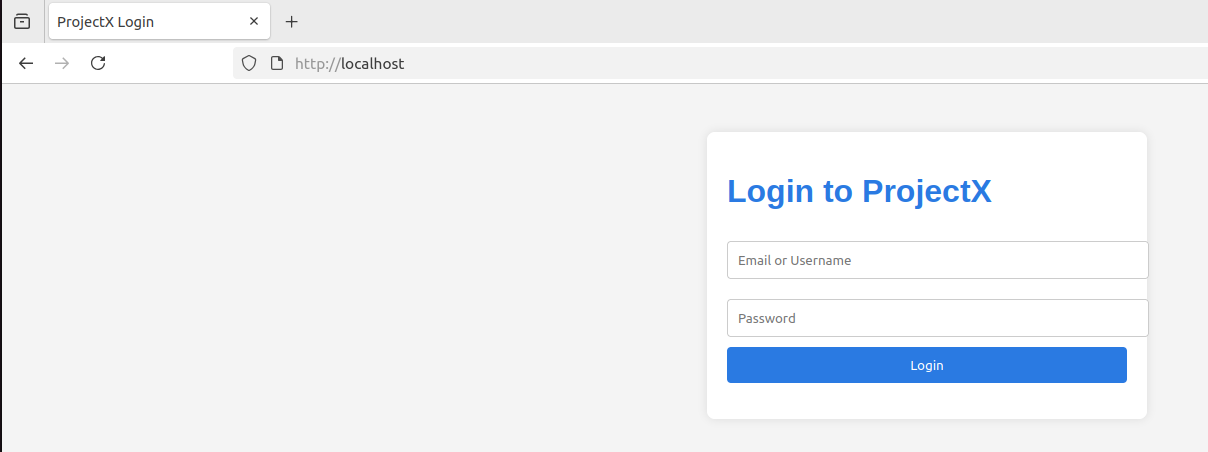
Navigate to Firefox under [project-x-corp-svr]. Enter http://localhost.
You should see the default page.
You can also try navigating to this web page using another VM, as long as its in the same 10.0.0.0/24 IP address space.
Great, we have now got a small web server running and serving a very basic HTML page. Now it's time to DoS this thing (in a little bit 😅).
📷 Take Snapshot!