VirtualBox
A Primer on Provisioning Virtual Machines with VirtualBox
Network Topology

VirtualBox Overview
What is VirtualBox?
VirtualBox is a free program that lets you create virtual machines (VMs) on your computer. VirtualBox is what’s known as a Type 2 hypervisor, which basically means it runs on top of an existing operating system (like Windows, macOS, or Linux) rather than directly on the hardware, as mentioned in the "Provisioning VMs" section.
In the context of security, VirtualBox is suitable for setting up personal labs for cybersecurity practice.
You can install vulnerable VMs to practice skills, network configurations, or simulate small networks, all in a safe, isolated space.
This is what we will be doing in this project!
VirtualBox Network Settings
VirtualBox network settings give you different ways to connect your virtual machines to the internet or to each other. You can keep them isolated, connect them just to each other, or even have them act like any other device on your network.
Here’s a bit more detail on the five main VirtualBox networking settings.
-
NAT (Network Address Translation): NAT is the default network mode, where VirtualBox acts like a middleman for internet access. Your virtual machine (VM) can go online, but it’s hidden from your main network and other VMs, keeping things secure and simple. Great if you just need internet access without any extra setup.
-
NAT Network: NAT Network is similar to regular NAT but allows multiple VMs to see each other while still keeping them hidden from the rest of your network. This is useful if you want to set up a small, private network between VMs that can also connect to the internet, like a mini-lab setup.
-
Bridged Adapter: Bridged Adapter connects your VM directly to your actual network, as if it were just another device on your Wi-Fi or Ethernet. The VM gets its own IP address on the network and can communicate freely with other devices. This is ideal if you want full access to your network for testing or server setups.
-
Internal Network: Internal Network is like having a private network that’s entirely cut off from the internet and your host machine. VMs on this network can talk to each other, but that’s it. It’s perfect if you want to isolate a group of VMs for secure testing without any outside interference.
-
Host-Only Adapter: Host-Only Adapter creates a direct link between your host machine and your VMs without internet access. The VM can talk to the host and other VMs on the same setting, but it’s fully isolated from the wider network. This is useful for testing things locally or setting up a host-to-VM-only environment.
For this project, we will be using the NAT Network setting, this will allow us to have the VMs communicate with one another, while also having access to the Internet.
Let's download VirtualBox and set this up!
Download VirtualBox
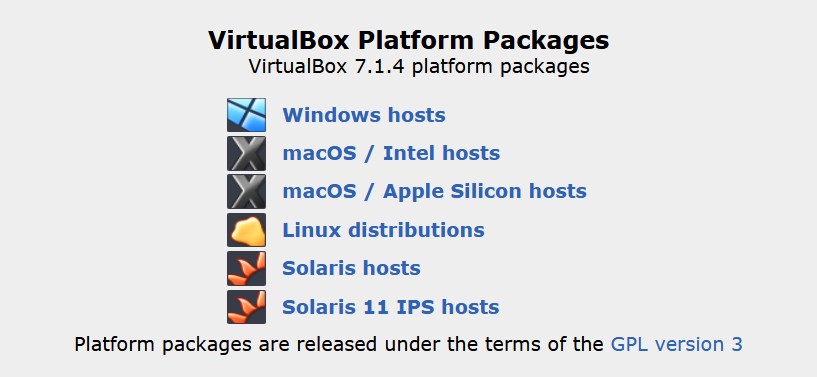
Navigate to VirtualBox.org. Select the Host operating system you are currently working with.
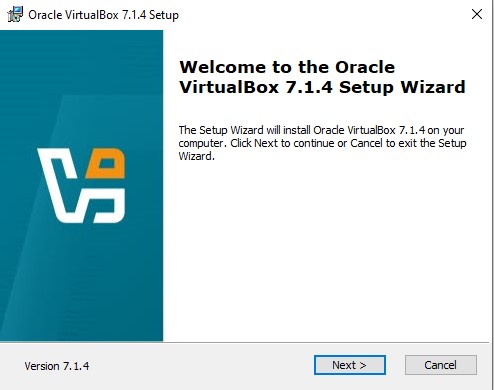
Select all system defaults designated in the installation wizard, unless you would like to customize.
Host Key
In VirtualBox, the Host Key is a special key or combination of keys that allows you to interact with the VirtualBox application itself rather than the guest operating system running inside the virtual machine (VM). This allows you to exit the Virtual Machine to get back into your host system.
Default Host Key:
- In most systems, the default Host Key is the Right
CTRLkey. However, this can vary based on your system configuration or preferences.
Purpose of the Host Key:
-
The Host Key is used to perform certain VirtualBox-specific actions without interfering with the guest operating system. These include:
-
Releasing Keyboard and Mouse Input: If the VM has captured your mouse or keyboard input, pressing the Host Key releases the input back to the host operating system.
- Accessing VirtualBox Features: You can use Host Key combinations to perform actions like switching to full-screen mode, capturing screenshots, or opening the VirtualBox menu.
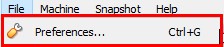
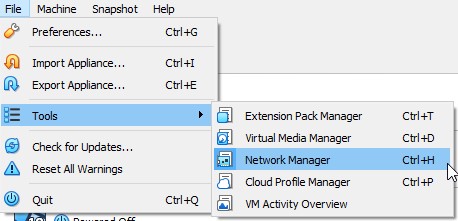
To view your current Host Key setting, go to “File” ➔ “Preferences”.
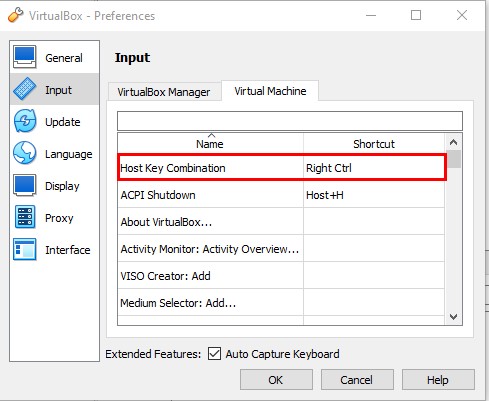
“Input” ➔ View the “Host Key Combination”. You can change the Host Key by selecting the box and then hit the key on the keyboard to specify which key to use.
Provision A New NAT Network In VirtualBox
We will be using a NAT Network. This will allow us to connect with each of the Virtual Machines while also connecting to the Internet when needed.
Navigate to File ➔ Tools ➔ Network Manager.
Select NAT Networks ➔ “Create”.
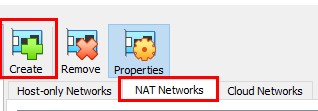
At the bottom, name the NatNetwork “project-x-network” and choose an IPv4 prefix, refer to the Project Overview guide for more detail on IPv4 prefixes. Select “Apply” to save changes.

Note
It will be assumed that each time a new Virtual Machine has been provisioned, the “project-x-network” NAT Network will be selected for all VMs.
Download ISOs (Identical Storage Image)
From ISO Provider
Warning
Downloading from the ISO provider will not lock in the versions used throughout this project. This will likely not result in any major disruption to the project, but UI changes may occur.
The ISOs can be downloaded from the ISO providers.

Create A New Virtual Machine
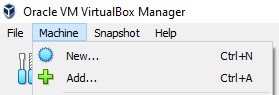
Navigate to VirtualBox. Go to Machine ➔ New.
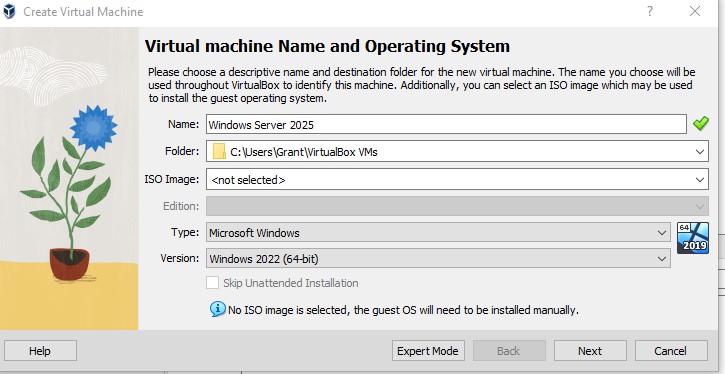
Enter a name for the Virtual Machine.
Choose default Folder location.
Select “Type: Microsoft Windows”. Version: “Windows 2022 (64-bit)”
Add hardware specifications. A minimum of 4 GBs of RAM (4096 MB) and 2 CPU for every virtual machine, unless explicitly expressed.
👉 Refer to the “Project Overview” guide for more information on default VM settings and names.
For Windows 11: Enable EFI.
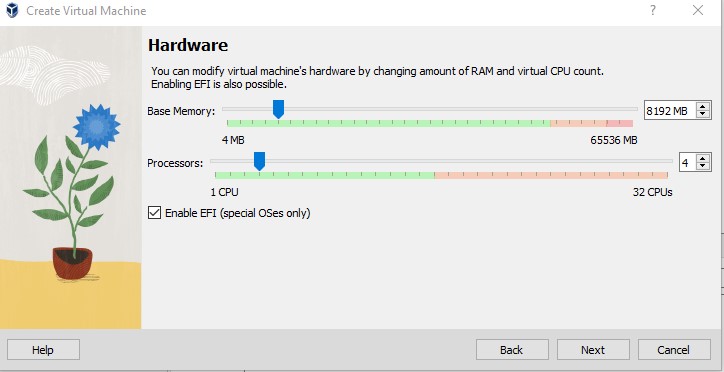
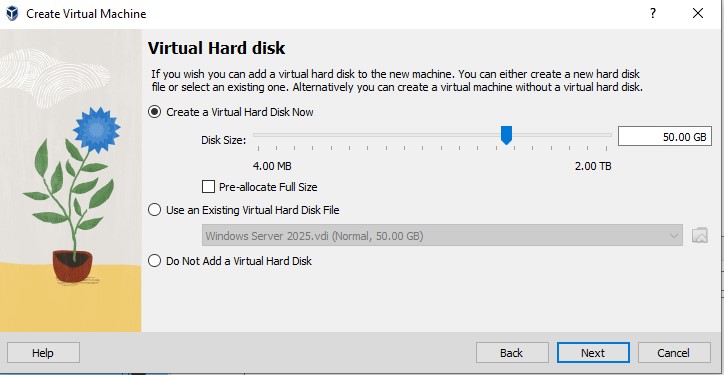
Allocate a minimum of 50.00 GB of Virtual Hard Disk (VHD) space.
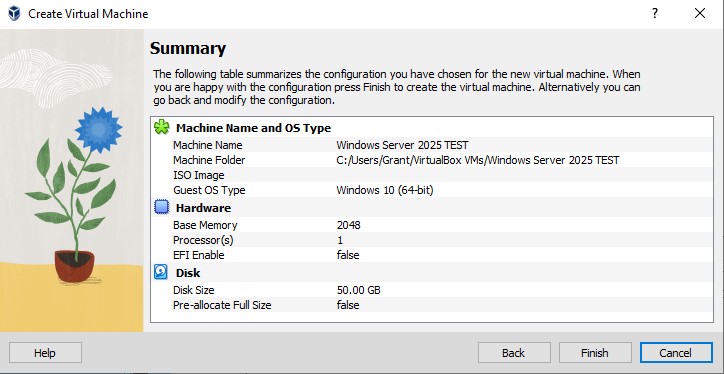
Review specifications. Select “Finish”.
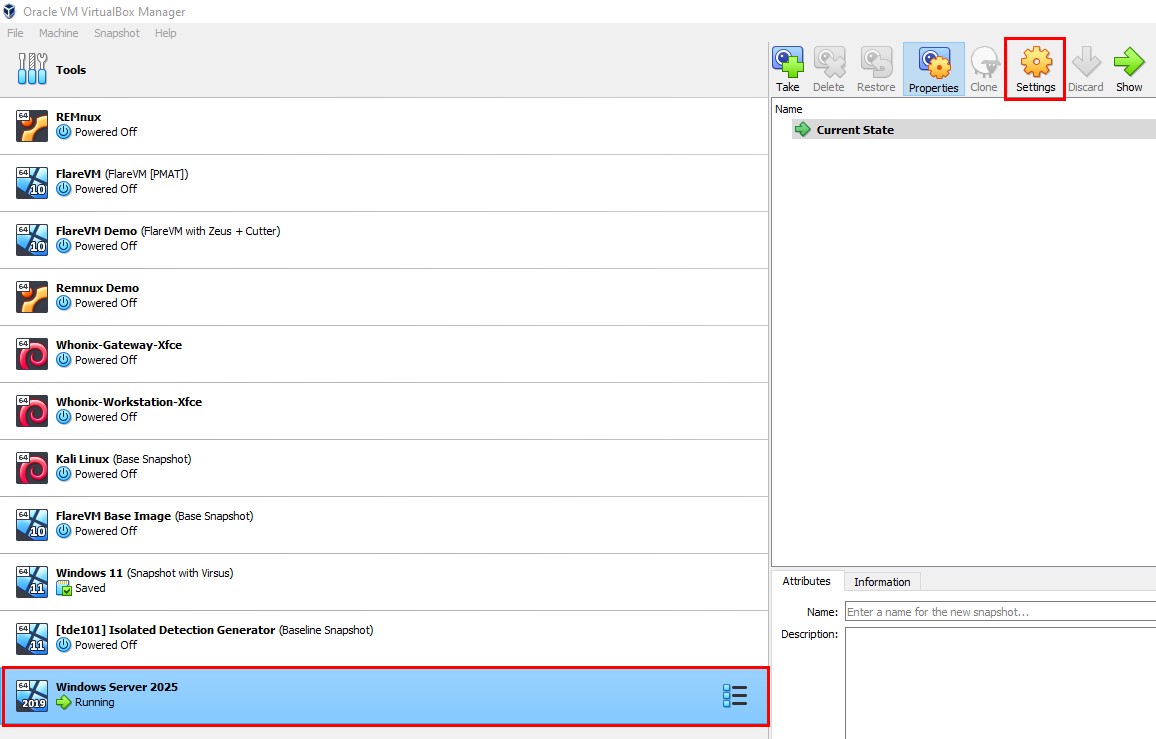
Select newly created Virtual Machine. Go to “Settings”.
Select the “Storage” tab. Click the “Empty” optical drive disk. Then select “Choose a disk file…”
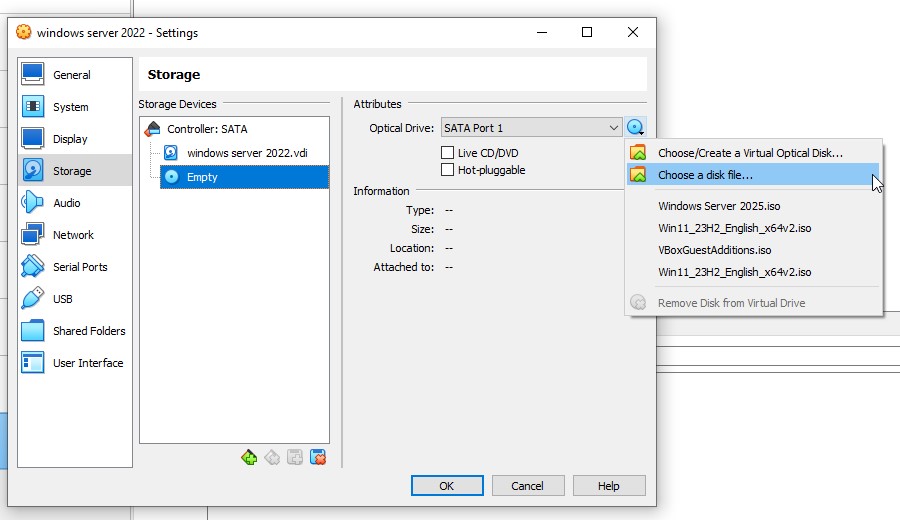
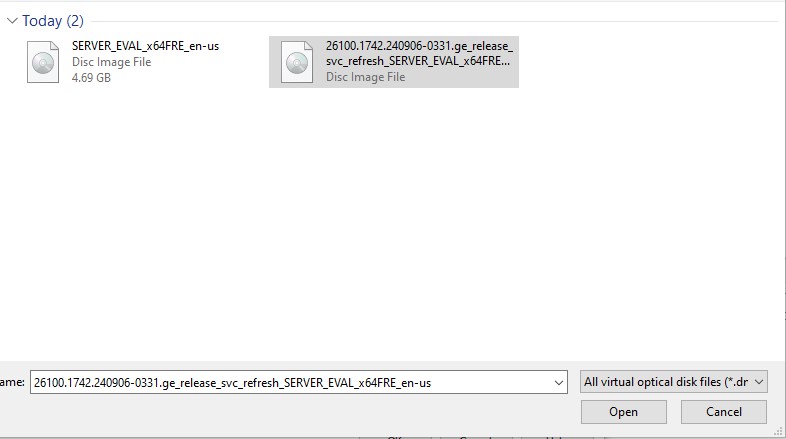
Navigate to where your ISO has been downloaded. (By default, should be Downloads folder).
Click “Open” to open the ISO.
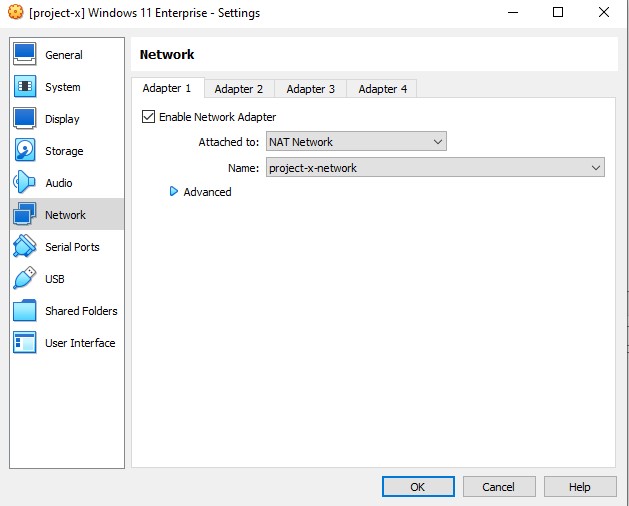
Navigate to “Network” tab. Select “NAT Network” in the Attached to option. Choose “project-x network” in the Name option. Select “OK”.
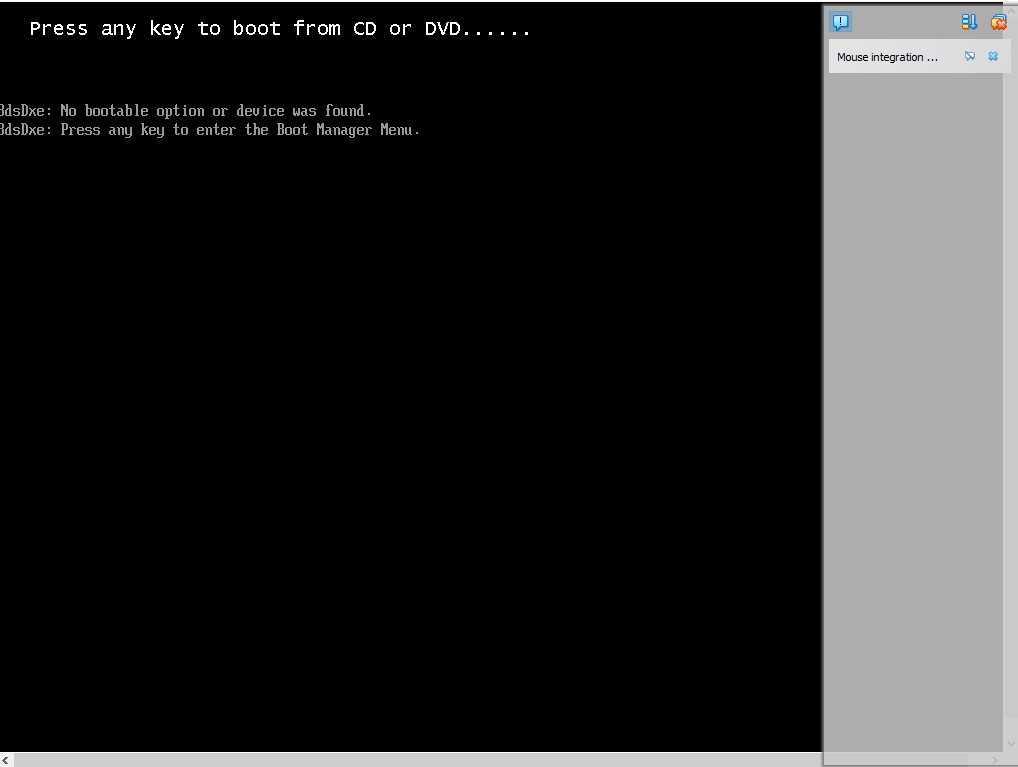
Select the Virtual Machine, then Select “Start”.
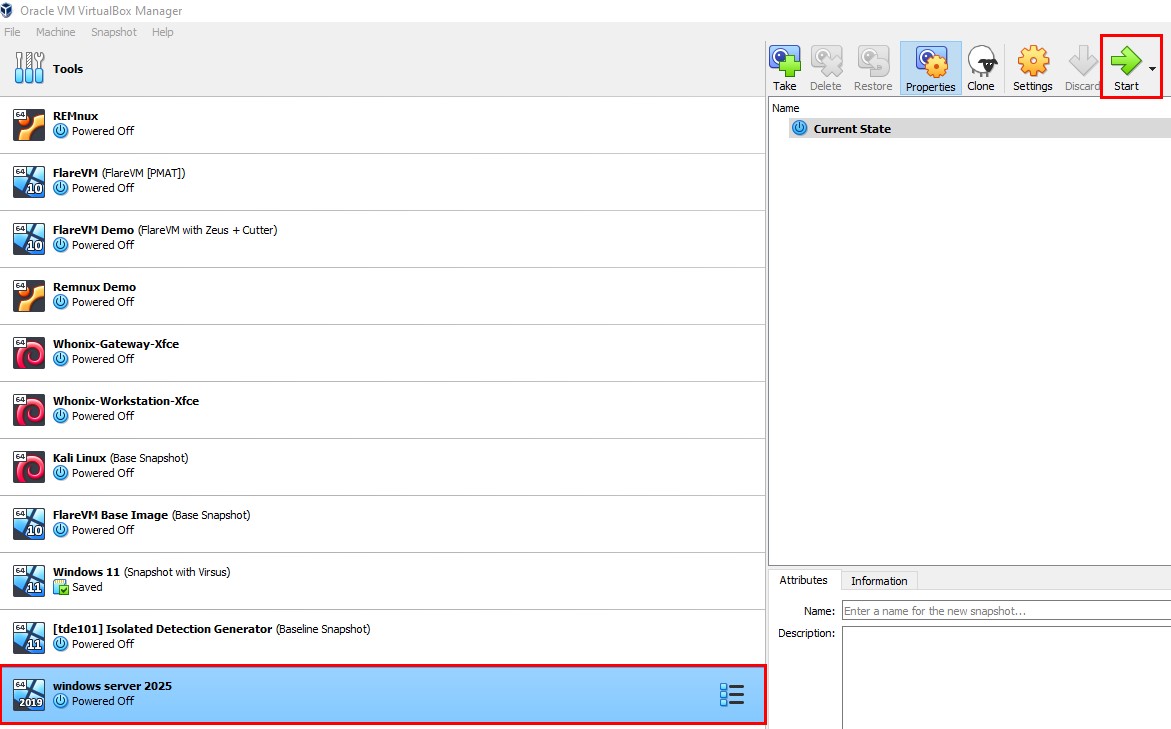
When the machine provisions, you will see a message related to hitting a key. Hit any letter key on your keyboard to provision into the installation wizard of the operating system.
Take A Snapshot
Virtual Machine Snapshot: A saved state of a virtual machine (VM) at a specific point in time. It allows you to preserve the exact state of the VM, including its disk, memory, and hardware settings, so that you can revert to this state later if needed.
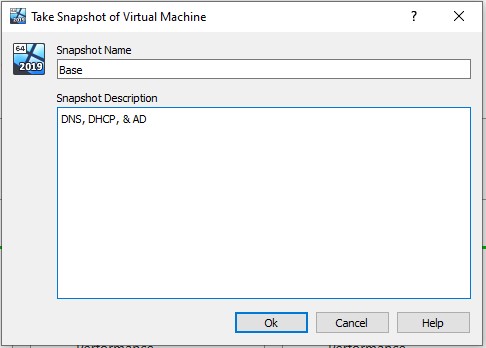
Go to VirtualBox. Select Virtual Machine, then select “Take”.
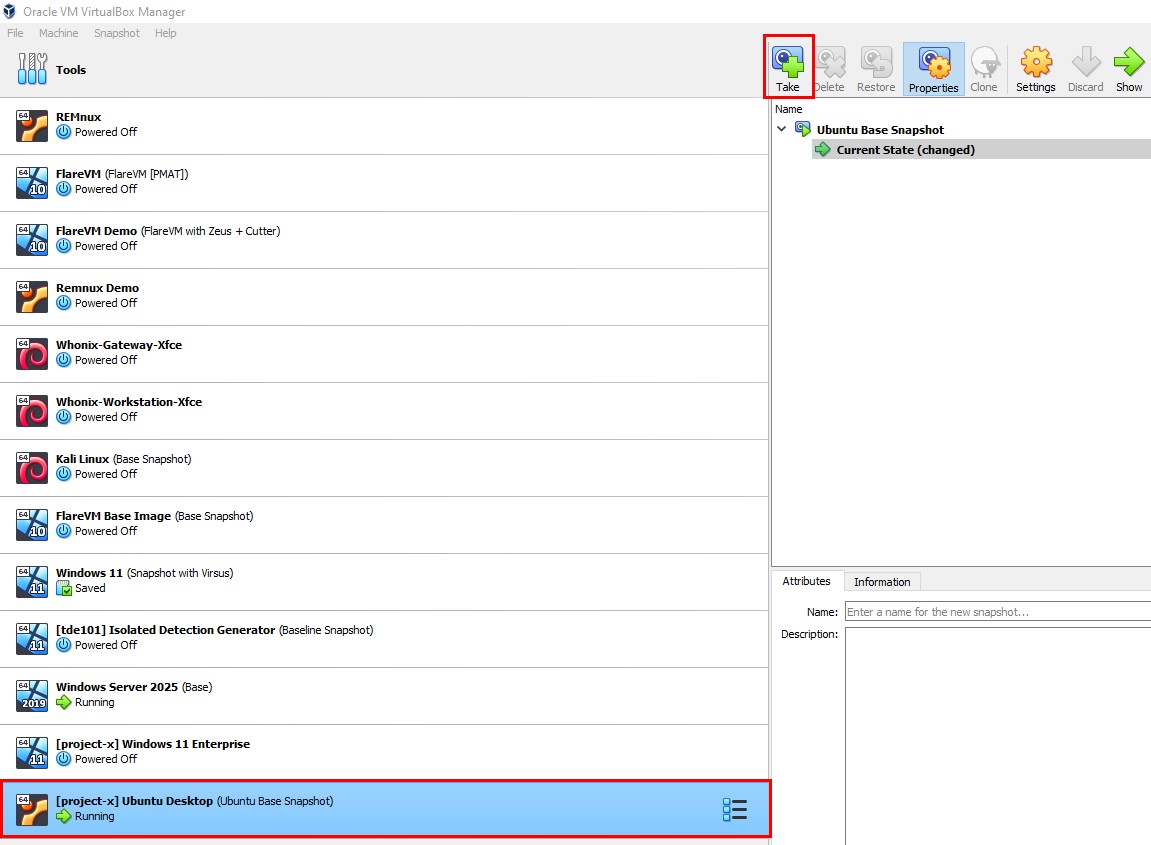
Title the snapshot with something descriptive so you can recall what configurations were made up until this point.
Restore Snapshot
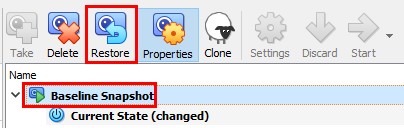
Go to VirtualBox. Select Virtual Machine. Select which snapshot you want to restore to.
Then “Restore”.
Full Screen With VirtualBox Guest Additions
By default, VirtualBox VMs will not be full screen. VirtualBox provides VirtualBox Guest Additions to augment functionality and usability of the VM.
Guest Additions is a set of drivers and system applications that can be installed. Let’s walk how to provision full screen for VMs.
Windows 10/11
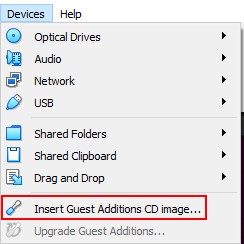
With a running virtual machine, navigate to the menu bar. Go to “Devices” ➔ “Insert Guest Additions CD image…”
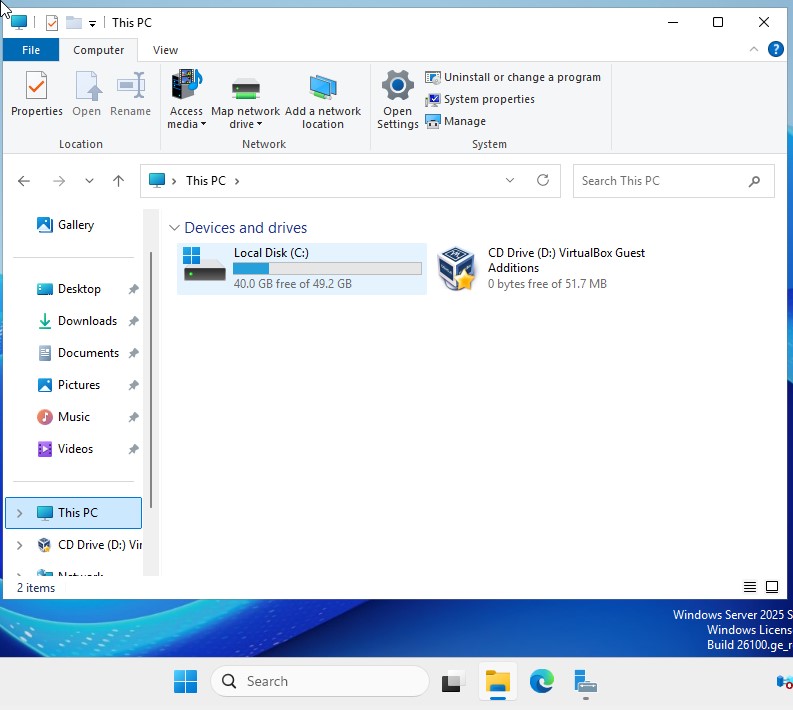
Navigate to the “File Explorer” application in Windows. Go to “This PC”. Click into the “VirtualBox Guest Additions” program.
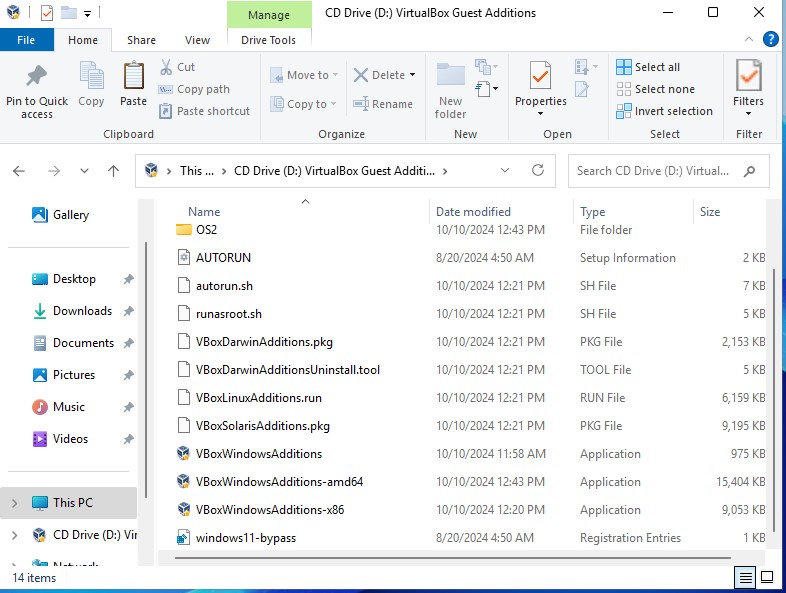
You should see a few executables (programs). Select the generic “VBoxWindowsAdditions” program.
Follow the default installation wizard settings.
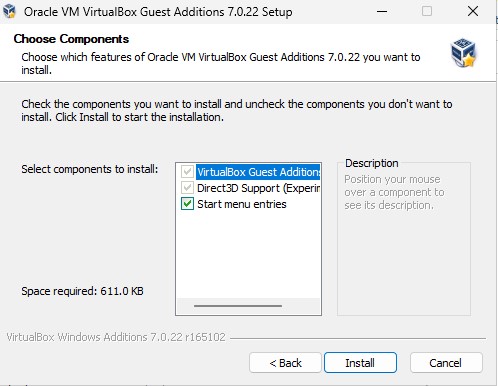
Choose to "Reboot Now".
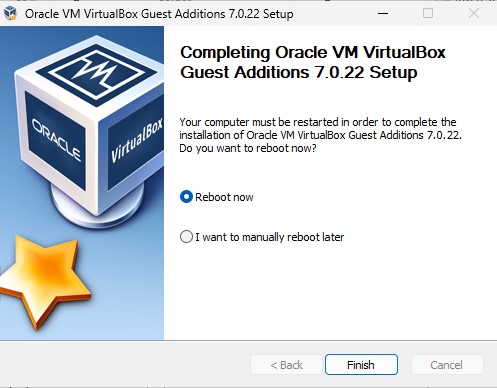
Allow the Virtual Machine to restart.
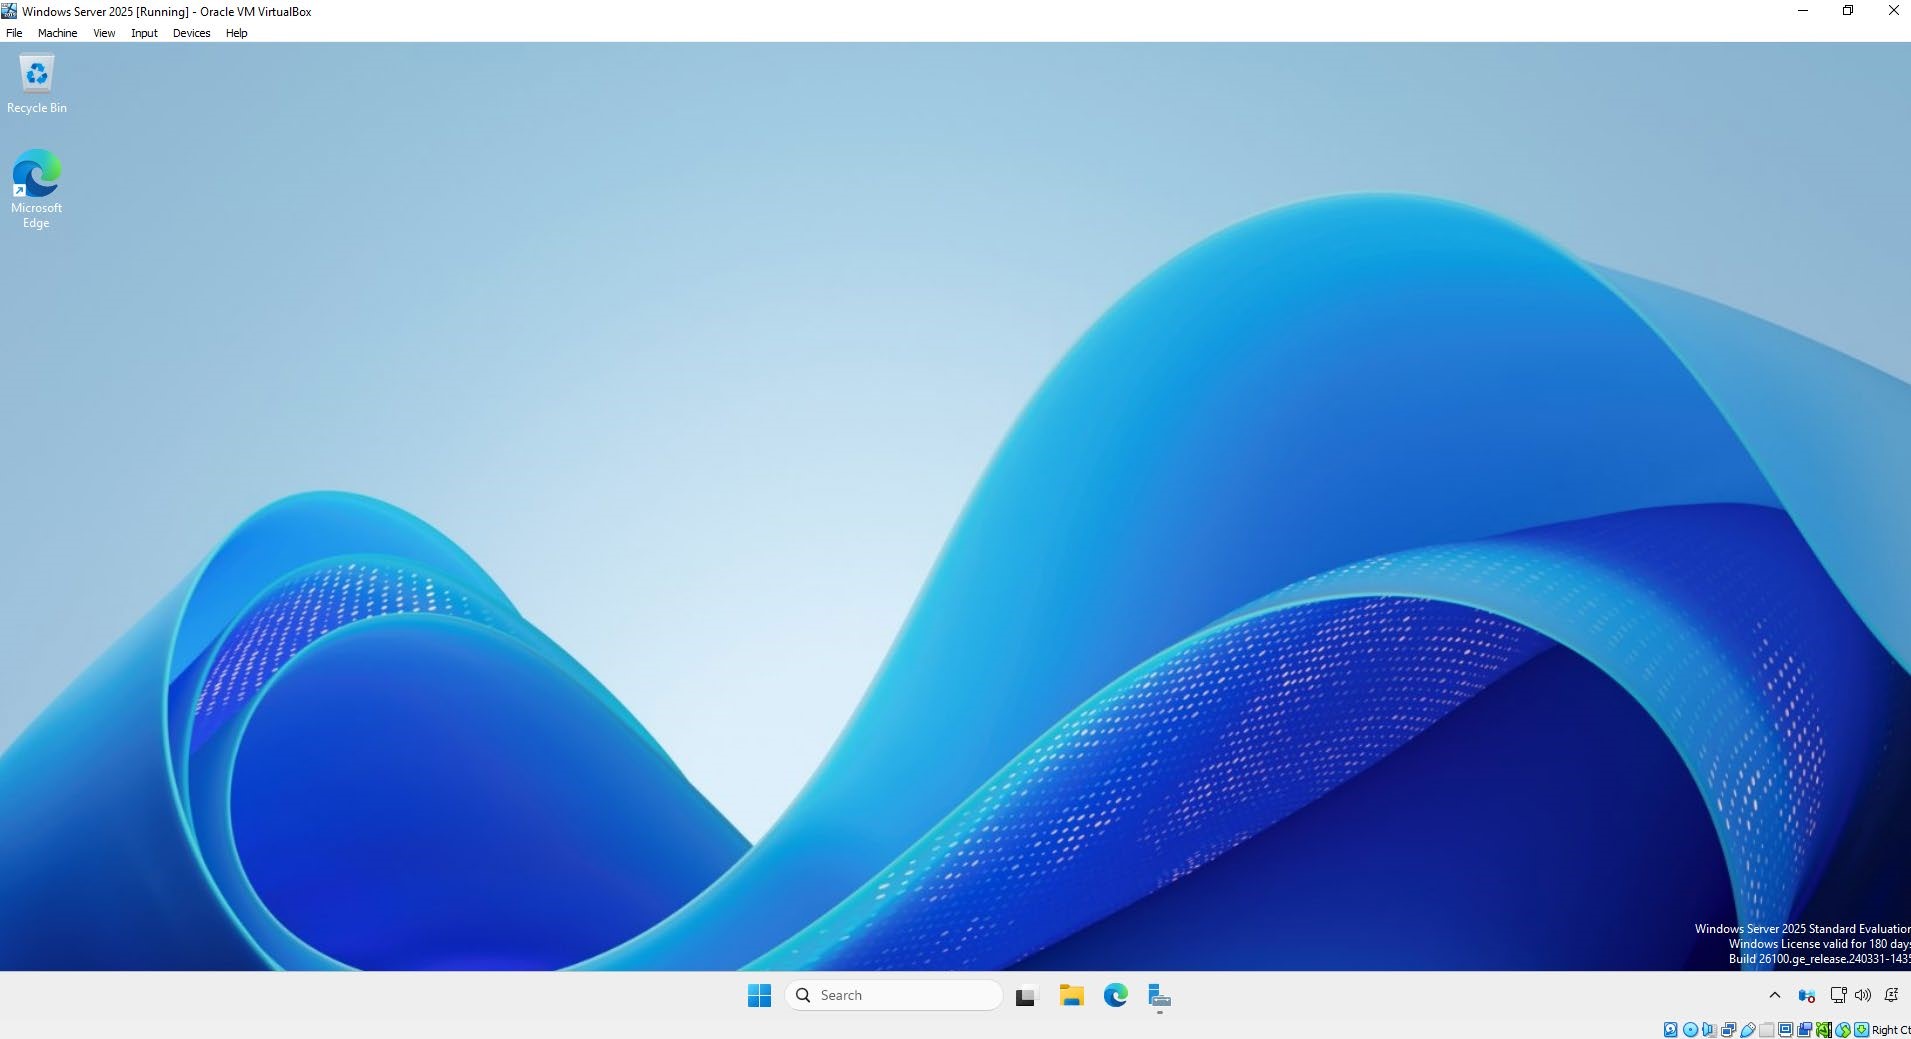
You should now be able to make the machine full screen.
Linux Derivatives
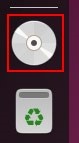
With the running virtual machine, navigate to the menu bar. Go to “Devices” ➔ “Insert Guest Additions CD image…”
A new CD disk image will appear on the tool bar. Select this.
A new file menu will appear. Right-click on the whitespace ➔ Select “Open in Terminal”.
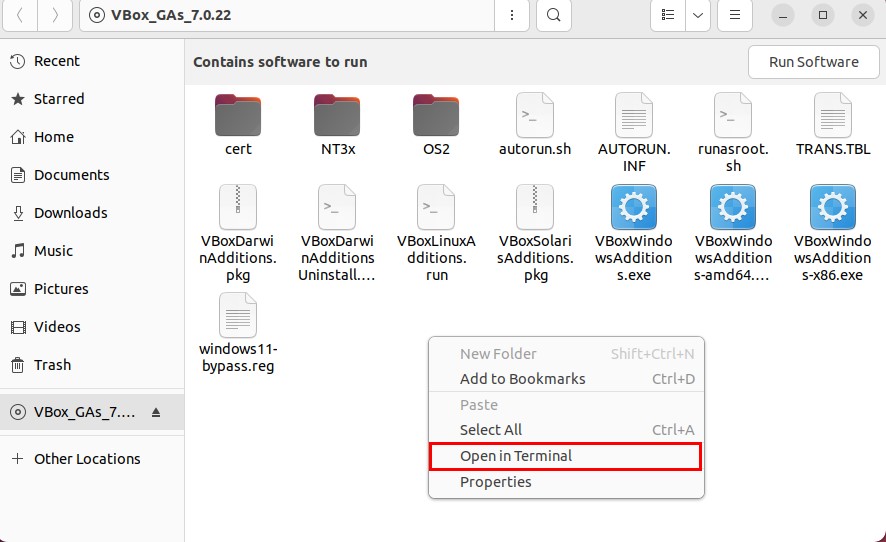
A new terminal will appear, type the following then type the user’s password:

Allow the system to reboot after your user prompt has returned. You can type reboot to restart the machine.

Success!
