Provision & Setup Windows 11 Enterprise
Prerequisites
- Virtualbox or VMware Workstation Pro installed.
- Virtual Machine with Windows 11 Enterprise ISO has been downloaded and provisioned (the ISO should be attached to the new VM).
- Windows Server 2025 with AD Directory Services (ADDS) configured and turned on.
Network Topology
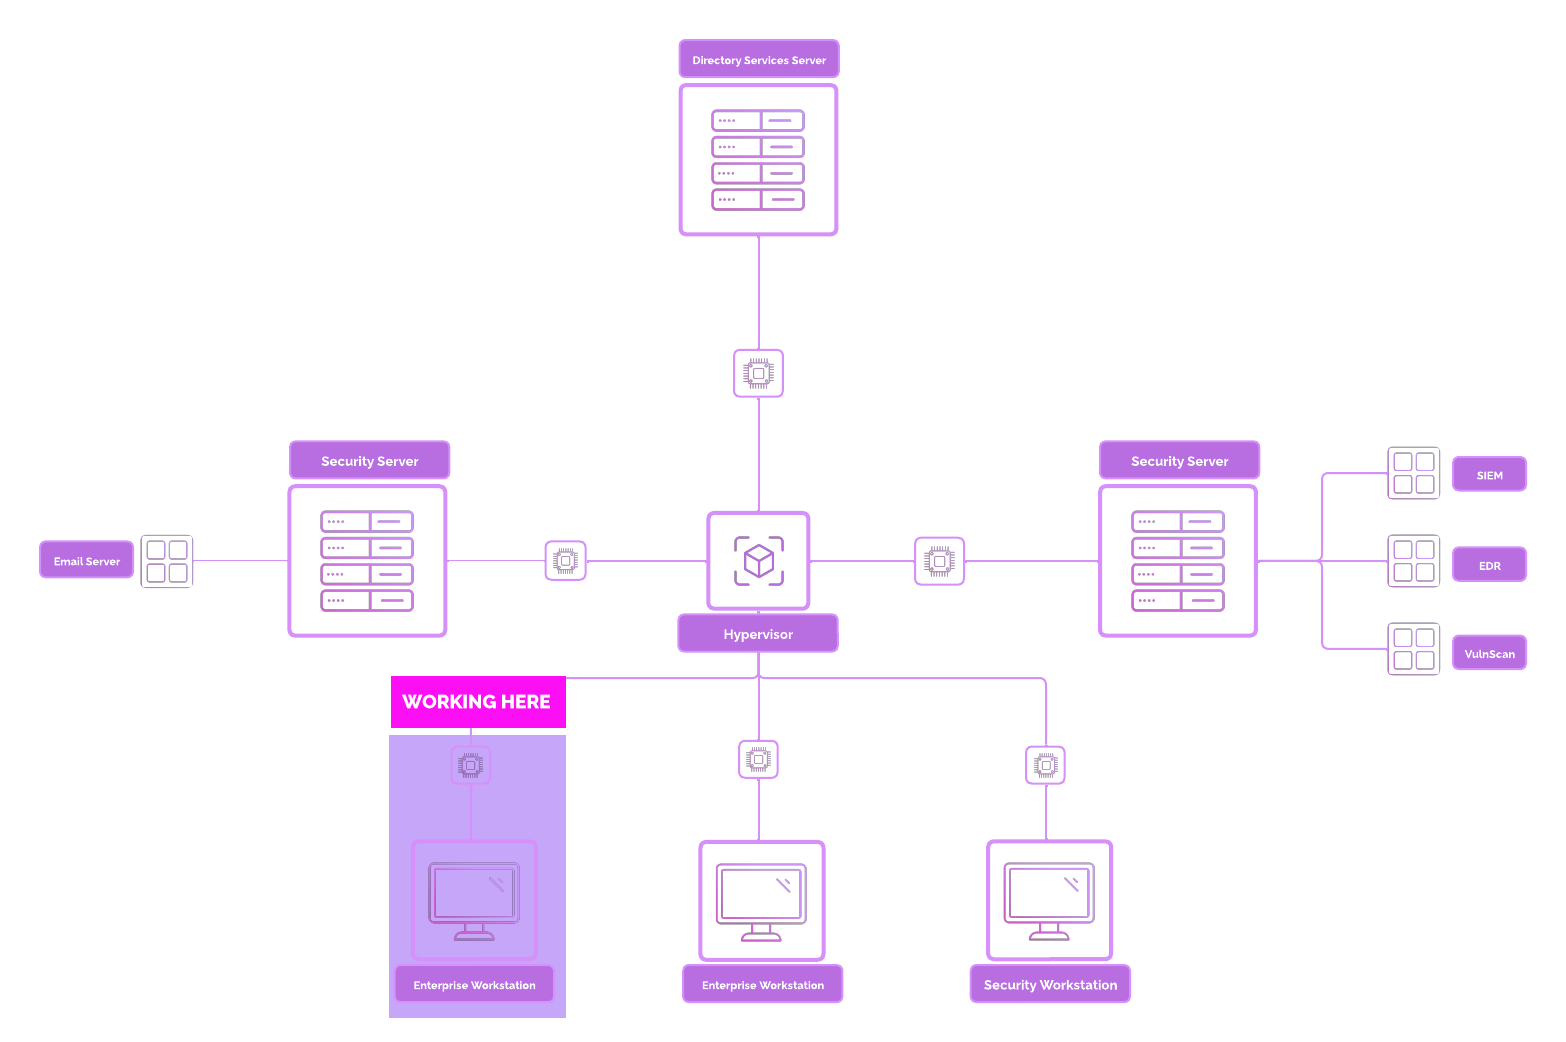
Overview
Windows 11 will act as our Windows workstation. Most (if not all) businesses will have some Windows devices. Windows 11 being the most updated version.
If you see Windows XP, run.
👉 Alternative Methods
- Due to Windows 11 system requirements, such as TPM 2.0, you download, connect, and supplement a Windows 10 workstation instead.
- Download the ISO on the Microsoft Evaluation Center.
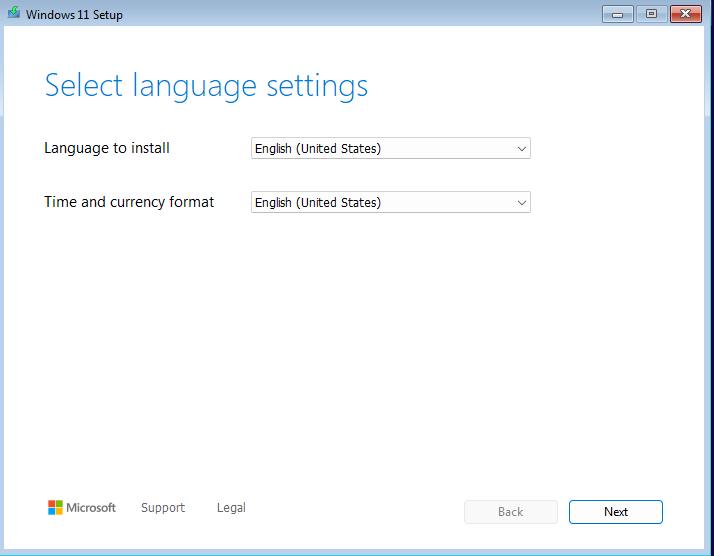
Setup Windows 11 Enterprise
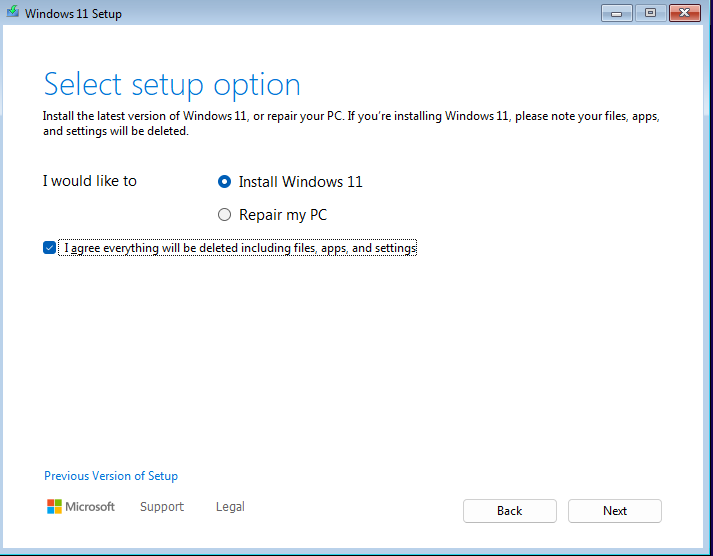
- Select “Next” ➔ “Install Windows 11” ➔ Check the box ➔ “Next”.
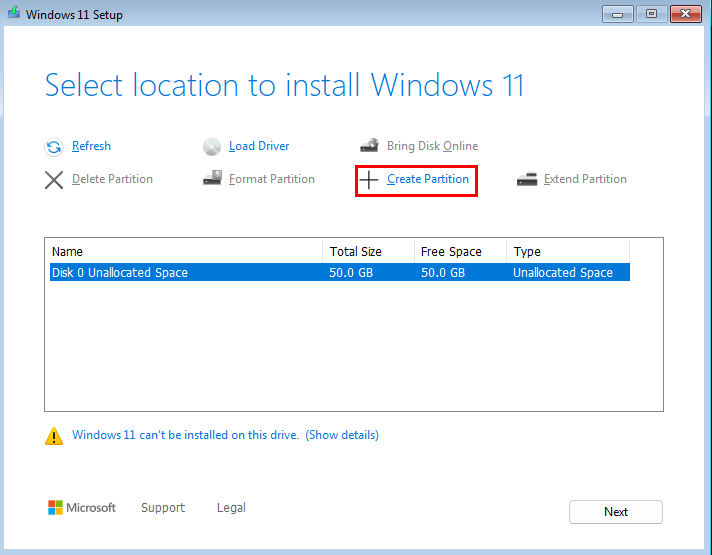
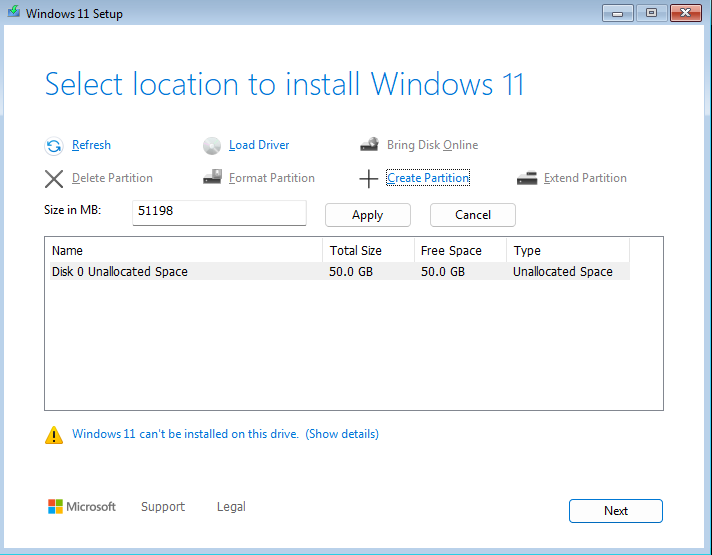
Select “Disk 0 Unallocated Space” ➔ “Create Partition”. Use the default “Size in MB” setting ➔ “Apply".
Wait for two or three partitions to show up.
🤔 Why is this done?: Partitions are logically separated containers used to organize and separate data. We create a couple partitions to separate these spaces out.
Select Disk 0 Partition 3 (with the largest free space). Select “Install”. Wait for Windows 11 to fully install. The VM should restart.
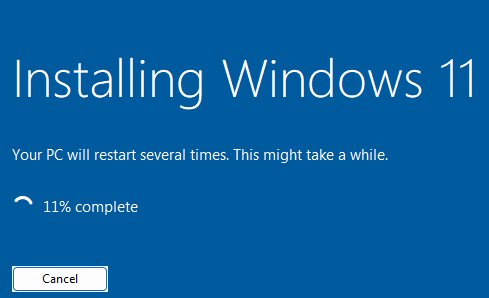
Run through the keyboard layout, adjust if needed. Wait for Windows to update.
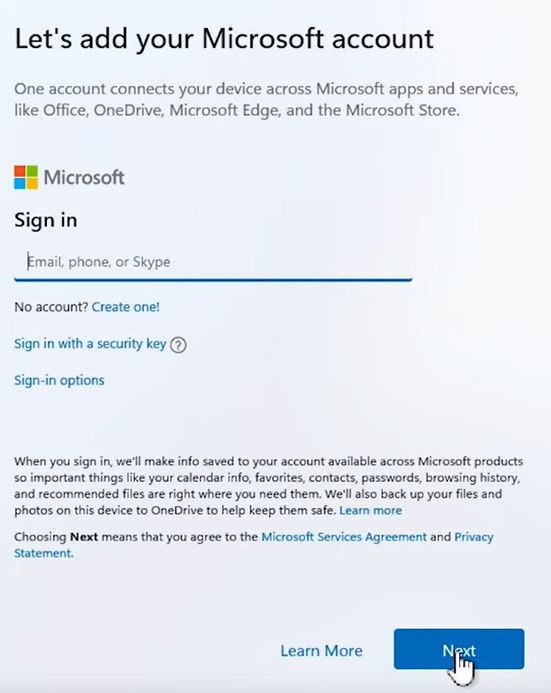
When getting to the Microsoft Account Sign-up, do the following to bypass account creation.
💡 Microsoft has unfortunately started to roll out ways to bypass the bypass. Please let us know if this is no longer working.
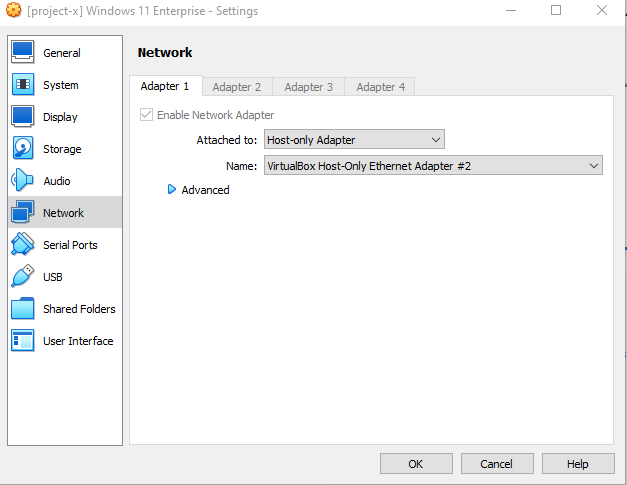
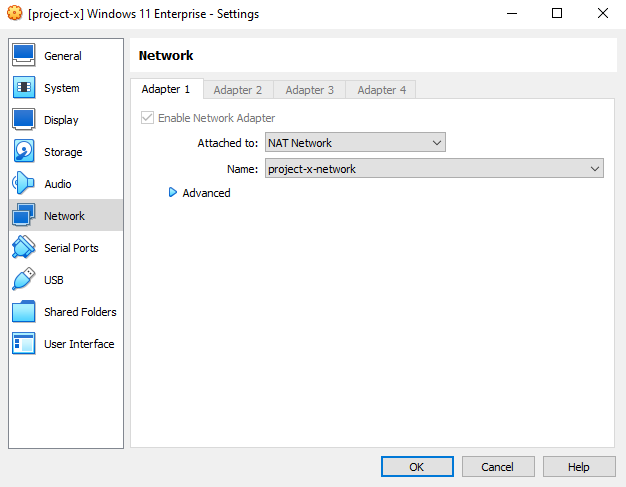
Change the “Network” setting from NAT Network to “Host-only Adapter”. This will cut Internet access off the VM and create an isolated network.
Go back to the Windows Installation Wizard. Select “Shift” + F10 Key to open Command Line.
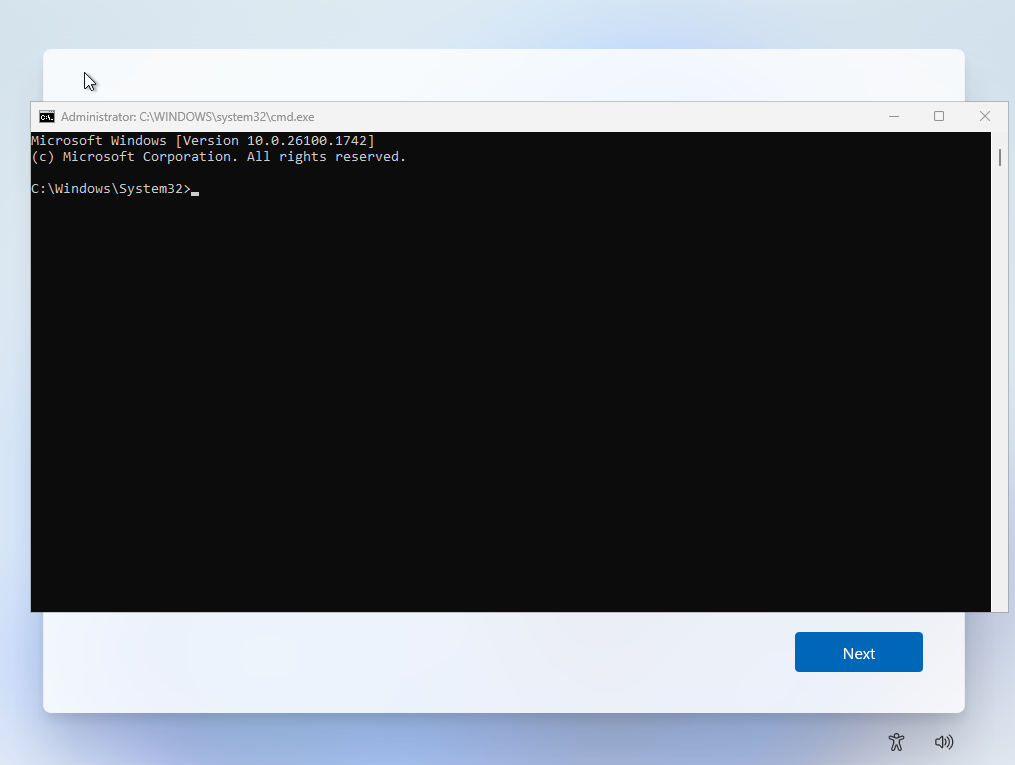
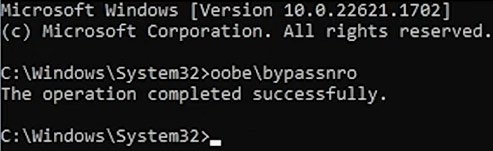
Type in oobe\bypassnro. The VM will restart.
oobe reminds us of Star Wars. Have no idea what this does :)
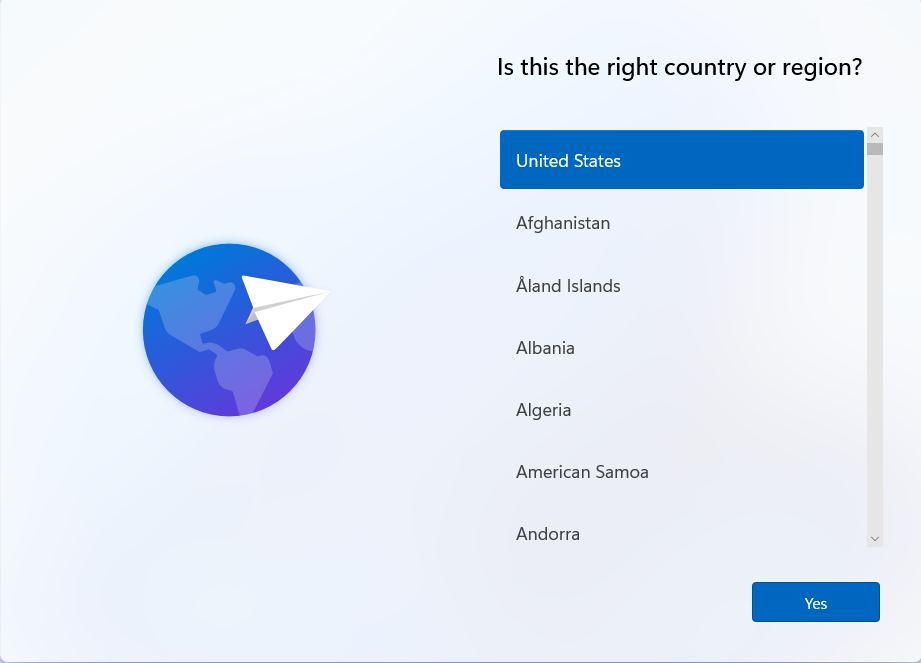
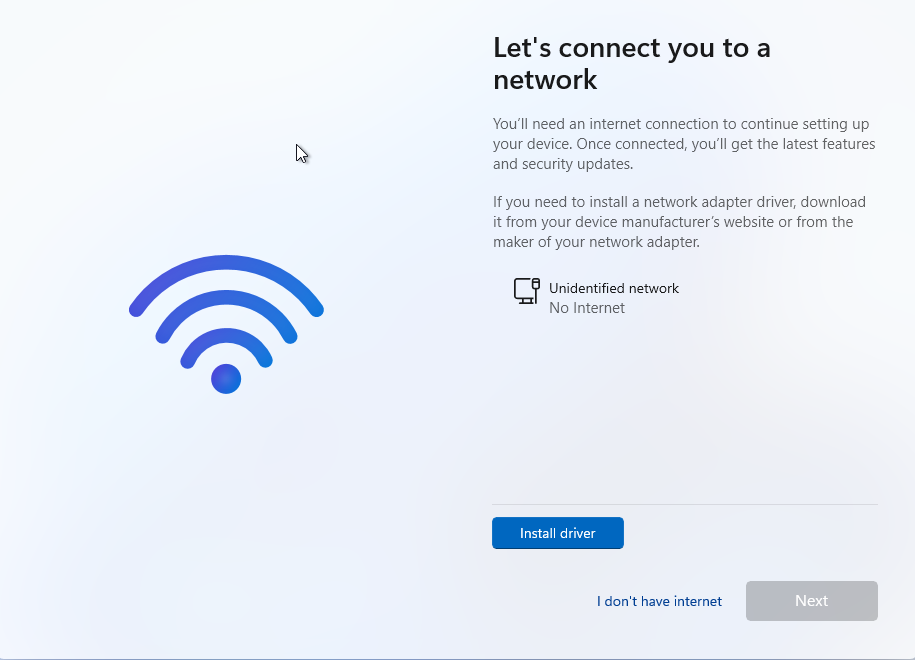
Run through the Country and keyboard layouts. The “Connect to Microsoft Account” screen should now be bypassed. Select “I don’t have Internet”.
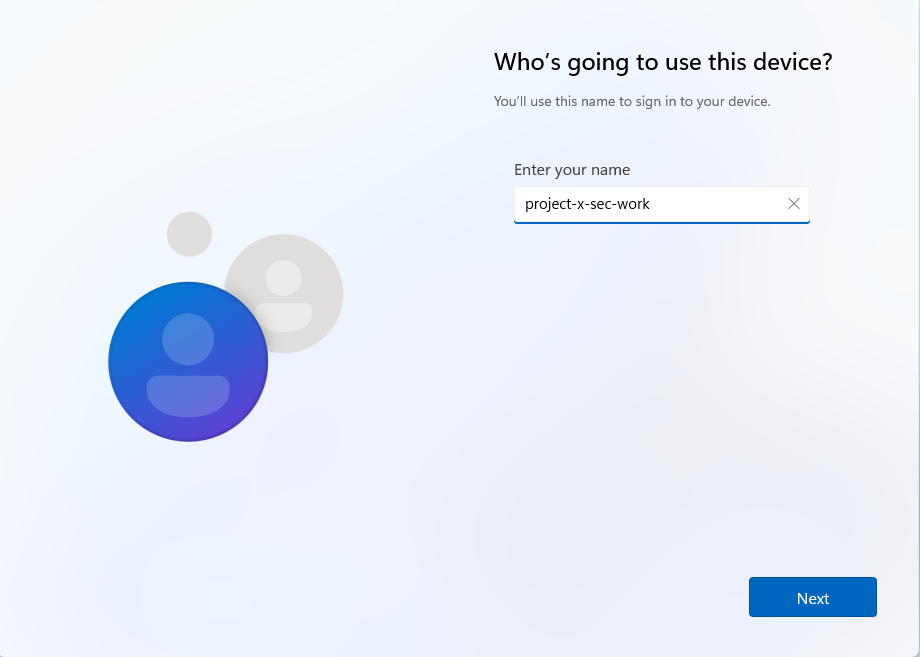
Choose account name (this will change once we have connected this device to the Active Directory domain).
Create a new password. Click “Next” and type password in again.
Type in 3 security questions.

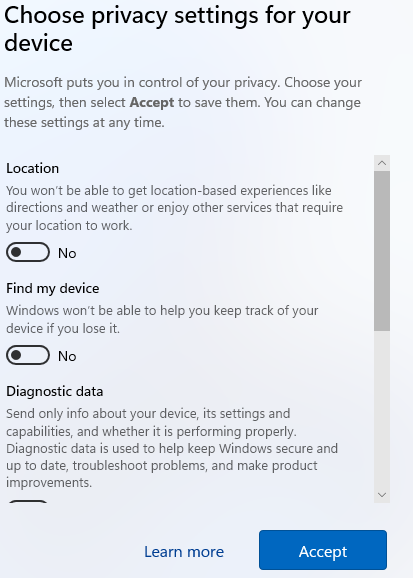
Turn off all Privacy Settings Toggles (no tracking for us Microsoft!)
Wait for Windows 11 to set up until reaching the login screen.
Change the Network settings back to “NAT Network” ➔ project-x-network.
Success!
Connect Windows 11 Enterprise [project-x-win-client] to Windows Domain Controller
👉 Before You Start: Make sure Windows Server 2025 (project-x-dc) is running.
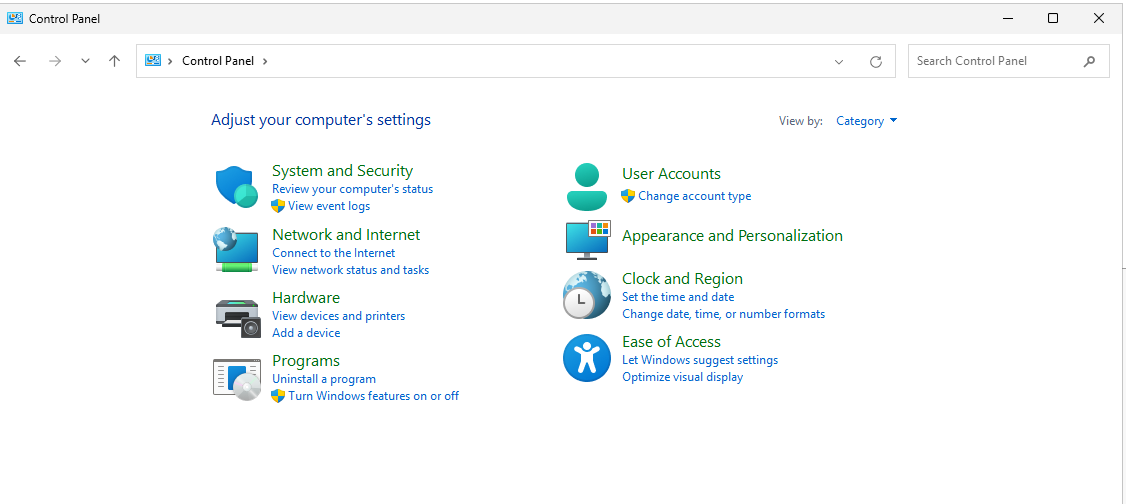
Navigate to the Control Panel (Shortcut: Windows+X).
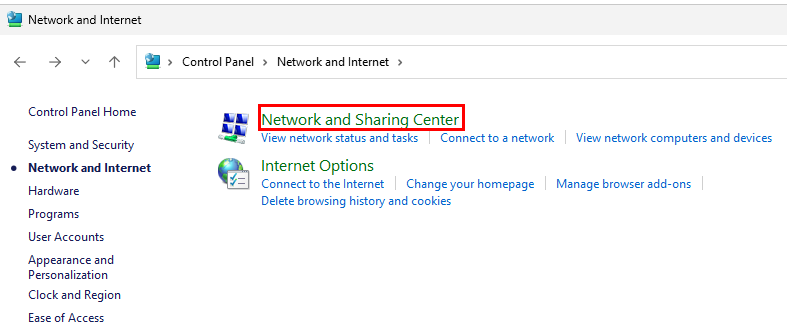
Select “Network and Sharing Center”.
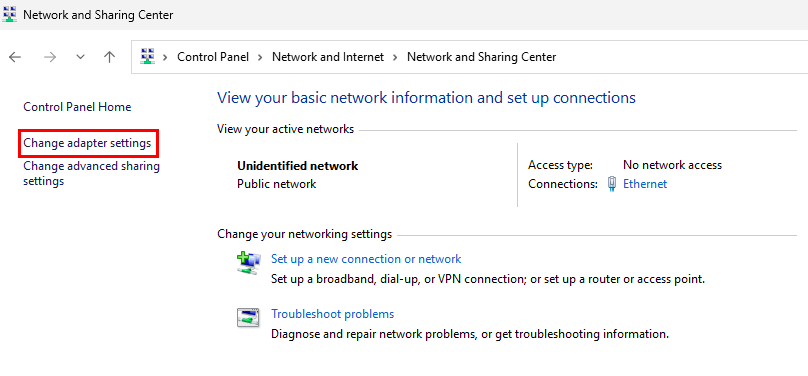
Select “Change adapter settings”.
A window will pop-up with a computer icon named “Ethernet”. Right-click this icon ➔ “Properties”.
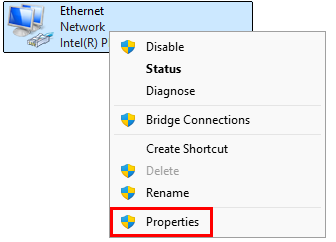
Another box will open (yay for all the boxes we must click through). Select “Internet Protocol Version 4 (TCP/IPv4) ➔ “Properties”.

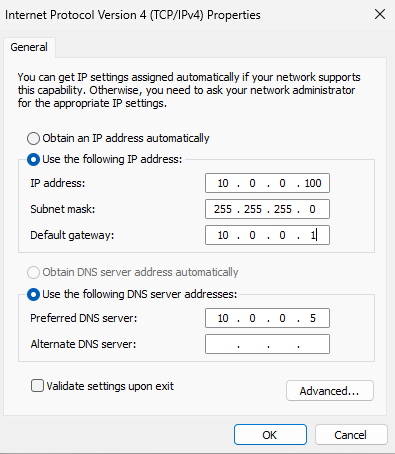
Set this device to a static IP address. Select “OK” after finishing.
- IP address:
10.0.0.100 - Subnet mask:
255.255.255.0 - Default gateway:
10.0.0.1 - Preferred DNS server:
10.0.0.5
👉 Refer to the “Project Overview” guide for more information on IP address information.
Exit out of the Control Panel. Go down to the search bar and look up “Change workgroup name”.
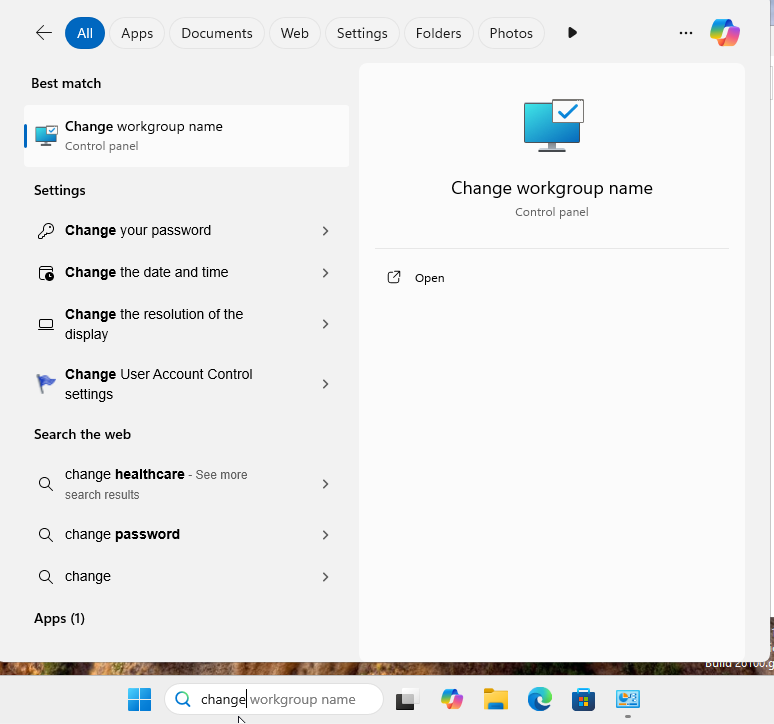
A box will open, select “Change”.
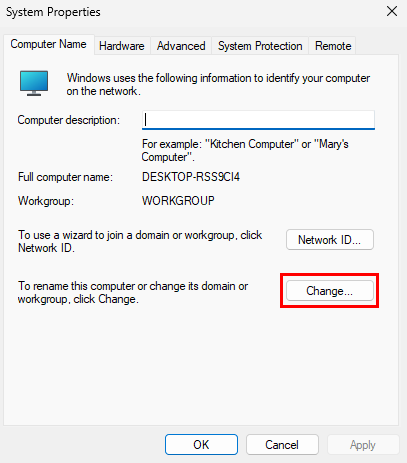
Enter the following information.
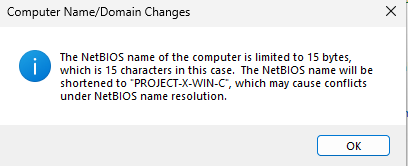
- Computer name:
project-x-win-client. - Member of:
corp.project-x-dc.com.
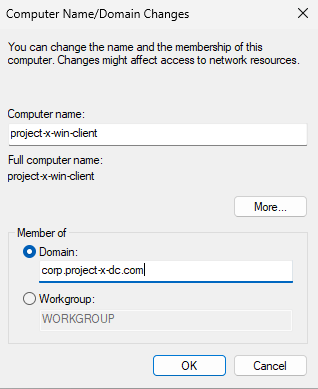
Select “OK”.
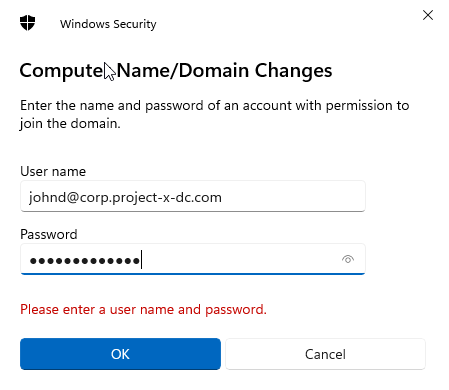
Type in the username and password for [email protected].
- Username:
[email protected] - Password:
@password123!
👉 Refer to the “Project Overview” guide for more information on default usernames and passwords.
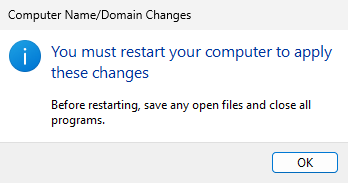
A dialogue box should appear with a welcome message. Select “OK”.
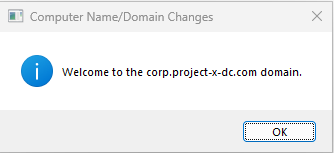
Another dialogue box will open, select “OK” to restart the changes. Wait for VM to restart.
Select “Other User” at the bottom left of the Login Screen. Add in John Doe’s credentials.
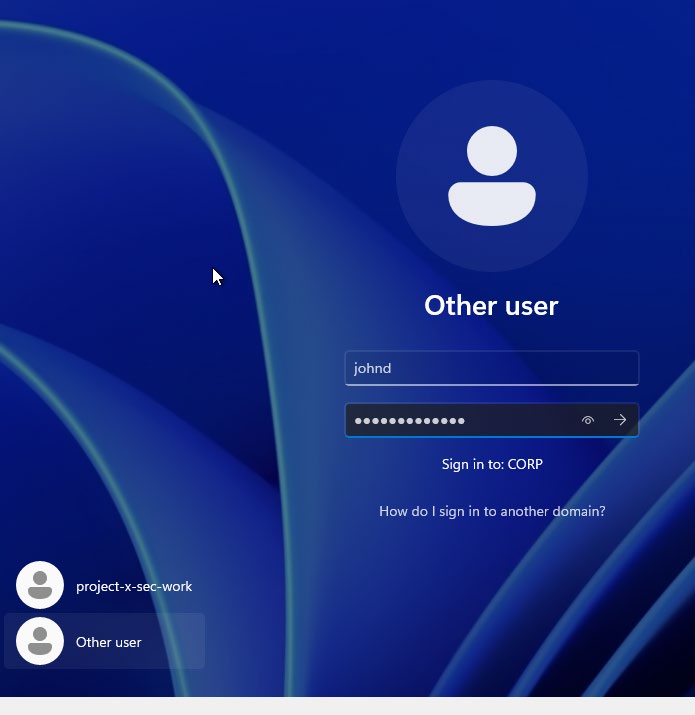
Success!
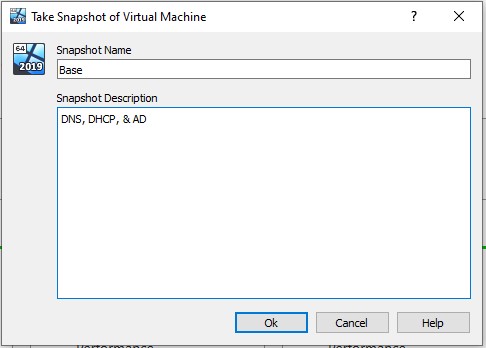
📷 Take Snapshot!