Provision & Setup Ubuntu Server 22.04
Prerequisites
- VirtualBox installed.
- Virtual Machine with Ubuntu 22.04 ISO Server has been configured and provisioned (the ISO should be attached to the new VM).
- Windows Server 2025 with Active Directory Domain Services (ADDS) configured.
Network Topology
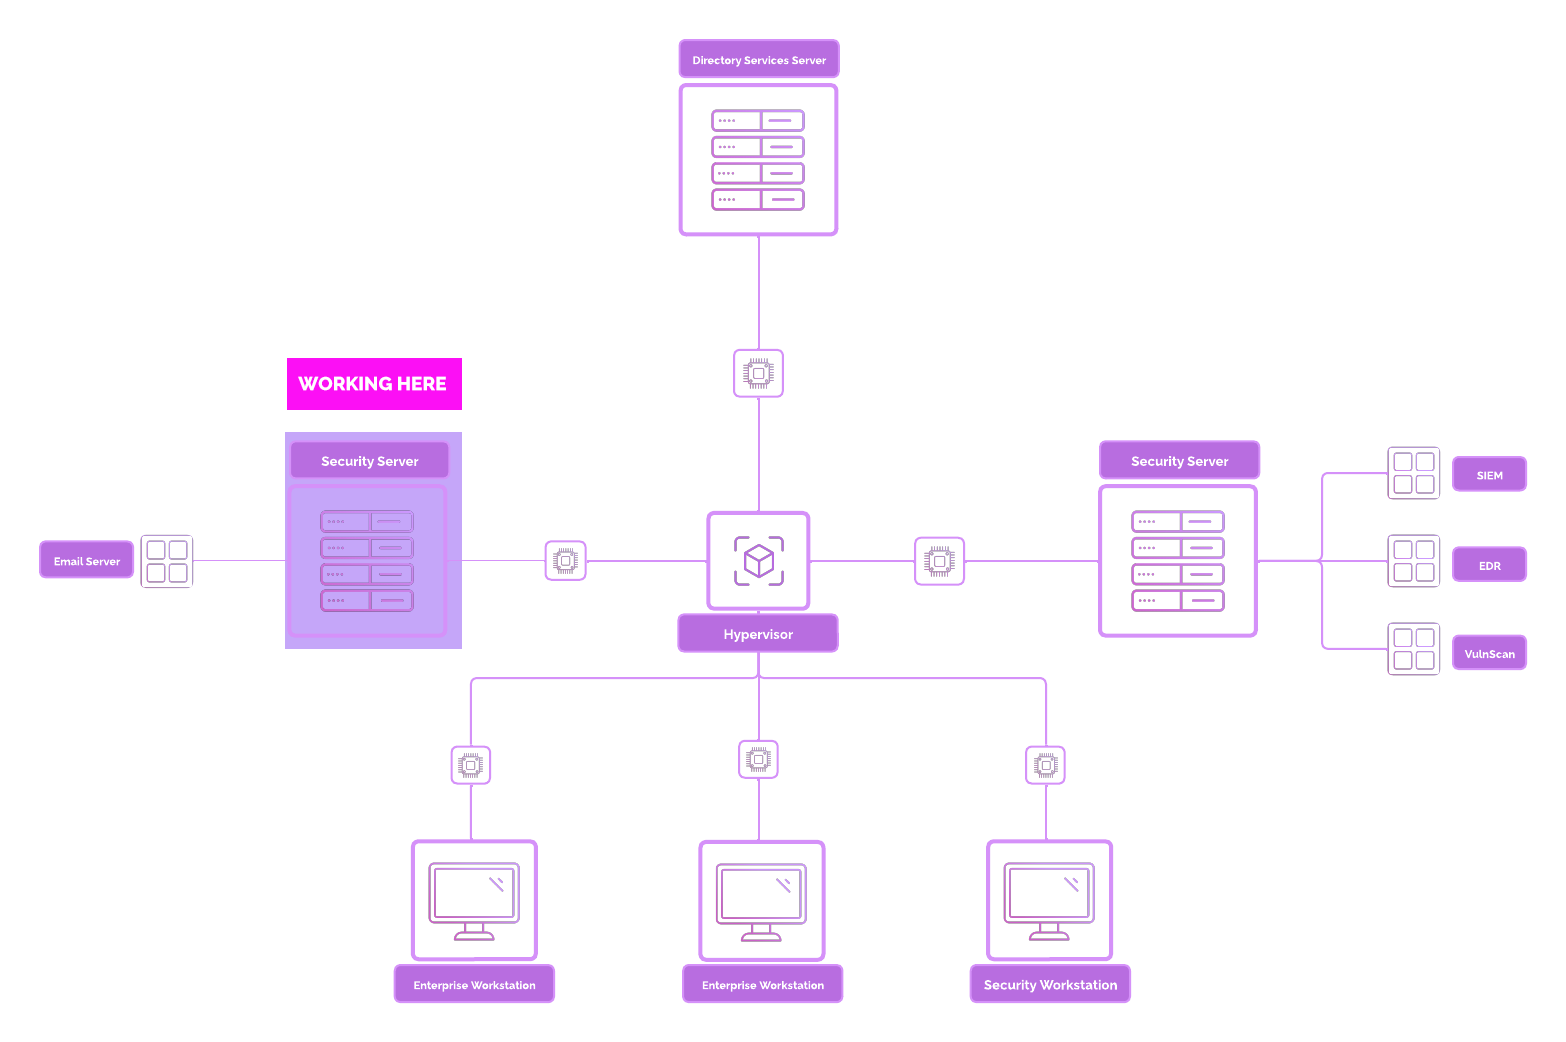
Email Security Server Overview
Overview
An email server is a system designed to send, receive, store, and manage email communication for users. It uses protocols such as:
- SMTP (Simple Mail Transfer Protocol) for sending emails
- IMAP (Internet Message Access Protocol) or POP3 (Post Office Protocol) for receiving and managing email messages
We will configure Postfix as a Mail Transfer Agent (MTA) for sending and routing emails on Linux servers.
Email servers are less common today due to the rise of managed services like Gmail, Microsoft 365, and ProtonMail. However, setting up an email server provides insight into email security and infrastructure.
Security Implications
Running an email server introduces security risks:
- Open Relay Exploitation – Spammers can misuse an open relay server.
- Brute Force Attacks – Attackers attempt credential stuffing.
- Spam and Phishing – Attackers may spoof domains for phishing campaigns.
- Data Breaches – Poor security may expose sensitive emails.
- Malware Delivery – Attachments may spread malware if unscanned.
Setup Security Server
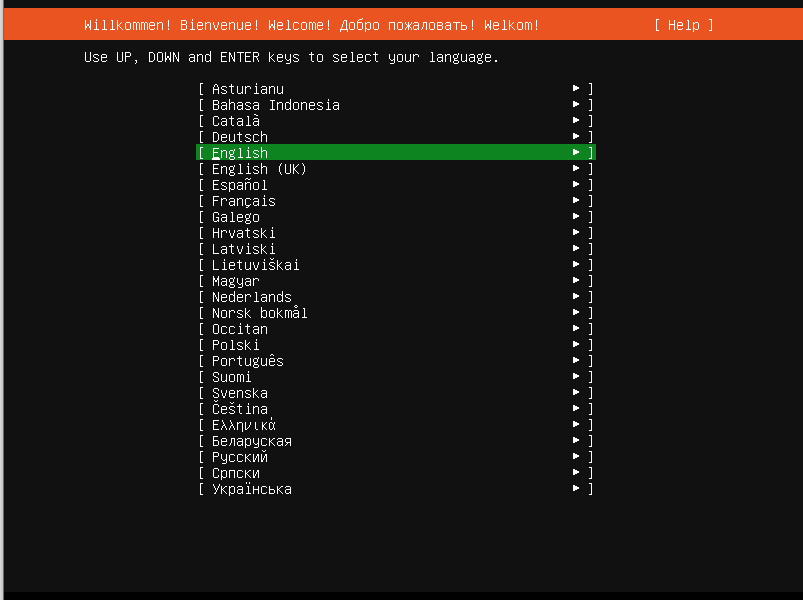
Press Enter.

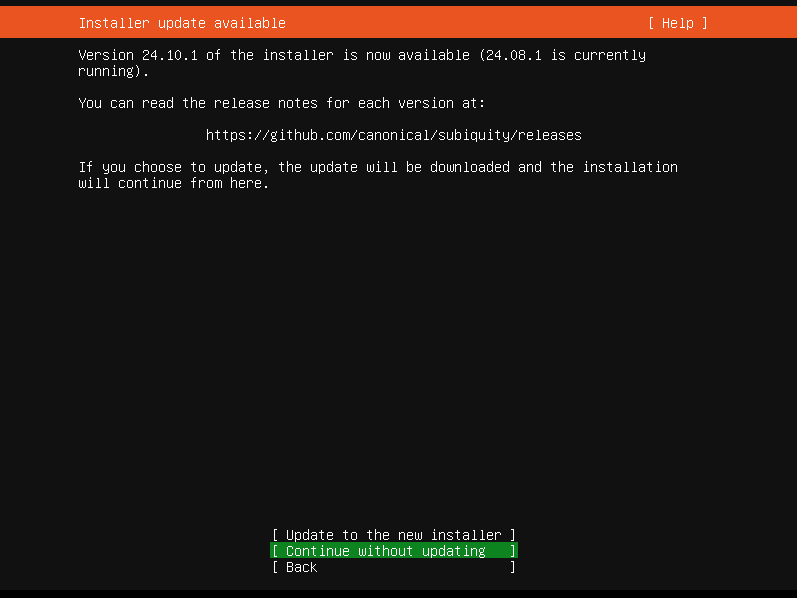
Select language. Continue without updating.
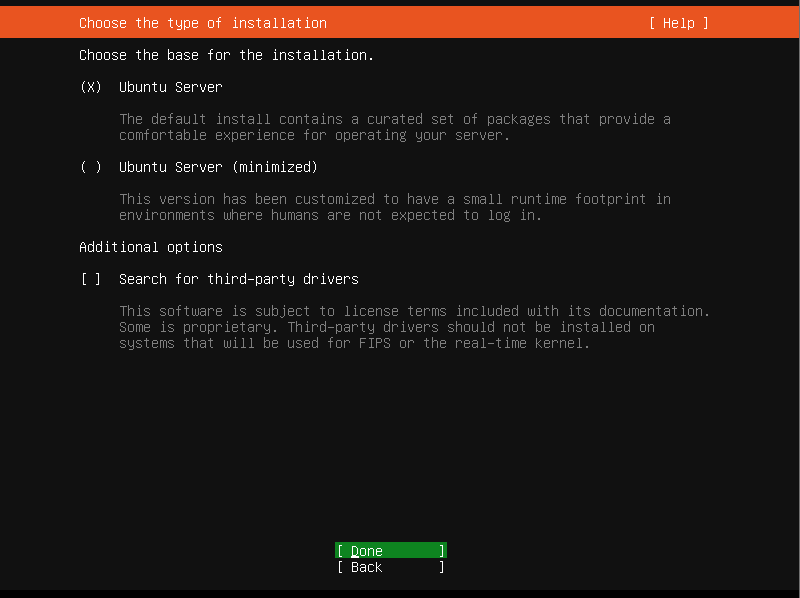
Choose Ubuntu Server.
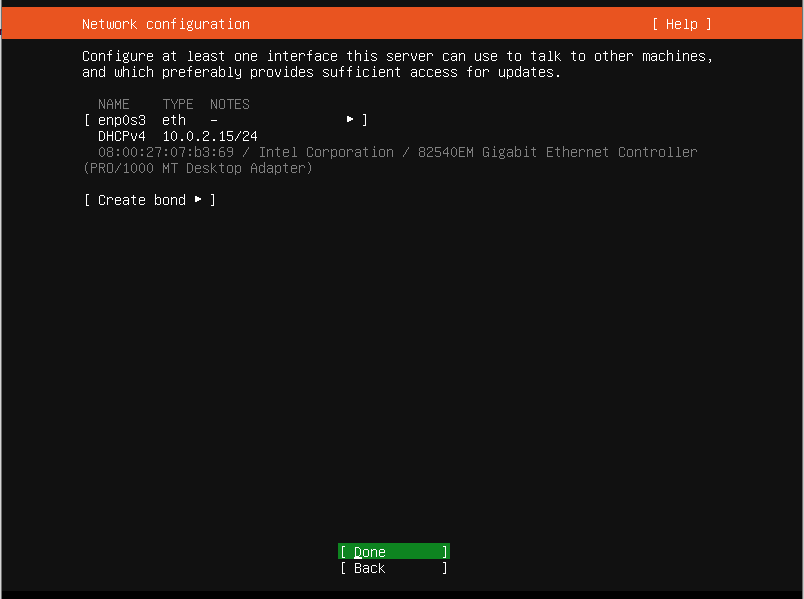
Leave default Network configuration and Proxy Page empty.
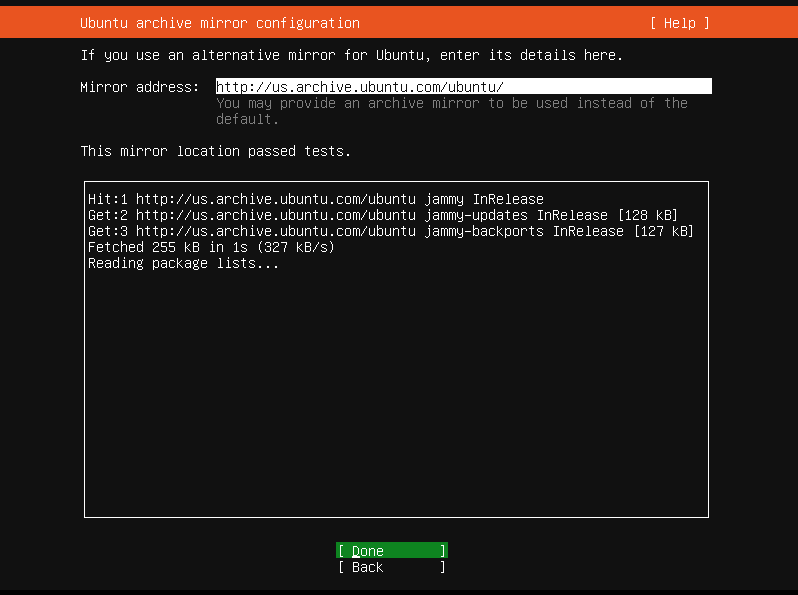
Leave “Mirror” configuration empty ➔ “Done”.
Select "Use an entire disk" → Done.
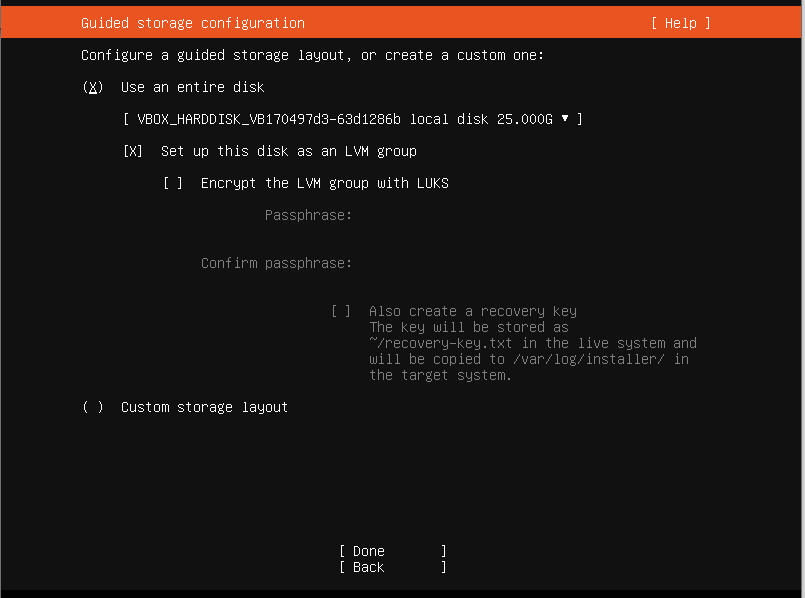
Leave Storage Configuration as default.
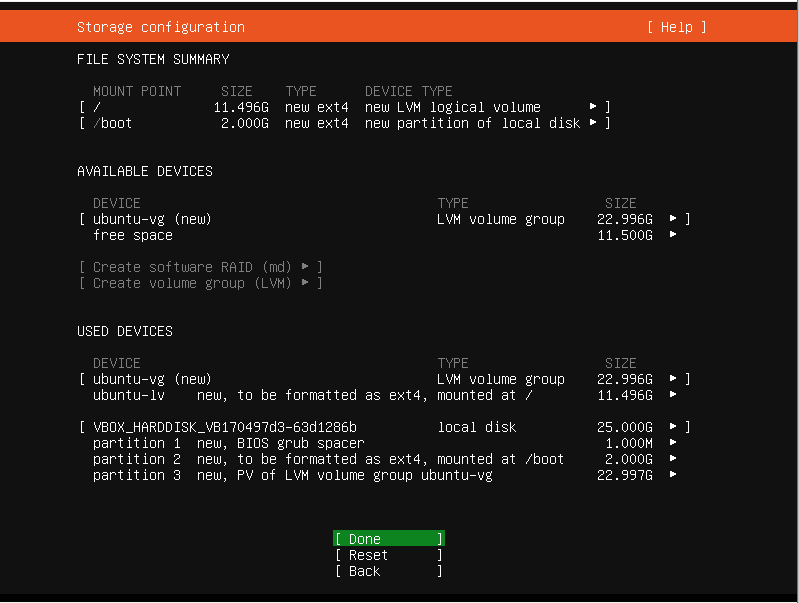
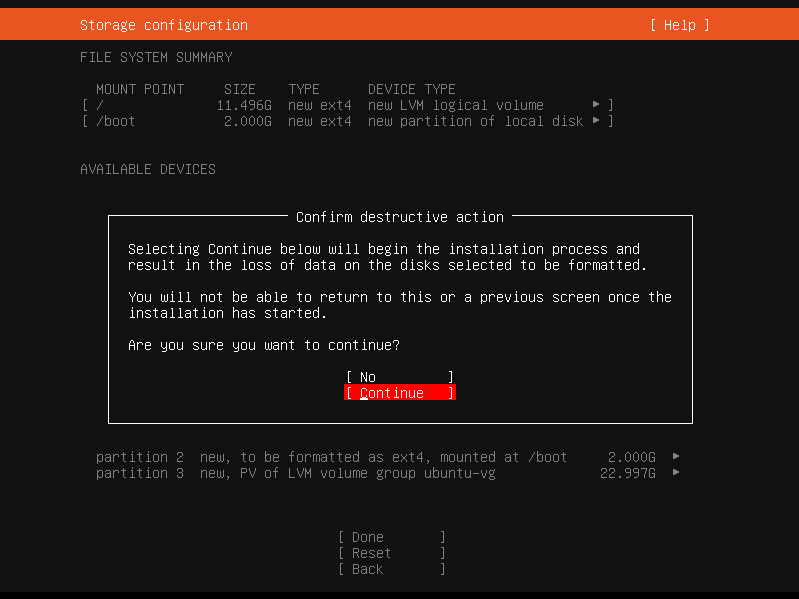
Arrow to continue.
Configure hostname, username, and password.
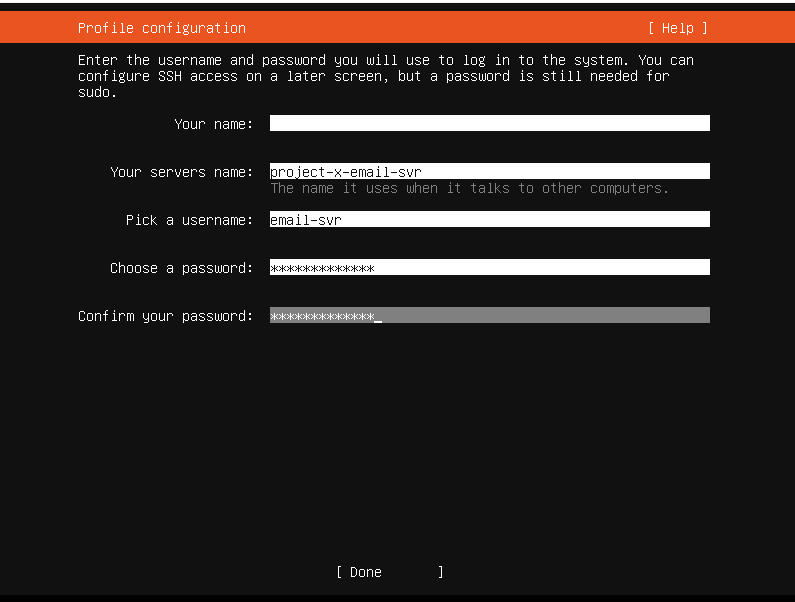
👉 Refer to the “Project Overview” guide for more information on default usernames and passwords.
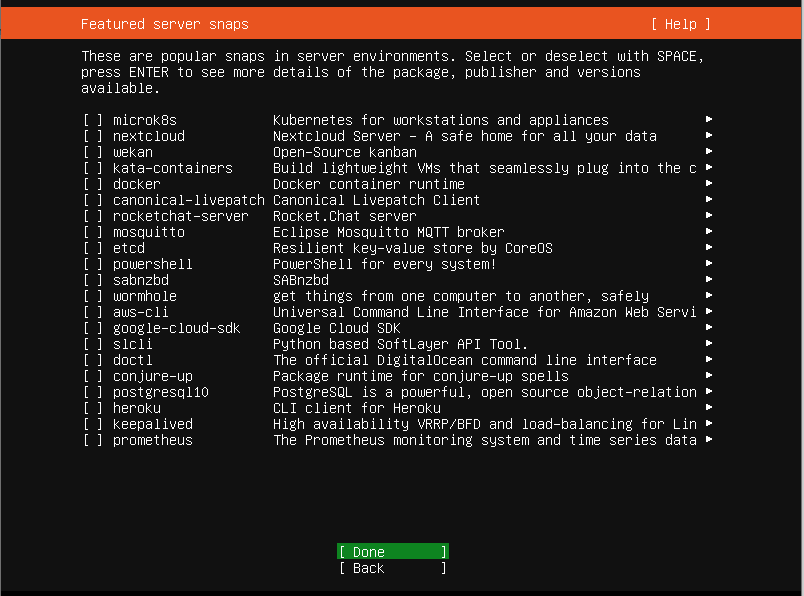
Skip Ubuntu Pro, install OpenSSH Server → Done.

Use the Tab key until selecting “Done”.
Wait for installation, then reboot.
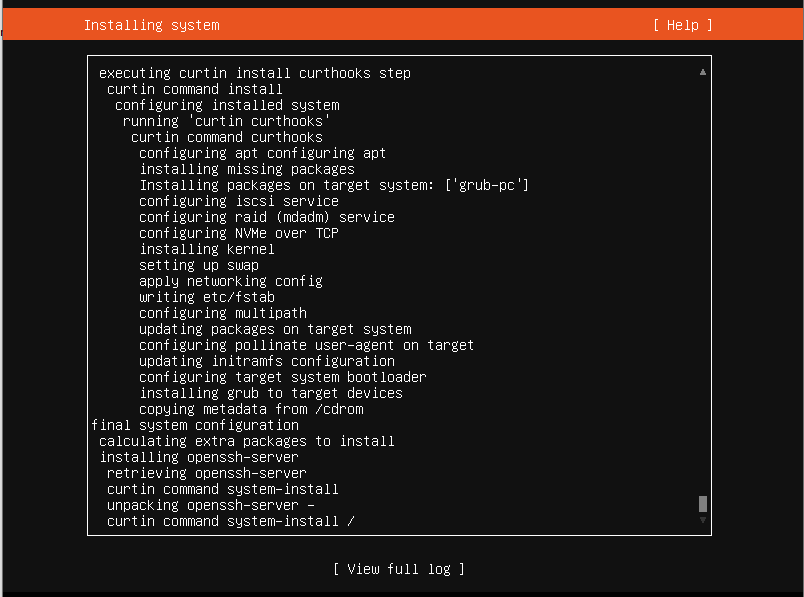
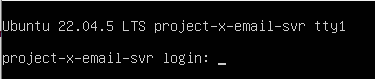
Success!
Connect Ubuntu Desktop to Active Directory
👉 Switch network from NAT Network to Bridged.
👉 Refer to VirtualBox guide for clipboard sharing.
Ubuntu can join Active Directory via Realmd + SSSD or Samba Winbind.
SSSD (System Security Services Daemon). Samba Winbind can also be used to join Linux systems if realmd / SSSD is not working.
❗ Currently realmd and SSSD integration do not work for Windows Server 2025 and Debian/Ubuntu-based systems.
About SSSD / Realmd
- System Security Services Daemon (SSSD): A service on Linux systems that provides a central access point for identity management and authentication. When connecting a Linux system to Active Directory (AD), SSSD allows for the integration by acting as an intermediary between the Linux system and AD needing to know what files should be edited.
- realmd: A tool that simplifies the process of joining Linux machines to AD domains. It automates the discovery, configuration, and enrollment of Linux systems in Active Directory, making it easier to integrate Linux systems into existing AD environments. Realmd is especially useful for administrators because it manages the complexities of setting up Kerberos, configuring LDAP settings, and ensuring proper authentication protocols.
- realmd is a tool that automates domain joining and manages configurations for sssd, which provides caching, more flexible configuration options, and better performance.
About Samba Winbind
- Samba Winbind: A component of the Samba suite that allows Linux systems to authenticate users against Windows Active Directory (AD) and integrate with Windows network environments. Is a more direct integration, especially useful for legacy systems and environments where tight compatibility with Windows protocols is necessary. It’s often preferred when working in older Windows Server environments or where native Samba compatibility is crucial.
Realmd + SSSD
- Open a terminal:
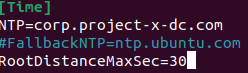
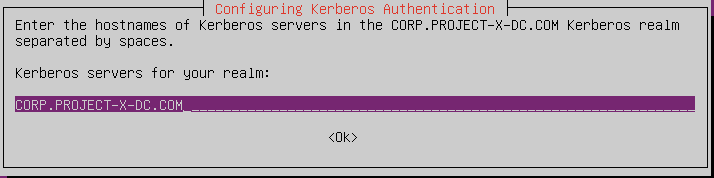
- Edit time synchronization settings:
Install required packages:
sudo apt install realmd sssd sssd-tools samba-common krb5-user packagekit libnss-sss libpam-sss adcli samba-common-bin
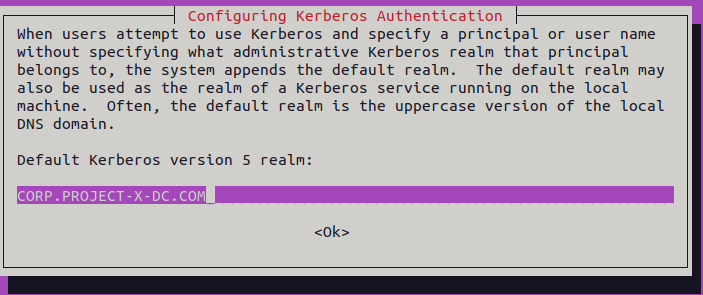
- Discover the domain:
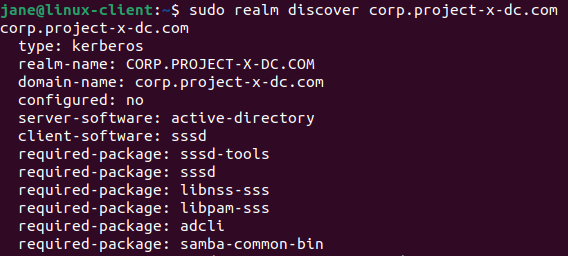
- Join the domain:
- Verify the connection:
Samba Winbind
- Open a terminal:
Install packages:
sudo apt -y install winbind libpam-winbind libnss-winbind krb5-config krb5-user samba-dsdb-modules samba-vfs-modules

- Move the existing SMB config:
- Create a new configuration:
Add the following:
bash
[global]
  kerberos method = secrets and keytab
  realm = CORP.PROJECT-X-DC.COM
  workgroup = CORP
  security = ads
  template shell = /bin/bash
  winbind enum groups = Yes
  winbind enum users = Yes
  winbind separator = +
  idmap config * : rangesize = 1000000
  idmap config * : range = 1000000-19999999
  idmap config * : backend = autorid
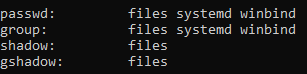
- Update NSS:
Add if needed.
- On Ubuntu, every user that has an interactive logon to the system needs a home directory. For domain users, we need to set this before a user is able to successfully logon and start working.
Issue the following command:
sudo pam-auth-update
Scroll down up to the point where it states:” Create home directory on login“. Use the space bar to select, tab to “OK” and hit enter.
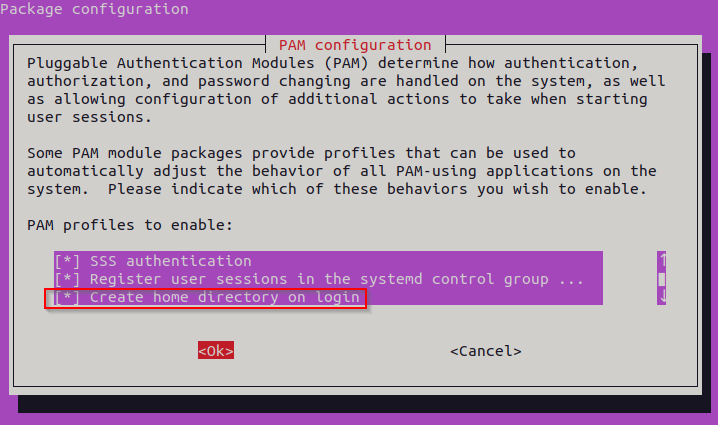
Kudos to Michael Waterman for the screenshot!
- Change DNS settings:
Change DNS settings to refer to AD:
sudo nano /etc/resolv.conf

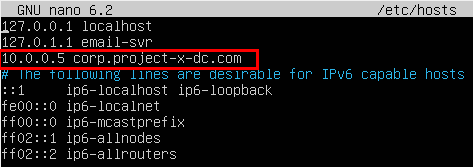
Add corp.project-x-dc.com to /etc/hosts:
sudo nano /etc/hosts
👉 Change Network settings from Bridged ➔ NAT Network (project-x-network).
-
Join the domain with Administrator:
sudo net ads join -U Administrator -
Restart winbind:
systemctl restart winbind -
Get Active Directory services information listing.
net ads info -
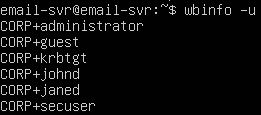
List all available users.
wbinfo -u
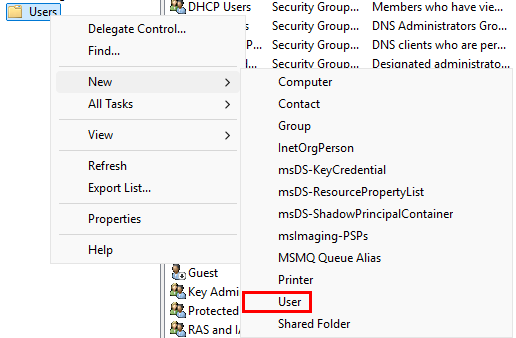
- Let’s create email-svr’s AD account in our Domain Controller. Go to Server Manager, then on the top right “Tools” ➔ “Active Directory Users and Computers”.
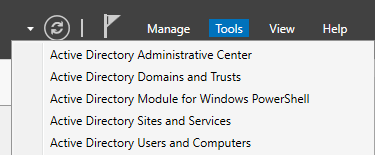
Navigate to the “Users” folder. Right-click, then go to “New” ➔ “User”
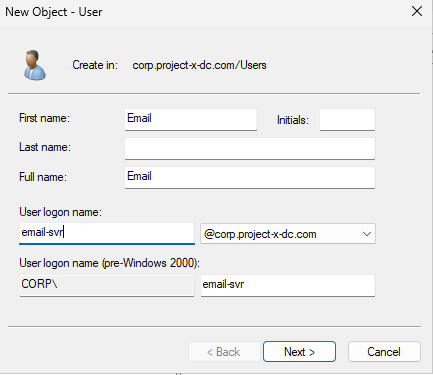
Add the following information.
[email protected]
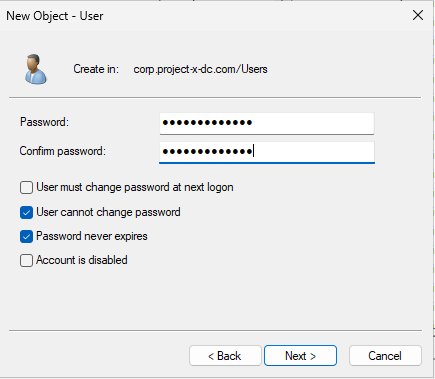
Set email-svr’s password (@password123!).
👉 Refer to the “Project Overview” guide for more information on default usernames and passwords.
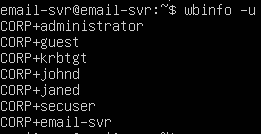
Clear the winbind cache by restarting the service, then see the changes reflected.
sudo systemctl restart winbind
wbinfo -u
- Login as email-svr (CORP+email-svr):
sudo login

- Issue an
idcommand to view status:id
Success!

Going back to the Server Manager, we should see “LINUX-CLIENT” under the “Computers” folder.
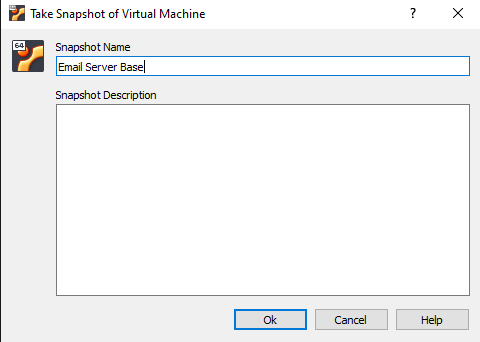
📷 Take Snapshot!