Corporate Server - Provision & Setup Ubuntu Desktop 22.04
Prerequisites
- VirtualBox or VMware Workstaiton Pro installed.
[project-x-linux-client]has been configured.- Windows Server 2025 with Active Directory Domain Services (ADDS) configured.
Network Topology
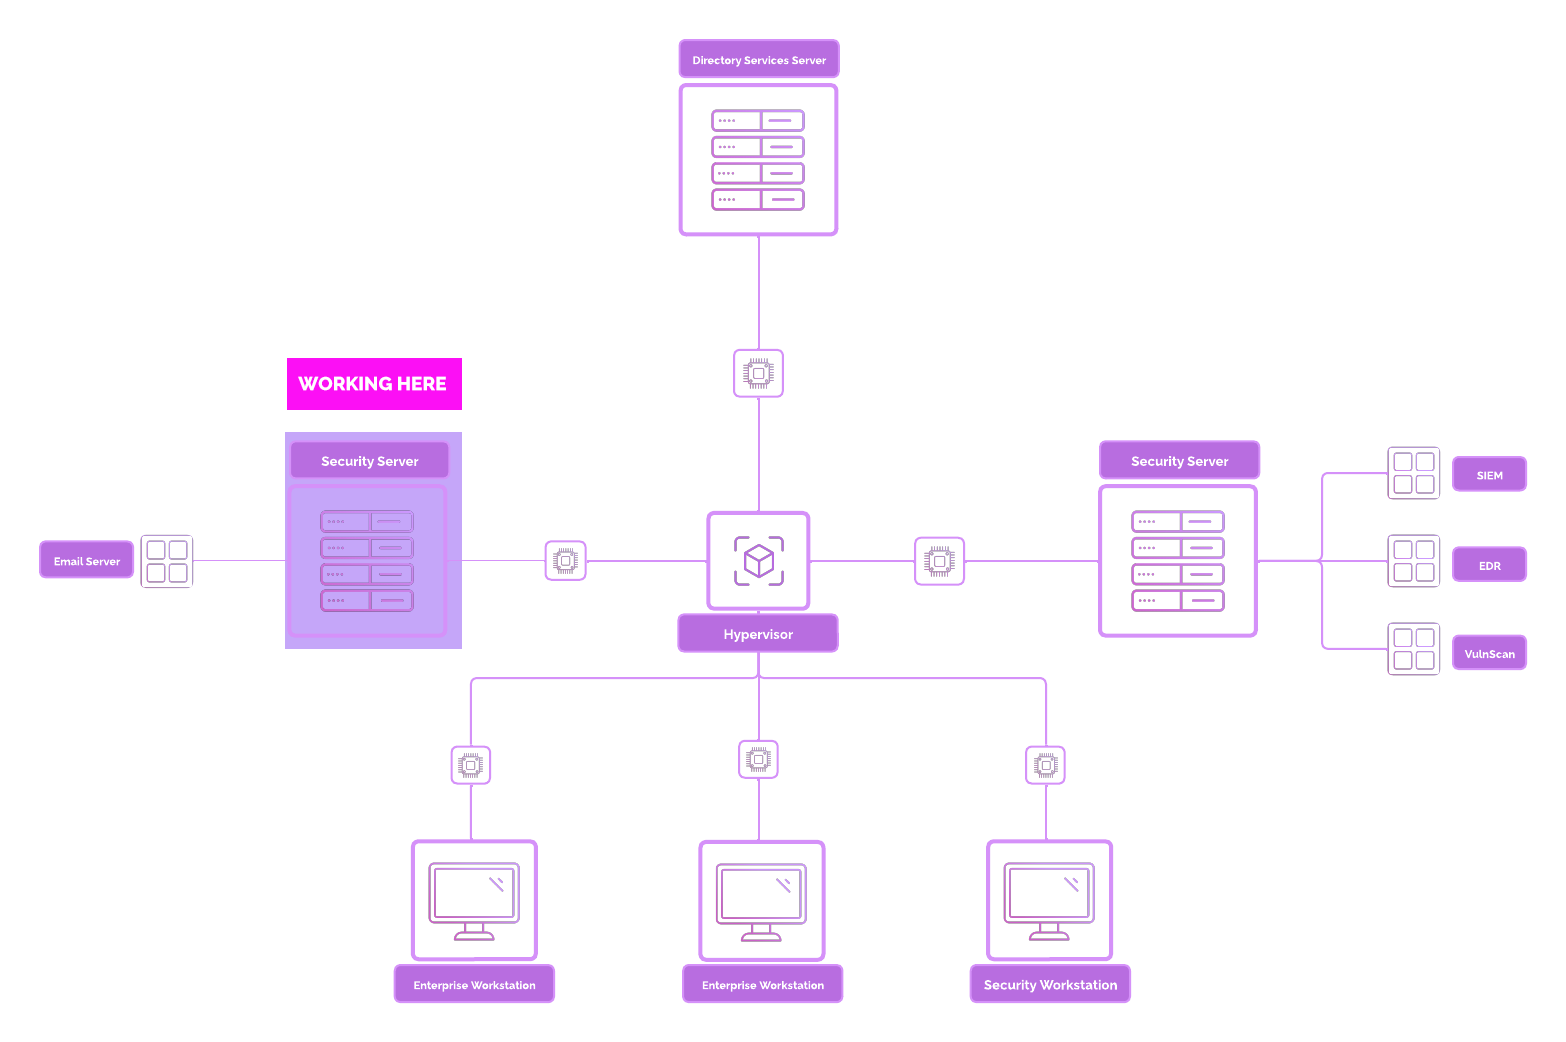
Corporate Server (CORP-SVR) Overview
Overview
Business and enterprise environments will have dedicated servers designated for different purposes. Servers empower the backend processing of user and service requests.
Depending on the size and scale of a company, they may have hundreds, if not thousands of dedicated servers.
Running on-premise, where they must manage and operate the server from the hardware to application level, or in the cloud, where parts of the process is managed from the cloud provider.
"Dedicated Server" here can mean almost anything.
Examples of Dedicated Servers in the context of a business environment include:
-
Licensing Server: Issue and maintain updated software licenses to hosts. A workstation can retrieve a request licenses from this server. This empowers automation.
-
Internal File Server: Share files across the business environment. These types of servers were often implemented with a software program such as Microsoft Sharepoint. This isn't as common today with the move to cloud-based services such as Microsoft 365 or Google Workspace.
-
Database Server: Used to store and retrieve information.
-
VPN Servers: Host a VPN service for workstations to log into. If you have used a consumer grade VPN before, you log into one of the VPN servers managed the the VPN provider.
-
Jumpbox: Also referred to as bastion host. These servers act as an entry-point into an isolated environment. Jumphosts can be used as a security mechanism to restrict access to the internal environment.
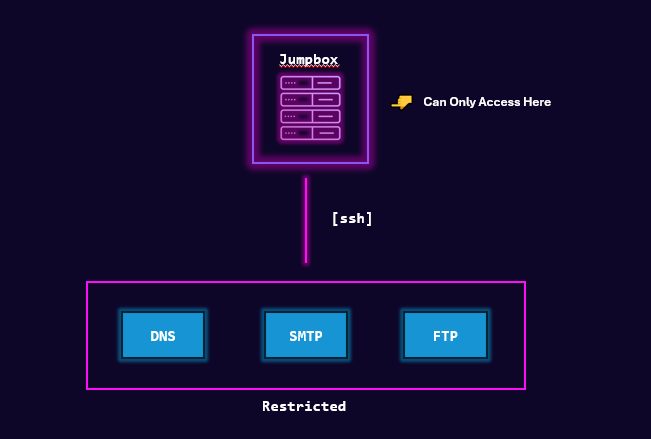
We are going to provision and create a dedicated server called [project-x-corp-svr].
This server is going to act as a Jumpbox. From this server will be provision and access other types of services such as FTP, DNS, and email.
Without access to the Jumpbox, all other services such as FTP, DNS, and email will not be accessible, meaning we won't be able to manage, upgrade, or access these services. This is intentional. Jumpboxes can be created to restrict access, minimizing the attack surface. This does come with some security implications, as you can see below.
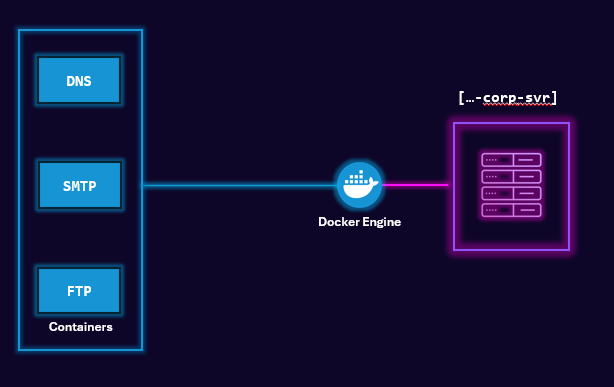
These internal "servers" will be containers. We could use additional VMs, however, this would mean more dedicated storage, compute, and other resources. We ain't got resources for that.

Containers are isolated environments that package an application and all its dependencies (binaries, libraries, config files) together. They run from Docker images and share the host OS kernel. So think of containers as VMs, but they run only on one operating system. In our case, this will be Ubuntu 22.04.
Think of a Docker Image as a blueprint or list of instructions. A Docker Image lists what types of software to install, such as a runtime environment like Python.
We will install Docker and the Docker Engine to build containers on our Linux host. A few definitions.
-
Docker: A platform for developing, shipping, and running applications inside lightweight, portable, and isolated environments called containers. It enables consistent application behavior across different environments—from development to production.
-
Docker Engine: The application or program that runs in the background to enable containerization.
In-depth Topology
Security Implications
Running a dedicated server requires proper management. Without proper security controls in place, attackers can break inside (as we will see in our Cyber Attack scenario).
Specifically when we think about Jumpboxes, if a threat actor is able to get access, then they have access to the internal environment.
Additional security considerations: - Single Point of Failure: If compromised, the jumpbox can provide access to the entire internal network it protects.
-
Lateral Movement: If lateral movement protections (e.g., credential guard, firewall rules, endpoint detection) are weak, attackers can move from the jumpbox to other internal systems.
-
Lack of Monitoring: If session activity, command history, or file transfers are not logged or monitored, malicious actions may go unnoticed.
Let's hop in!
For the sake of time and consistency we are going to clone [project-x-linux-client] and change a few settings around.
Clone VM
Clone [project-x-linux-client] VM. Rename the VM machine to [project-x-corp-svr].

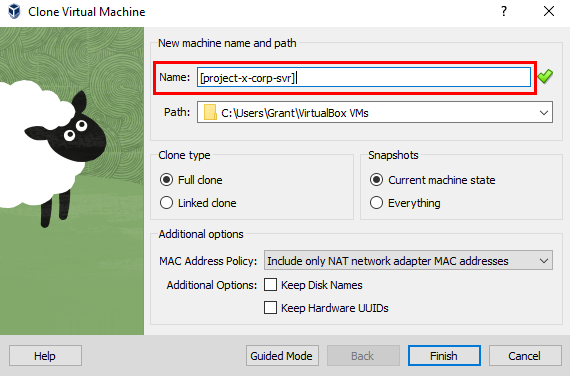
Wait for the VM to fully clone, then proceed to power the VM on.
Change the IP address.
Navigate to the Power Button on the Top Right --> Wired Settings.
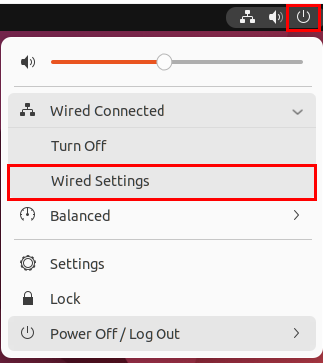
Go to IPv4 . Change from 10.0.0.101 to 10.0.0.8 --> Apply.
👉 Refer to the “Project Overview” guide for more information on IP address information.
- The rest of the settings can be left the same.

Change Hostname
sudo hostnamectl set-hostname corp-svr
New User Account
Provision a new dedicated user account.


Supply sudo adduser project-x-admin.
- Set the password to
@password123! - Leave all information such as First Name, Last Name, Address blank.
Add project-x-admin to sudo user group. We must do this so we can use sudo under this new account.
sudo usermod -aG sudo project-x-admin

Log out of the janed account associated with the [project-x-linux-client]. Navigate to the top right power point, select "Power Off / Log Out" --> "Switch user".
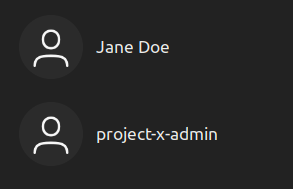
Login under the project-x-admin account, supply the password: @password123!.
Add project-x-corp-svr to Active Directory
Let's log into Active Directory. We will use the Administrator account in Active Directory. So we need to associate CORP-SVR to AD's Administrator.
Because we cloned this machine, we should already have some of the previous steps completed for us while configuring the [project-x-linux-client] VM such as installing the necessary dependencies and packages.
We will be using Winbind again, so make sure to make note of this if you used a different connection method to AD when connecting [project-x-linux-client].
Let's ensure we can ping corp.project-x-dc.com.
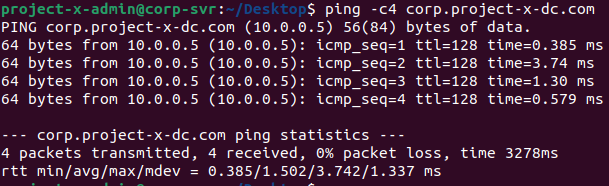
Great! Next step is to join the CORP domain under the Administrator account. Make sure to supply the Administrator's Account Password (@Deeboodah1!).

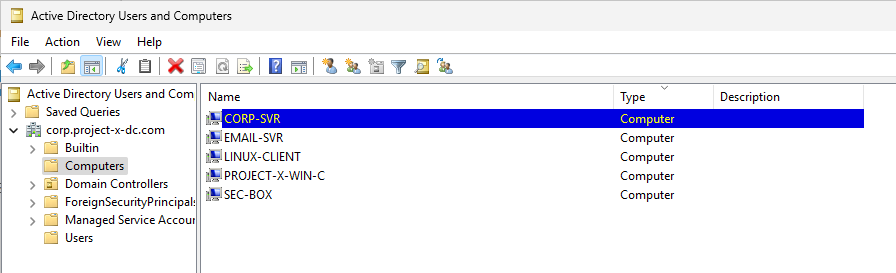
We can double check that our server, CORP-SVR, joined AD by going back to our DC, "Active Directory Users and Computers" --> "Computers".
Let's log into the Administrator account through CORP-SVR.
Issue the following command:
For the login addm make note of the capitalization in CORP+:
Type the Administrator password.
A new directory /home will be created on this server.
And we can now see we are logged in under CORP+administrator@corp-svr.

Success!
We can logout of AD in Linux and back in when needed.
To log out, we simply type:
To login:
Download the Docker Engine.
Next is the Docker Engine. Remember, this empowers the creation and management of containers.
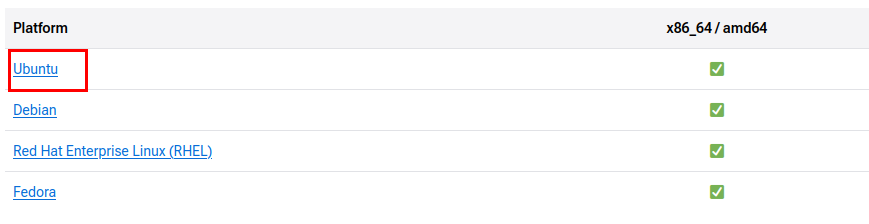
Navigate to https://docs.docker.com/engine/install/ubuntu/ to retrieve the commands to copy.
Choose "Ubuntu".
Copy the first command block and paste into terminal.
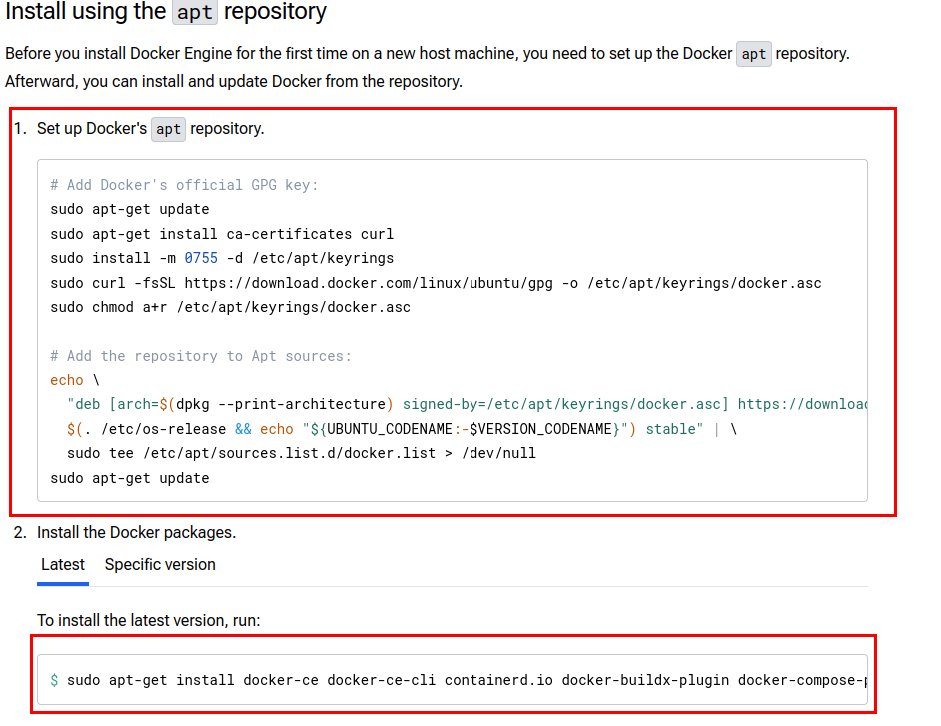
Upon completion, go back and copy the second command block, paste into terminal.

If prompted, Enter Y to continue.
In order to see if Docker works, the Docker team has provided a default container called hello-world.
If the machine can pull and run this docker image and run as a container, then we are ready to go.
Run the following commands:
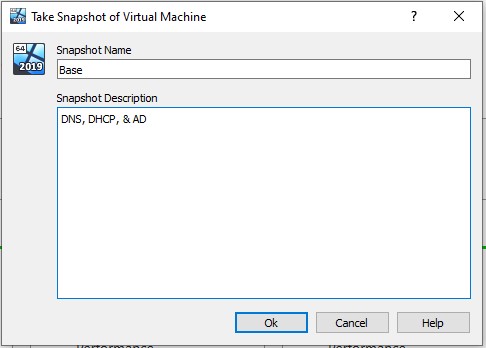
📷 Take Snapshot!