Security Server - Provision & Setup Ubuntu Server 22.04
Prerequisites
- Virtualbox or VMware Workstation Pro installed.
- Virtual Machine with Ubuntu 22.04 ISO has been downloaded and provisioned (the ISO should be attached to the new VM).
- Windows Server 2025 with AD Directory Services (ADDS) configured and turned on.
Network Topology
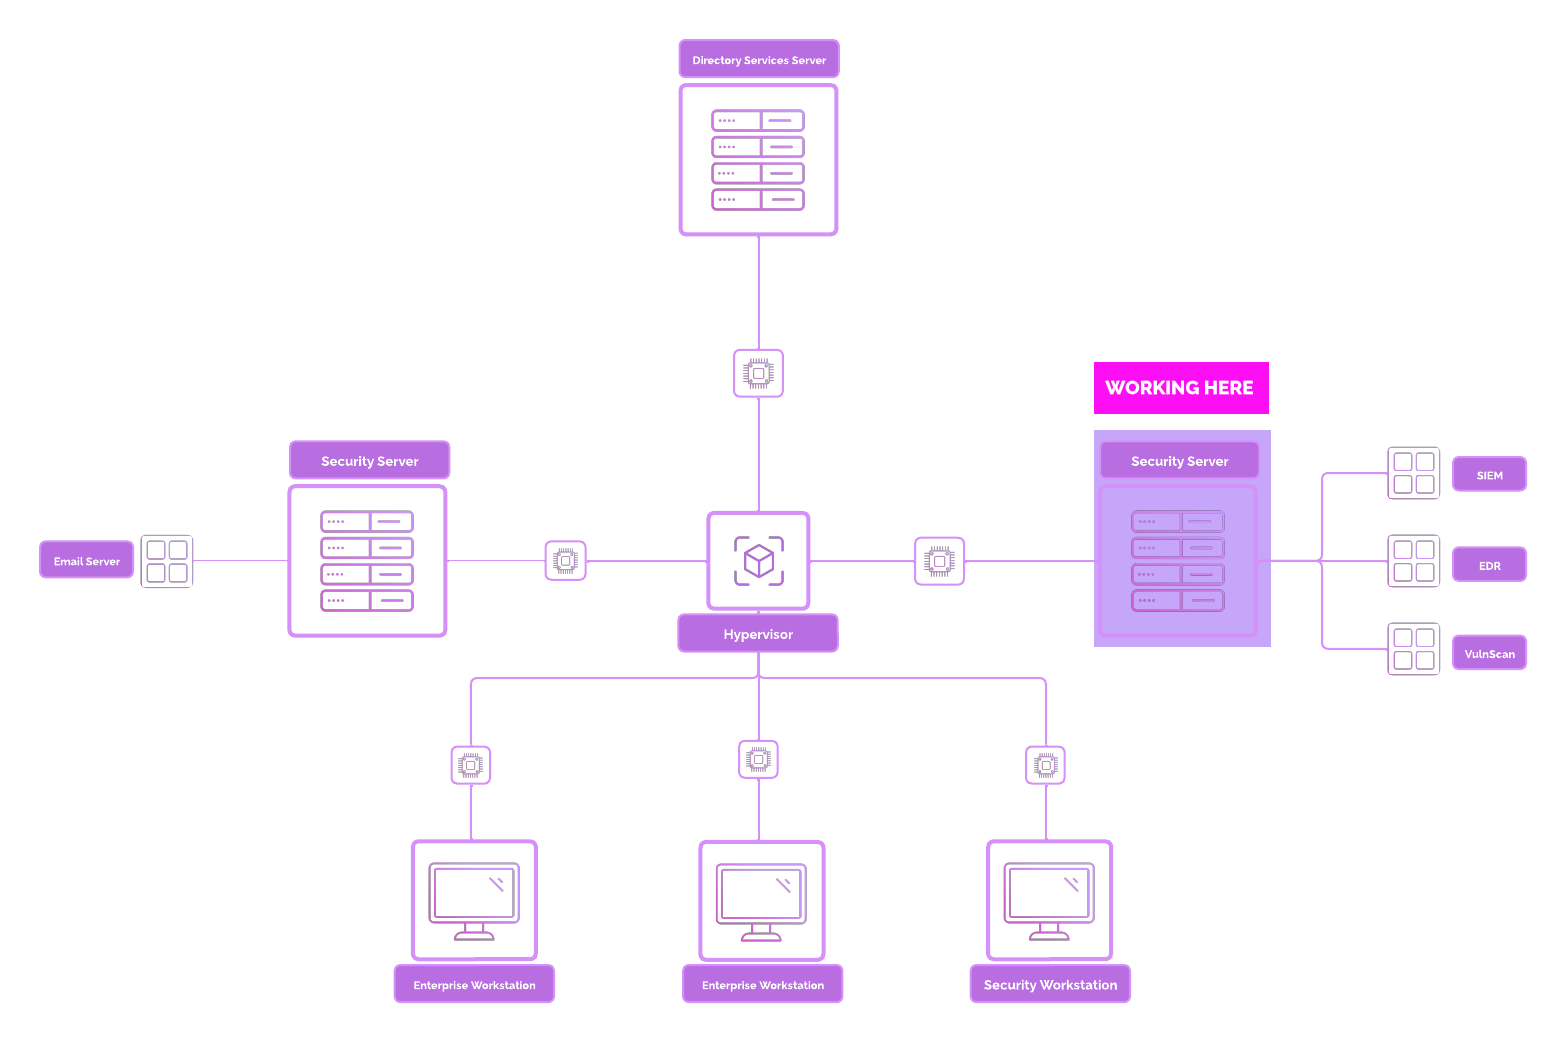
Security Server Overview
A dedicated security server is used for ensuring the performance, security, and scalability of your monitoring and analysis stack.
Why should we provision a dedicated security server, rather than just use the [project-x-corp-svr]?
Here’s why:
Performance Isolation: Running resource-intensive tools on a dedicated server prevents performance degradation caused by competing workloads on shared resources. Each application demands significant CPU, RAM, and disk I/O to function efficiently
Enhanced Security: Security tools process sensitive data, including logs and vulnerability scans. A dedicated server minimizes the attack surface by isolating these critical processes from unrelated systems.
Centralized Management: A dedicated server simplifies monitoring and management, providing a single point for handling logs, alerts, and vulnerability data, which improves efficiency and reduces administrative overhead. We will be using a few closed and open-source security tools to monitor, detect, and prevent our simulated “attacks”.
If you know, you know.

Instead of duplicating our steps, we are going to “Clone” the Ubuntu Desktop 22.04 workstation client.
We will make a few configuration changes to the Security Server. You are welcomed to repeat the steps in the Ubuntu 22.04 Desktop guide if you want extra practice with provisioning VMs.
Setup Security Server
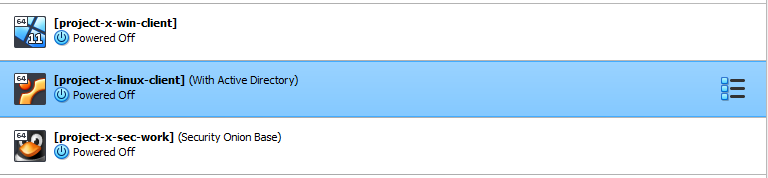
Navigate to the [project-x-linux-client] Virtual Machine. Make sure the Virtual Machine is powered off.
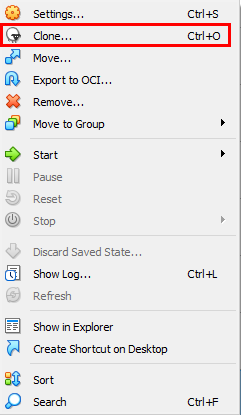
Right-click the Virtual Machine ➔ Select “Clone”
Name the new machine [project-x-sec-box]. Select “Next”.
👉 Refer to the “Project Overview” guide for more information on IP address and hostname information.

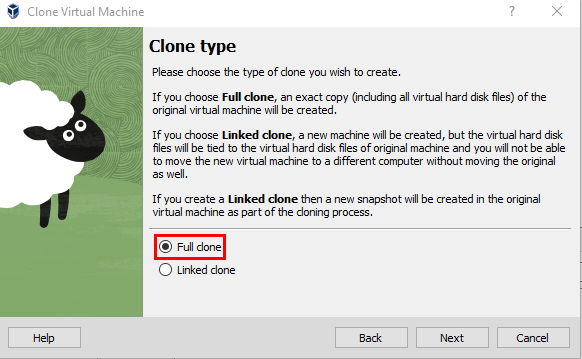
Ensure “Full Clone” is selected.
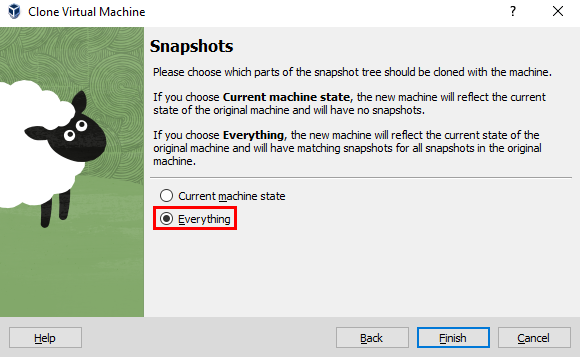
Select “Everything”. This will include our original snapshot, which we would like, just in case.
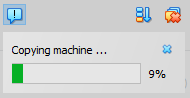
Wait until the new machine is cloned.
You should now see a fully cloned Virtual Machine, titled [project-x-sec-box].

Power on the machine.
Change Hostname + Account
Let’s adjust a few configuration settings to make this the Security Server.
Right now, the hostname is linux-client as we have a fully cloned copy of the Ubuntu Linux 22.04 Desktop workstation. Sorry JaneD, it's time to create something different.

Open a new terminal.
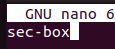
Adjust the /etc/hostname configuration:
Type in the password for janed (@password123!)
Replace linux-client on line 1 with sec-box.
Exit Nano with CTRL + X, then Y key, Enter Key.
Reboot the machine with:
See the changes reflected when opening a new terminal.

Let’s provision a new account with sudo privileges.
👉 Refer to the “Project Overview” guide for more information on default usernames and passwords.
Open a new terminal.
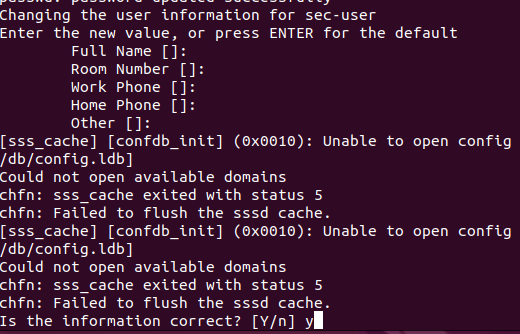
Type in adduser:
@password123!).

Enter sec-user’s password with the default
Hit “Enter” for all the user information, then y.
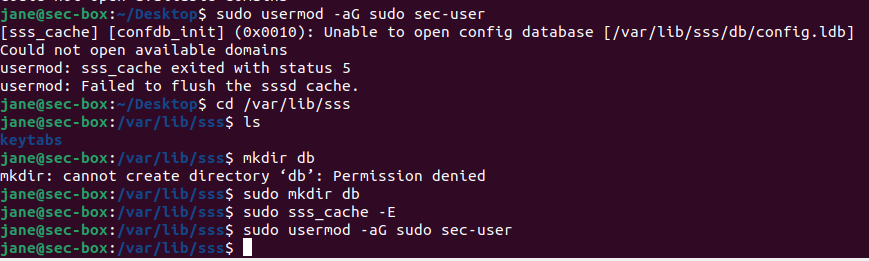
Use the following command to grant sudo privileges.

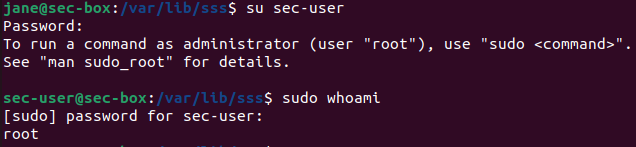
Switch to sec-user account. Issue a sudo whoami to confirm root privileges.
- If you get the following error (from the previous guide), do the following.
Connect to Active Directory
Based on our previous configuration steps conducted in on [project-x-linuxclient], we should have the necessary dependencies to automatically join the corp.project-x-dc.com domain.
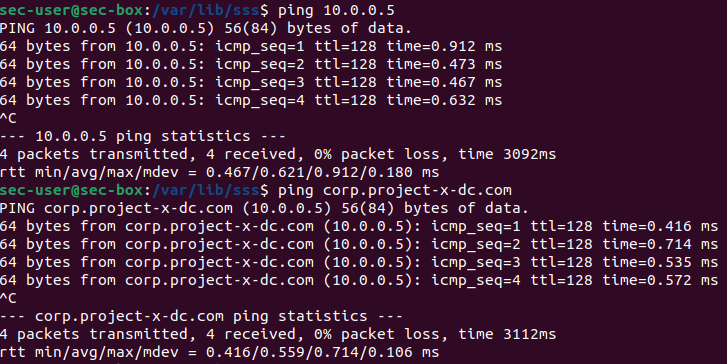
Verify you can ping 10.0.0.5 and corp.project-x-dc.com.
Join the domain with:

Let’s create sec-user’s AD account in our Domain Controller.
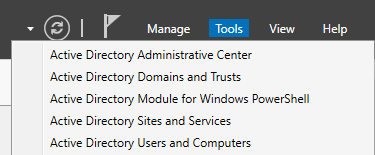
Go to Server Manager, then on the top right “Tools” ➔ “Active Directory Users and Computers”
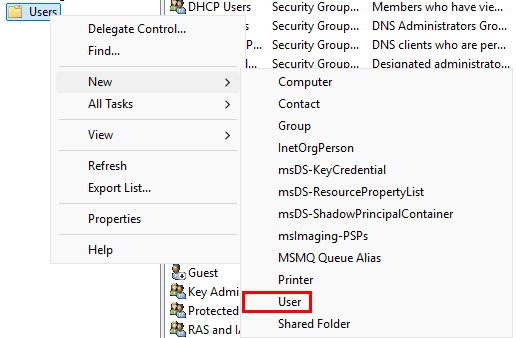
Navigate to the “Users” folder. Right-click, then go to “New” ➔ “User”.
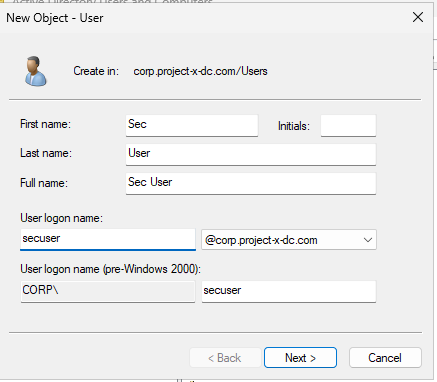
Add the following information. Make sure secuser username is [email protected].
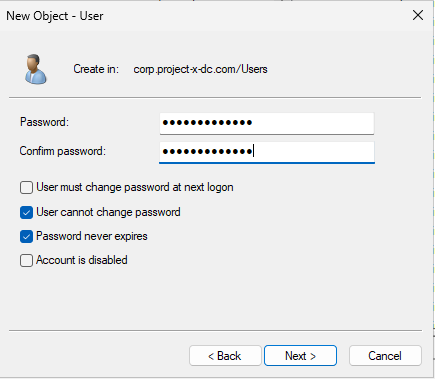
Set secuser password (@password123!).
👉 Refer to the “Project Overview” guide for more information on default usernames and passwords.
Clear the winbind cache by restarting the service, then see the changes reflected.
Then login with:

Success!

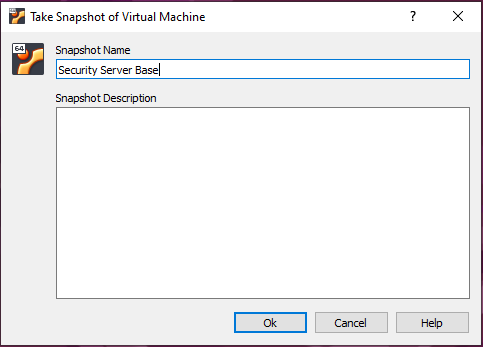
📸 Take Snapshot!