AD Server - Provision & Setup Windows Server 2025
Prerequisites
- Virtualbox or VMware Workstation Pro installed.
- Virtual Machine with Windows Server 2022/2025 ISO has been downloaded and provisioned (the ISO should be attached to the new VM).
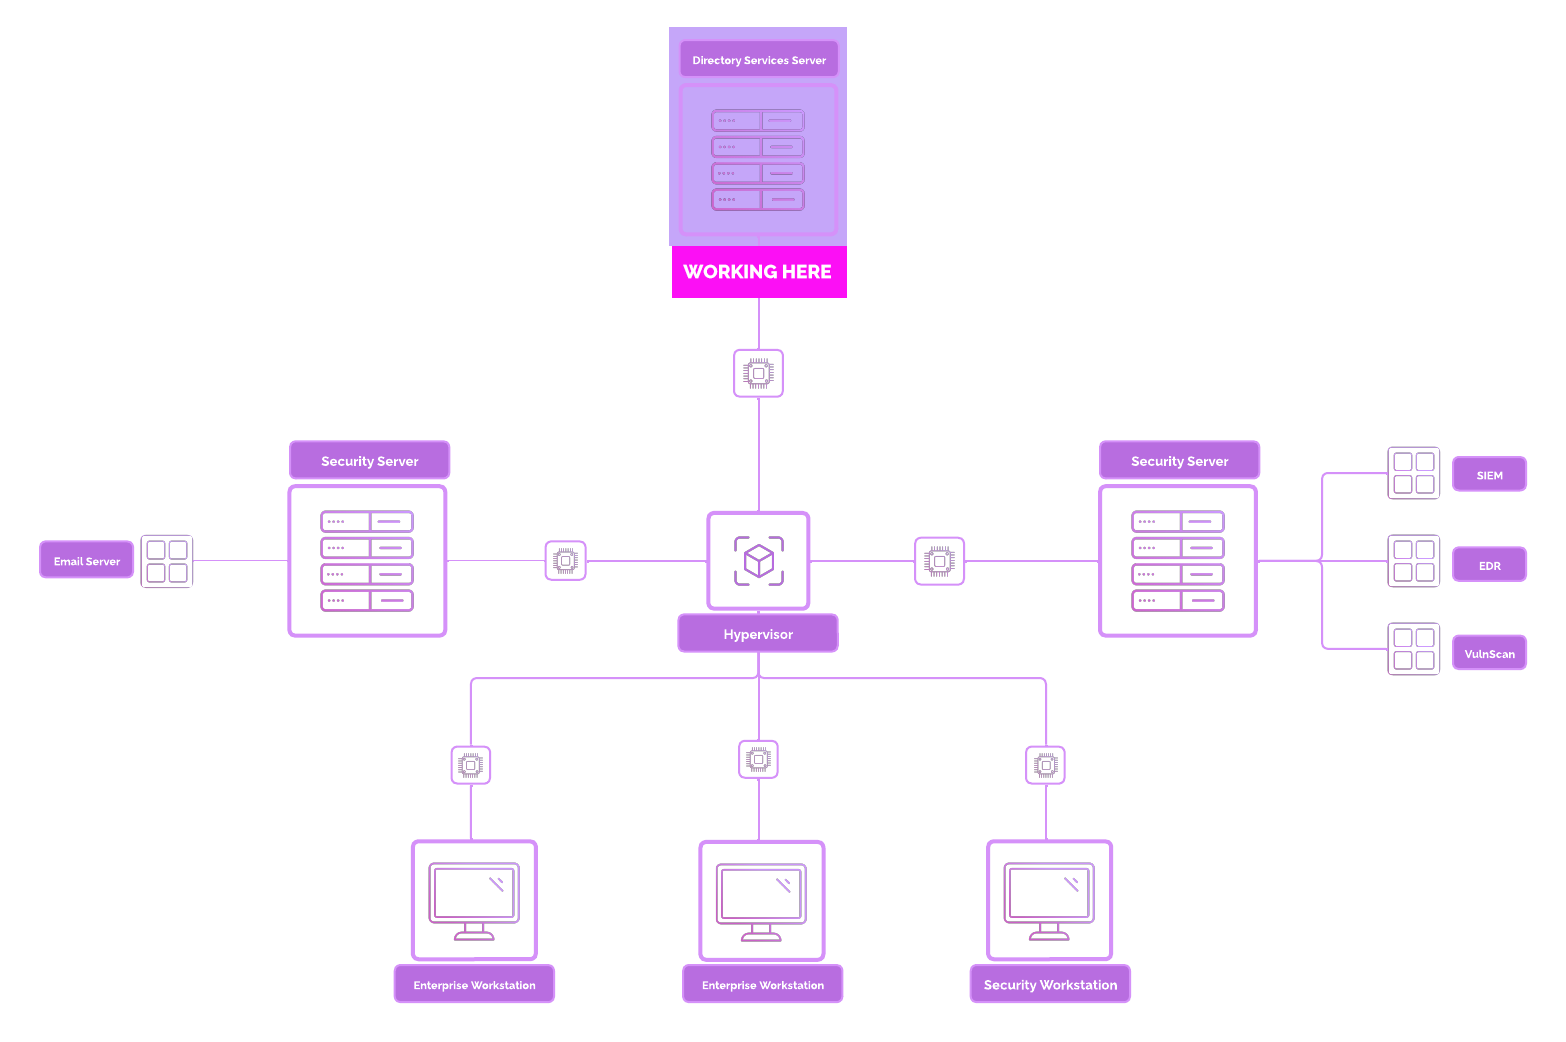
Network Topology
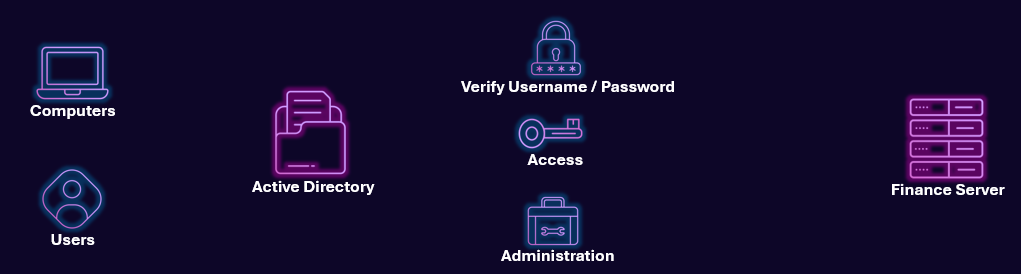
Active Directory Overview
What is Active Directory?
Active Directory (AD) is a directory service developed by Microsoft that manages and organizes resources in a network. It acts as a centralized database to authenticate and authorize users and devices, making it the backbone of most Windows-based enterprise environments.
There are three key components in AD:
- Authentication: Verifies user identity using credentials like username and password.
- Authorization: Grants or denies access to network resources based on permissions.
- Management: Centralizes control over users, computers, and other resources.
Why is Active Directory Used?
Active Directory is widely used in enterprise environments to streamline and secure the business fleet of workstations, servers, and devices on the network. It serves multiple purposes:
- Centralized Resource Management AD enables administrators to manage users, devices, and permissions from a single location, reducing complexity.
- Scalability It can handle environments ranging from small businesses to multinational corporations with millions of objects.
- Authentication and Authorization AD provides a robust framework for verifying users and granting access to resources using security protocols like Kerberos and LDAP.
- Group Policy Management Administrators can enforce security settings, deploy software, and manage updates across the network using Group Policy Objects (GPOs).
- Integration with Other Services Active Directory integrates seamlessly with services like Microsoft Exchange, Azure AD, and other enterprise applications.
Active Directory Core Concepts
-
Domains
- A domain is a logical grouping of objects (users, devices, etc.) that share the same database and security policies.
- Example:
corp.companycould be a domain for an organization.
👉
corp.project-x-dc.comwill be the domain used in this project. 2. Domain Controllers (DCs) - Servers that host the Active Directory database and perform authentication, authorization, and replication to other AD databases. 3. Organizational Units (OUs) - Containers within a domain used to organize objects logically. - Example: Separate OUs for HR, IT, and Finance. 4. Objects - Every entity in AD, such as users, computers, printers, and groups, is an object. 5. Groups - Security Groups: Used for managing permissions to resources. - Distribution Groups: Used for email distribution. 6. Forest and Trees - A forest is the highest-level container, encompassing multiple domains that share a common schema. - A tree is a hierarchy of domains within a forest. 7. Global Catalog (GC) - A distributed data repository that provides information about all objects in the forest for faster lookups. 8. Trust Relationships - Trusts enable users in one domain to access resources in another domain.
In-depth Topology
Security Implications
Active Directory is often a prime target for attackers due to its central role in managing network resources. Misconfigurations or vulnerabilities can lead to significant security risks.
- Common Security Threats
- Credential Theft : Techniques like Pass-the-Hash or Kerberoasting can allow attackers to escalate privileges.
- Privilege Escalation : Exploiting misconfigured permissions to gain higher access levels.
- Lateral Movement : Once inside, attackers can move through the network using AD to identify valuable targets.
Many organizations are transitioning to hybrid environments using Microsoft Entra ID (formerly Azure Active Directory) , which combines on-premises and cloud-based identity management.
We will be using on-premises infrastructure so we can fully control the setup, configuration, and isolation of the lab. (In addition to keep this free and avoid cloud costs!). The names and object attributes may be a bit different, but the core concepts remain the same.
👉 Alternative Methods
- Windows Server 2025 may require system requirements such as TPM 2.0 and more.
- If Windows Server 2025 does not work on your machine, you can use Windows Server 2022.
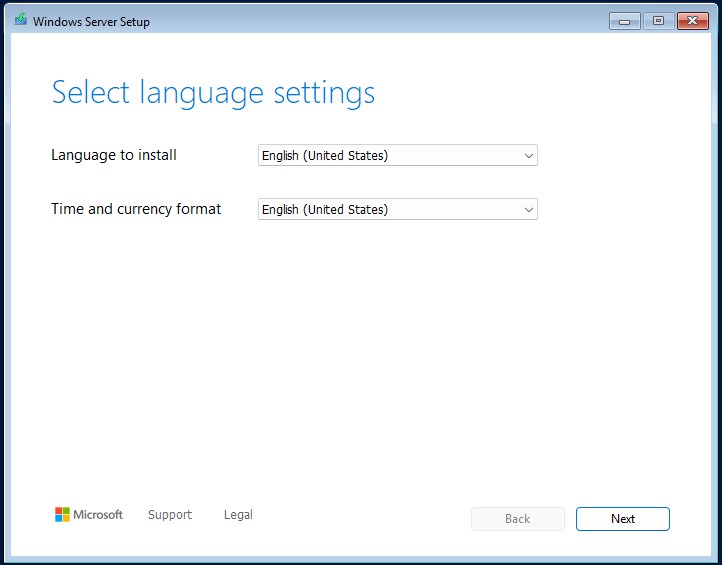
Setup Windows Server 2025
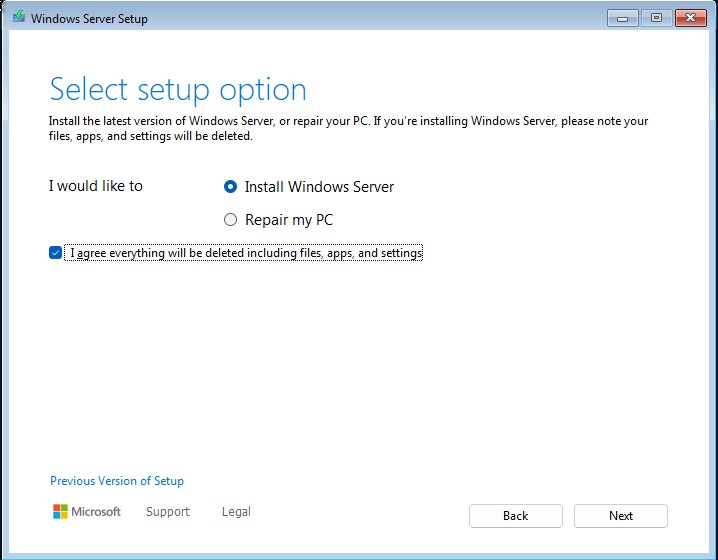
Select “Next” ➔ “Install Windows 11” ➔ Check the box ➔ “Next”.
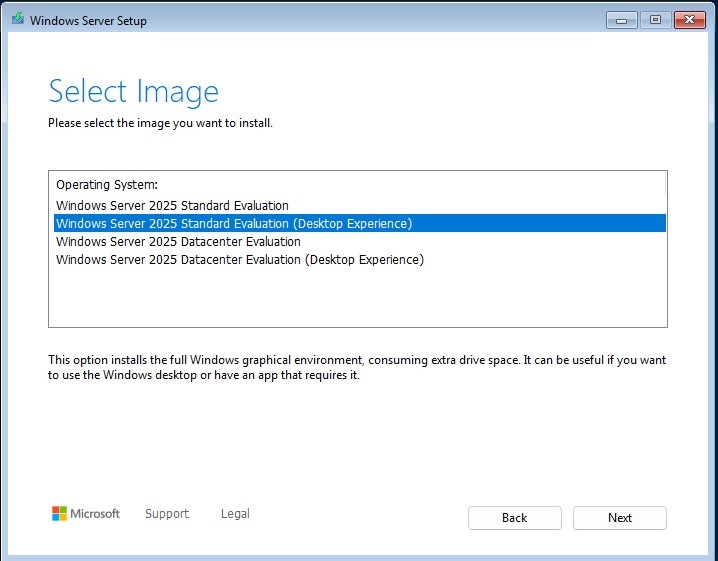
Select “Desktop Experience”.
Accept Microsoft’s End User License Agreement (EULA) ➔ “Next”.
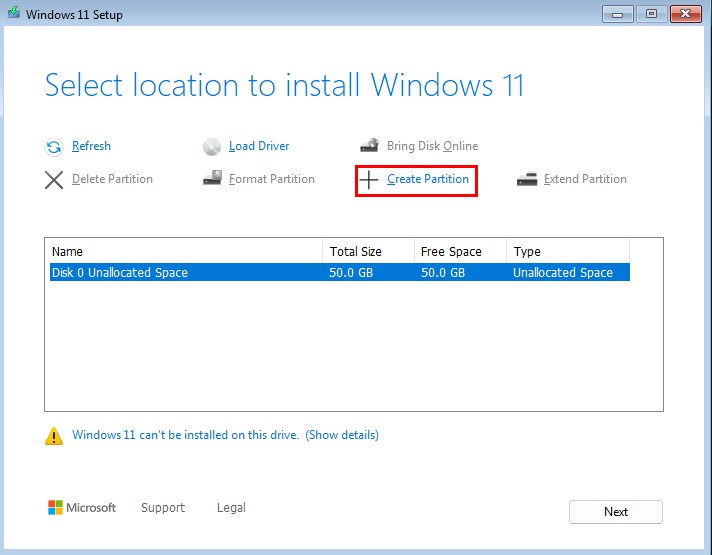
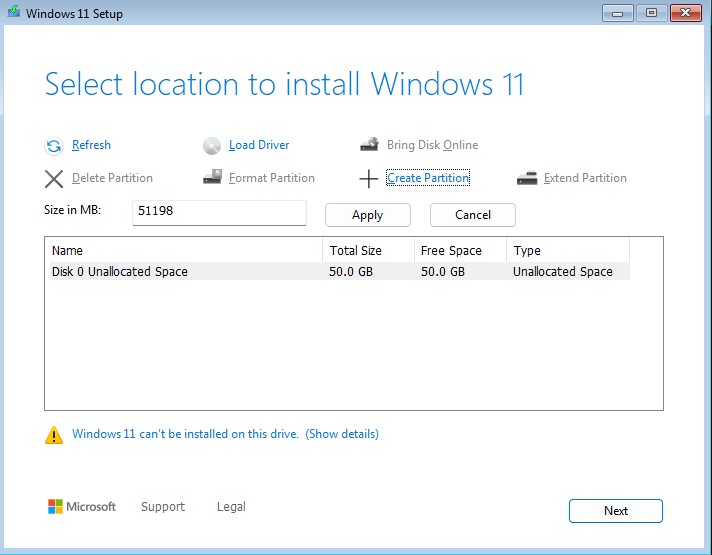
Select “Disk 0 Unallocated Space” ➔ “Create Partition”. Use the default “Size in MB” setting ➔ “Apply".
Wait for two or three partitions to show up.
🤔 Why is this done?: Partitions are logically separated containers used to organize and separate data. We create a couple partitions to separate these spaces out.
Select Disk 0 Partition 3 (with the largest free space).
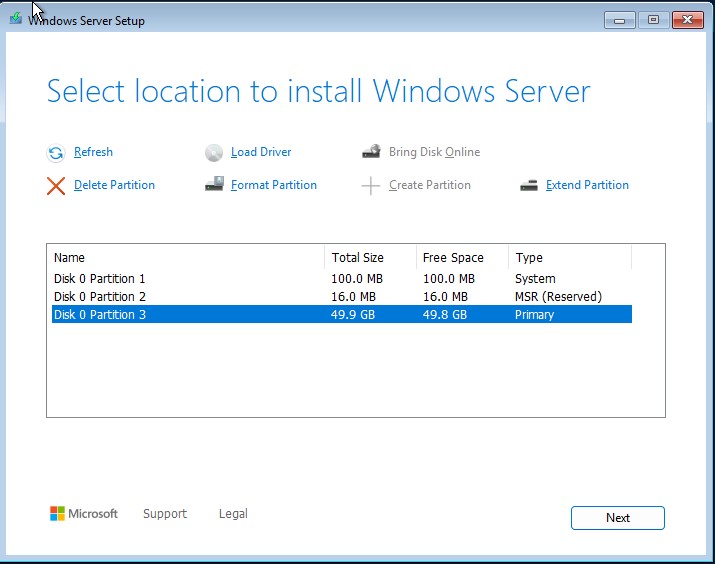
Select “Install”.
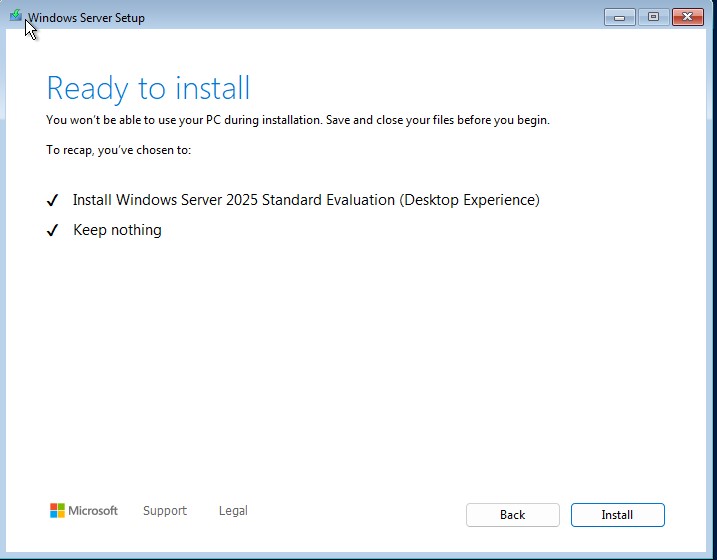
Wait for Windows Server 2025 to fully install. The VM should restart.
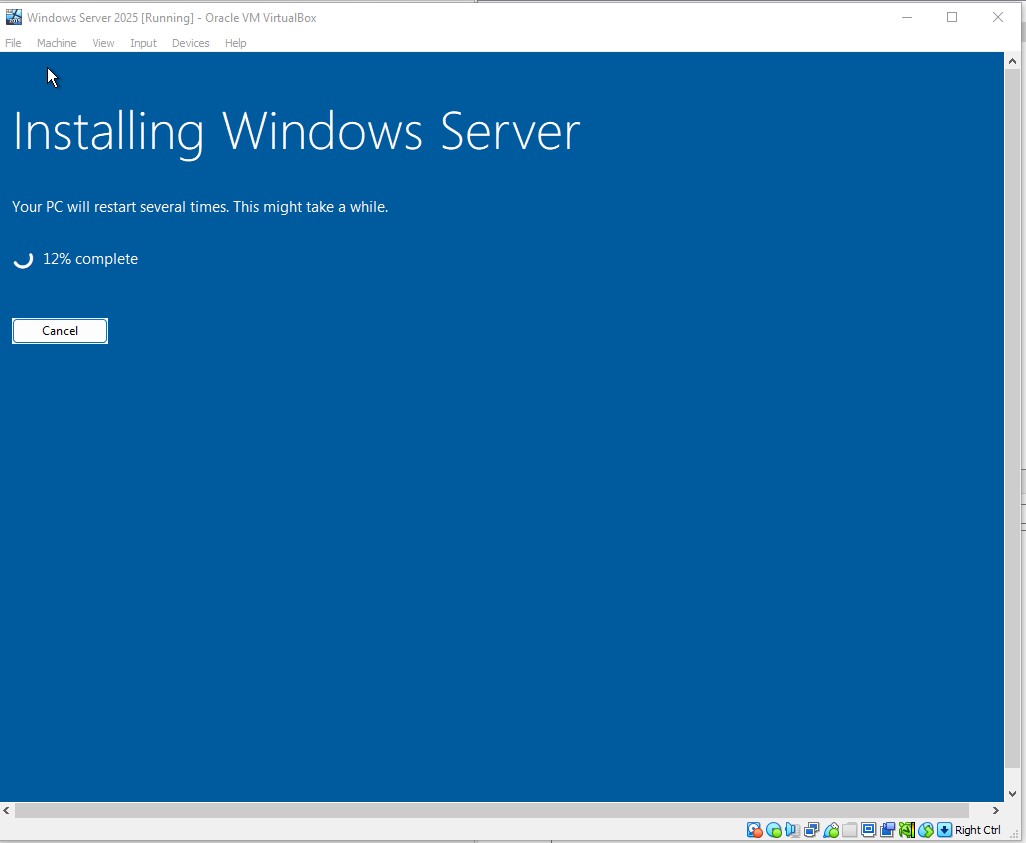
A login prompt will appear after restarting...
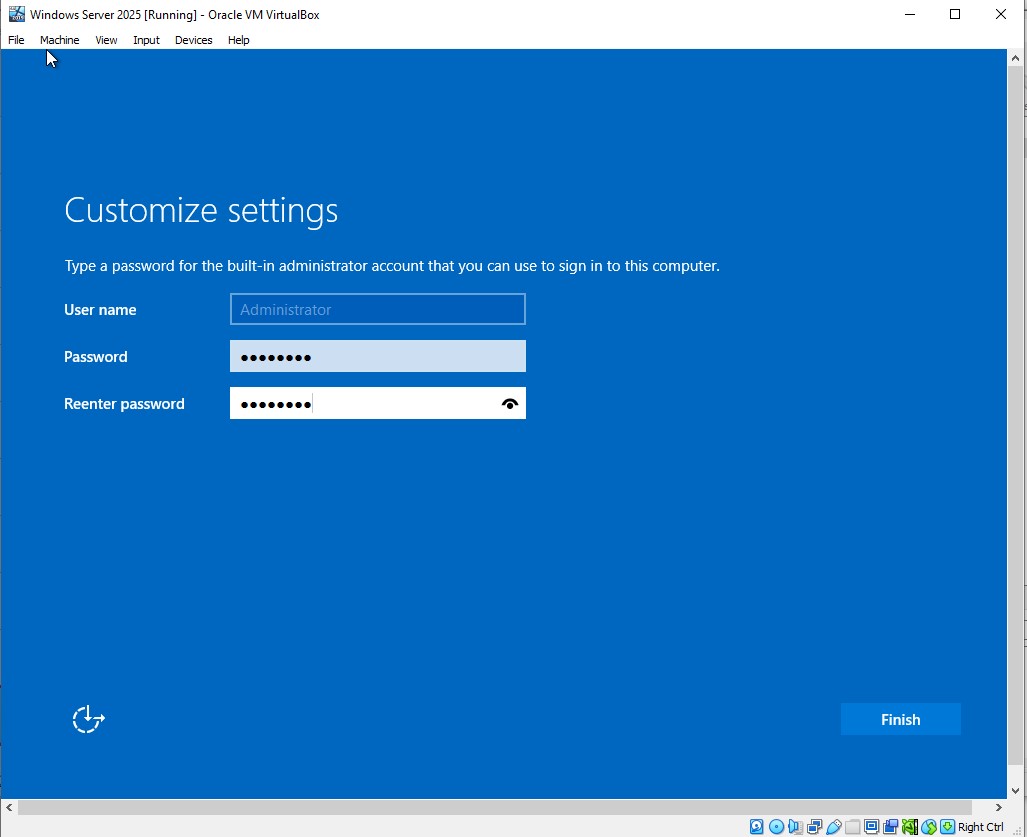
Set a password for the default Administrator account. Password is @Deeboodah1!
👉 Refer to the “Project Overview” guide for more information on default usernames and passwords.
The login screen will appear.

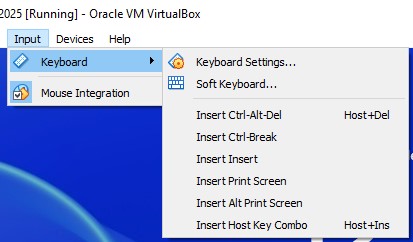
If on VirtualBox, navigate to the top of VirtualBox, go to “Input” ➔ “Keyboard” ➔ “Insert Ctrl-Alt-Del” to open the login prompt.
If on VMware Workstation Pro, navigate to insert icon and select "Send CTRL + ALT + DEL".

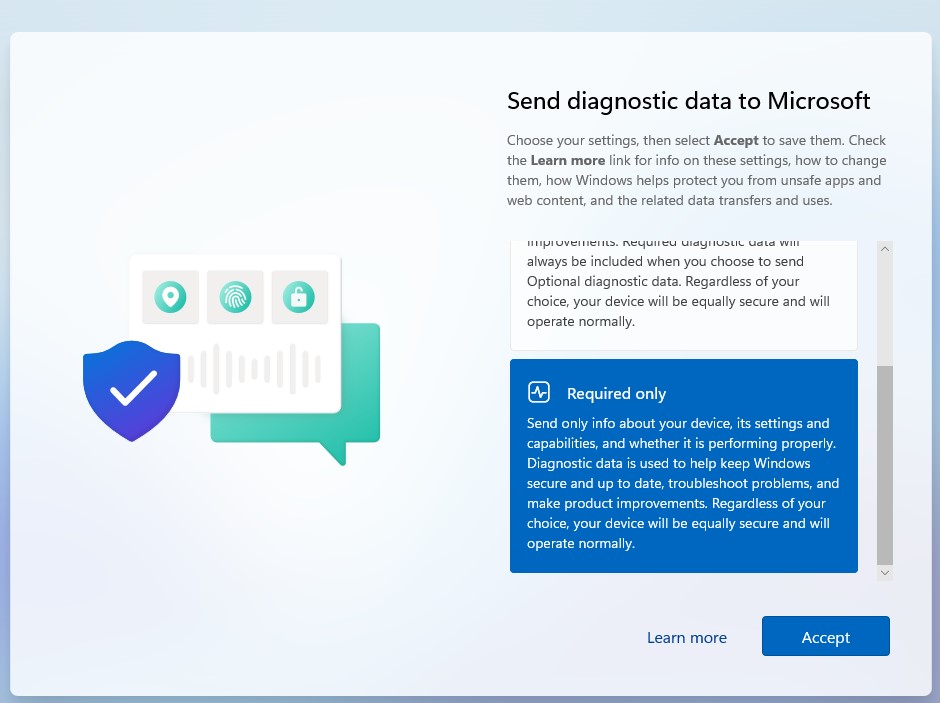
Choose “Required only” for sending diagnostic data to Microsoft.
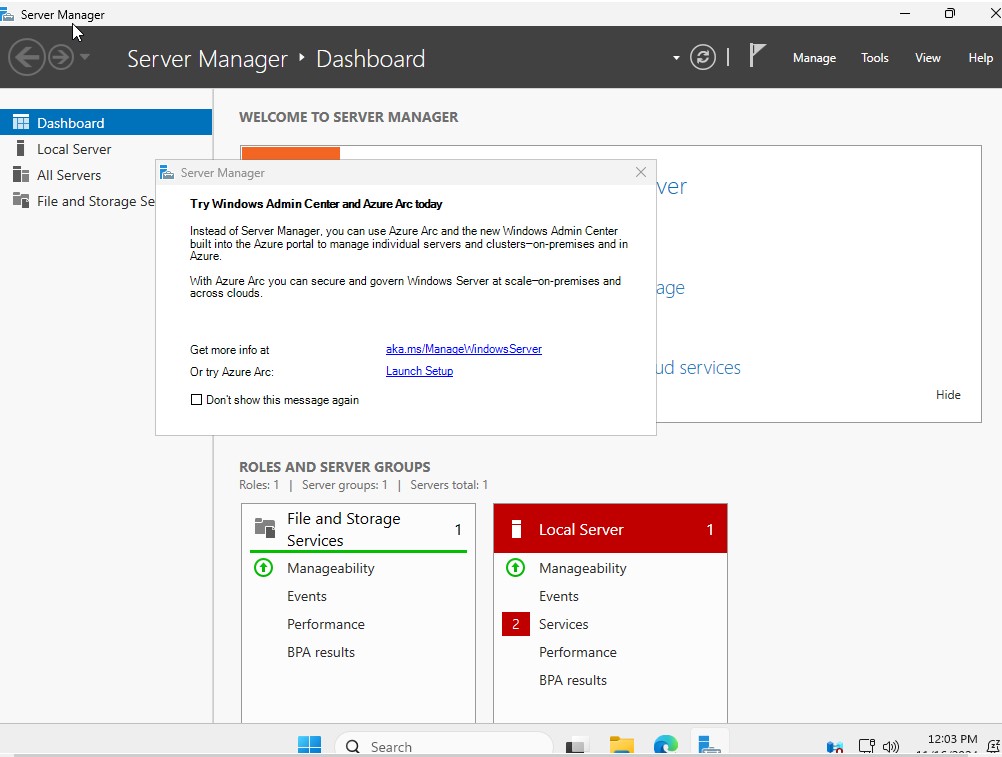
After signing in, you should see “Server Manager” Window. You can exit out of the dialog box to try Azure Arc.
Disable Default Logoff
The default time for signing out of Windows Server 2025 is 5 minutes. This can be quite annoying when going back and forth between VMs.
Let’s change this.
Lookup “Settings” in the Search bar ➔ “System” ➔ “Power” ➔ Select the toggle under
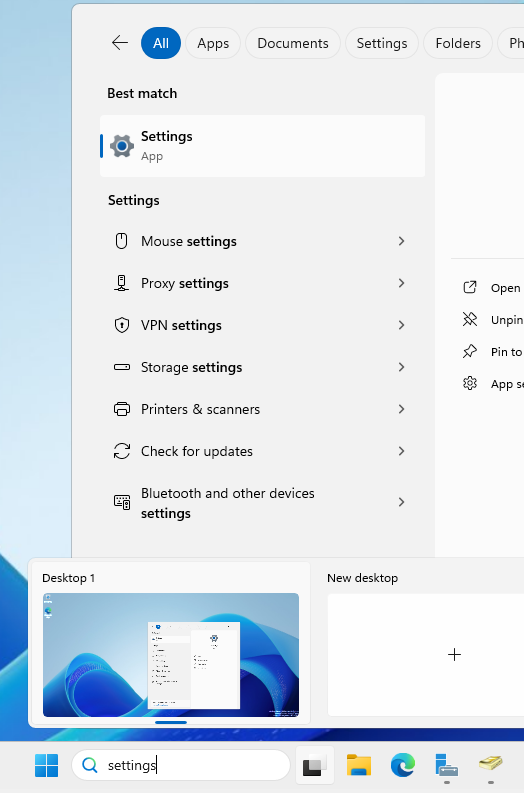
“Screen timeout” ➔ Select “Never”.

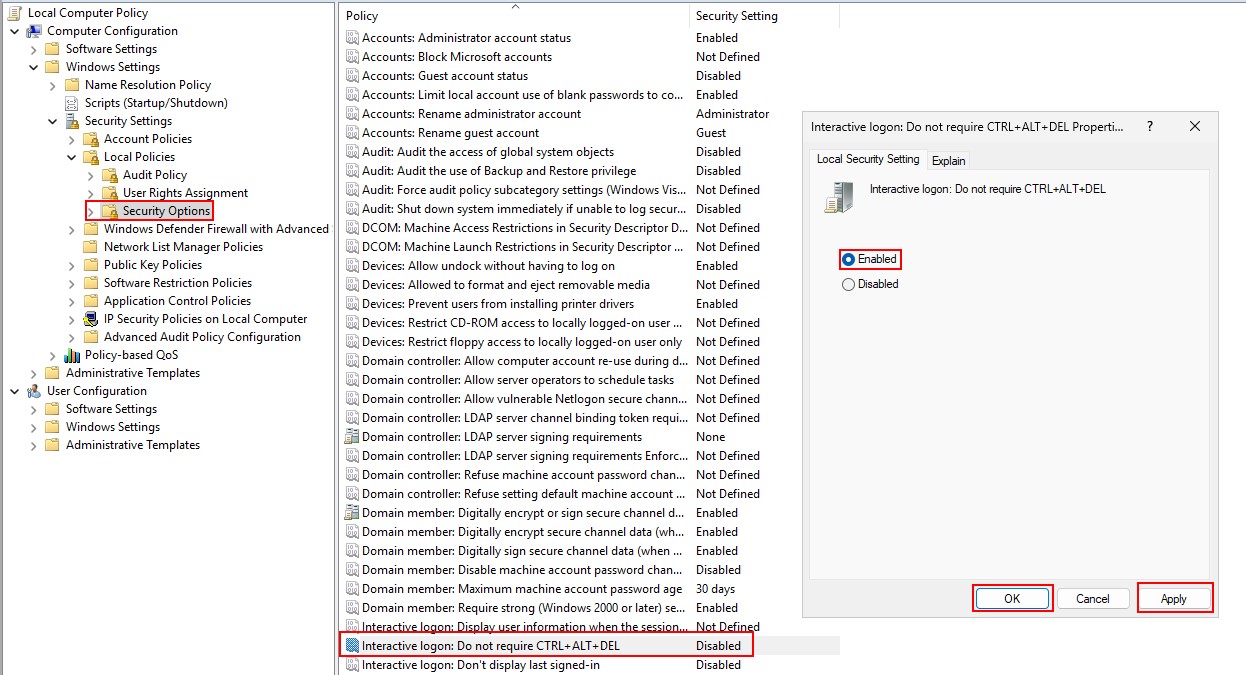
Disable CTRL + ALT + DEL
If you do not want to use the “Input” ➔ “Keyboard” ➔ “Insert CTRL + ALT + DEL” each time, you can disable this setting.
Look up “Edit Group Policy”.
Navigate to the following folder tree.
- Look for “Interactive logon…” ➔ Toggle from Disabled to Enabled ➔ “Apply” ➔ “OK”.
Assign Static IP Address
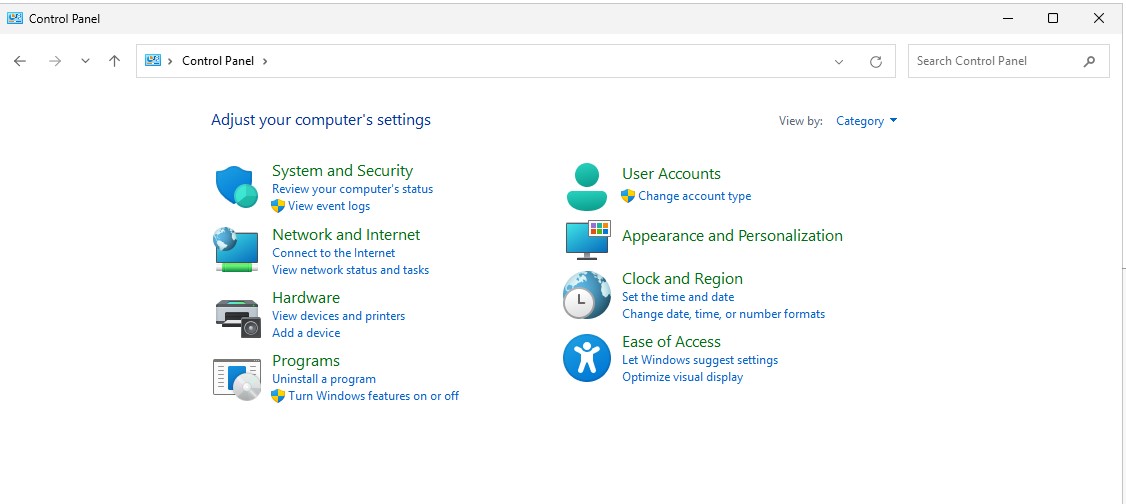
Navigate to the Control Panel (Shortcut: Windows+X).
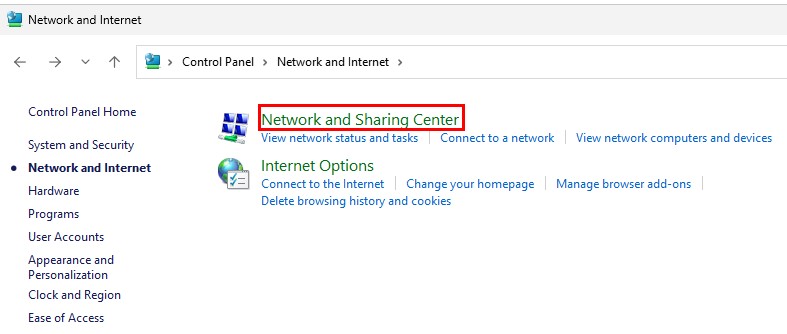
Select “Network and Sharing Center”.
Select “Change adapter settings”.
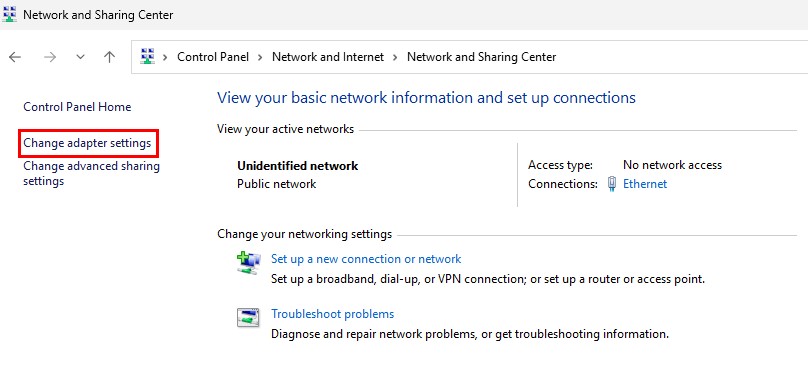
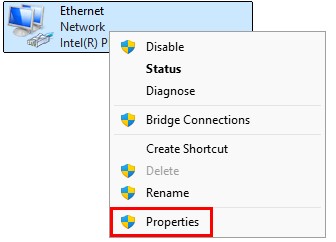
A window will pop-up with a computer icon named “Ethernet”.
Right-click this icon ➔ “Properties”.
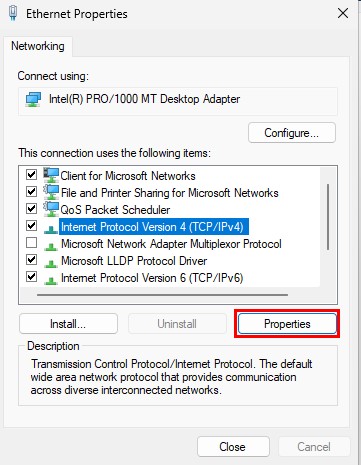
Another box will open (yay for all the boxes we must click through).
Select “Internet Protocol Version 4 (TCP/IPv4) ➔ “Properties”.
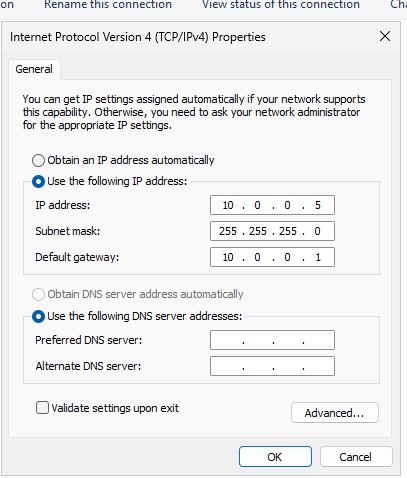
Set this device to a static IP address. Select “OK” after finishing.
-
IP address:
10.0.0.5 -
Subnet mask:
255.255.255.0 -
Default gateway:
10.0.0.1
👉 Refer to the “Project Overview” guide for more information on IP address information.
Promote Active Directory to a Domain Controller
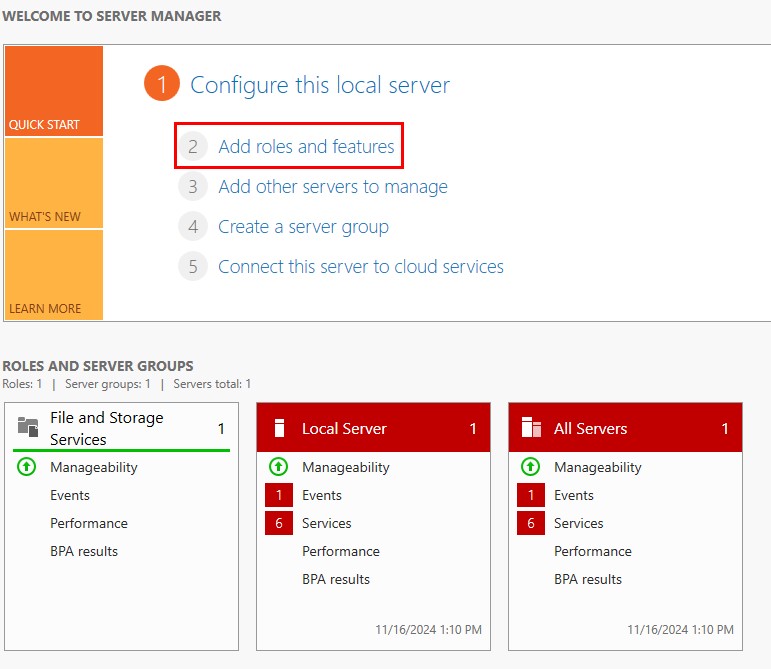
To run Active Directory on this Windows Server, we need to install several required features.
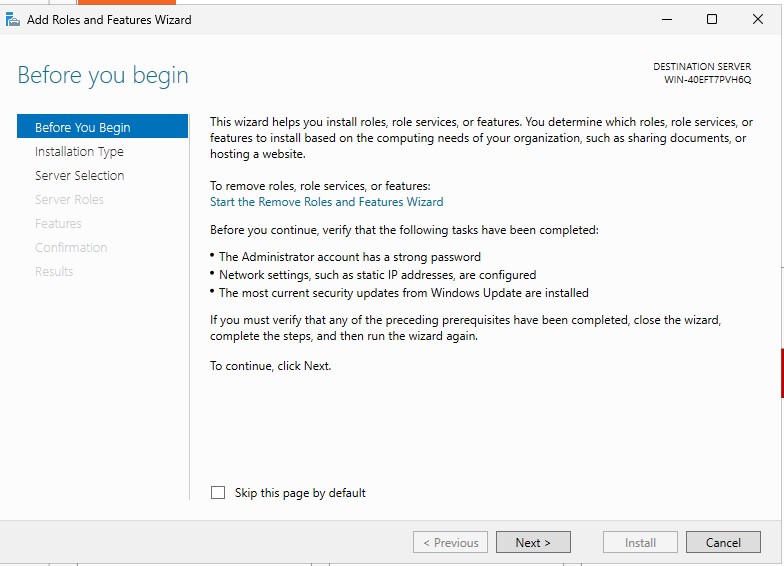
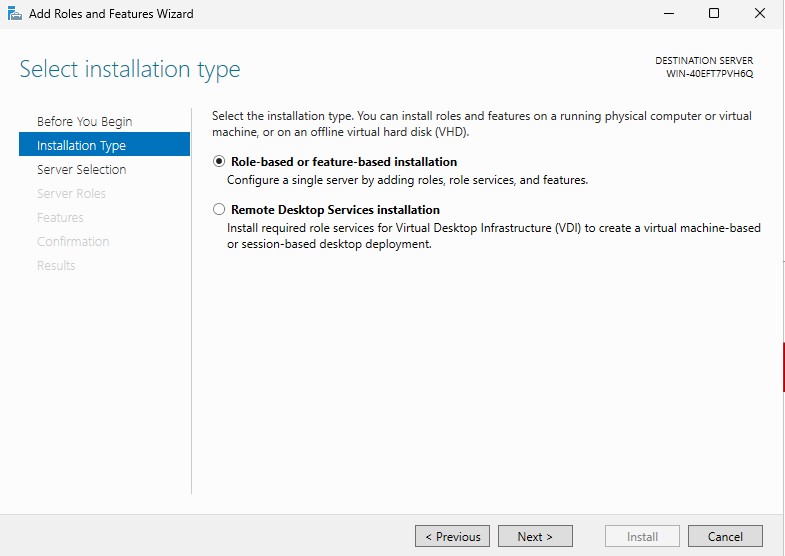
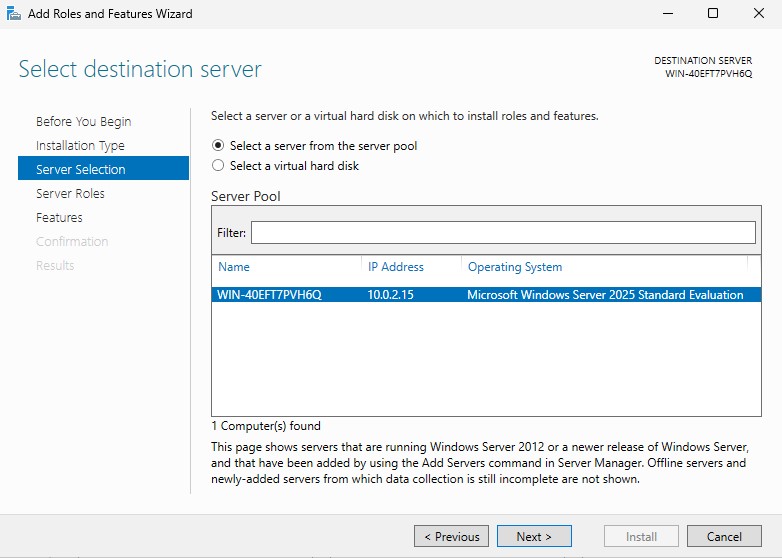
Go back to “Server Manager” ➔ “Add roles and features”.
Select “Next” for the next 3 boxes.
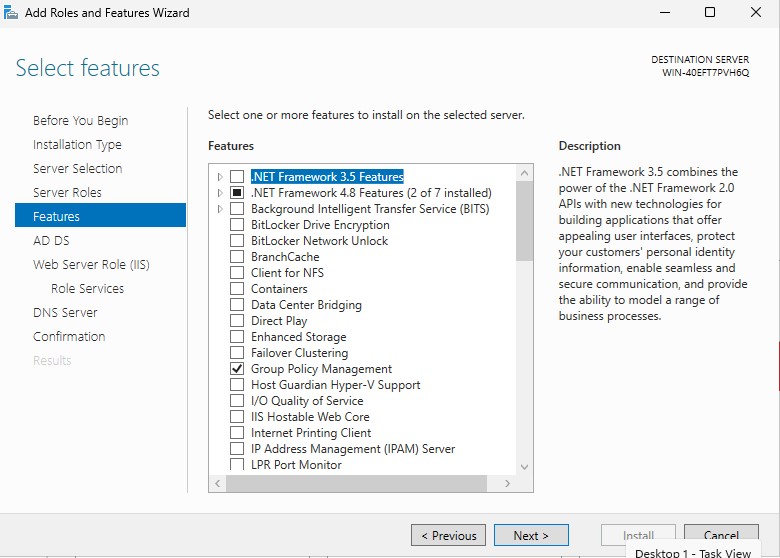
Select the following checkboxes:
- “Active Directory Domain Services”
- “DHCP Server”
- “DNS Server”
- "File and Storage Services”
- “Web Server (IIS)”
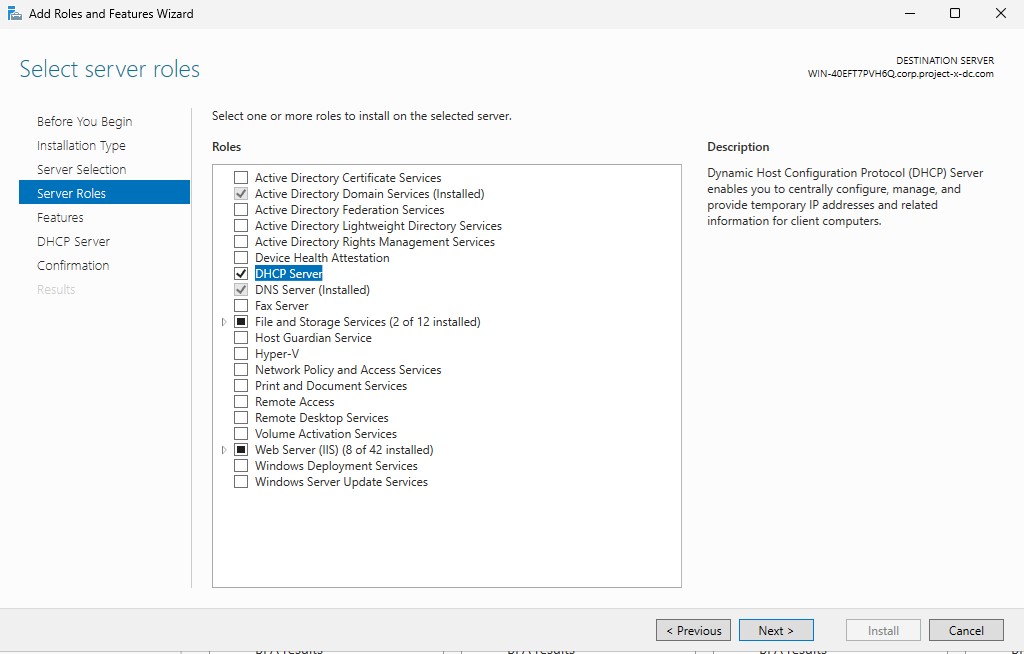
Leave the defaults, select “Next”.
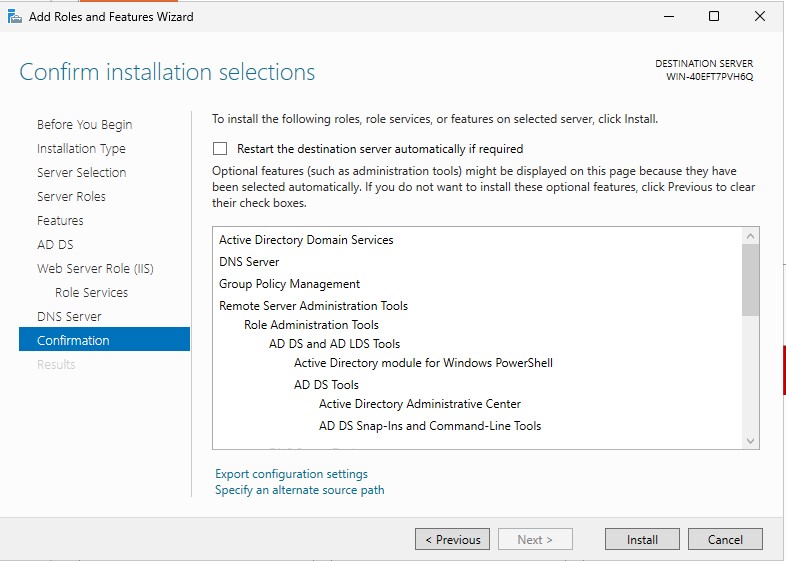
Select “Next” until you get to the Confirmation tab. Select “Install”.
You can close the dialogue box while the features are installed.
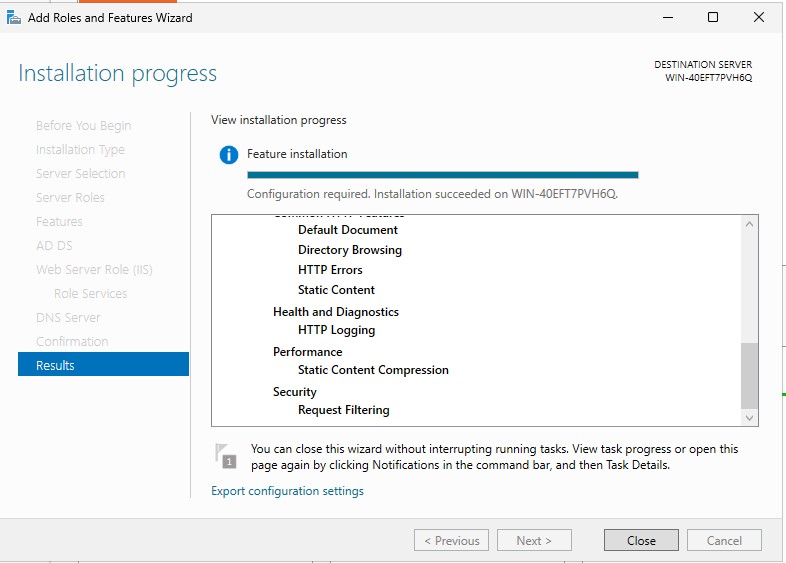
You will see a message in the notifications section of “Server Manager” when all of the features have been installed.
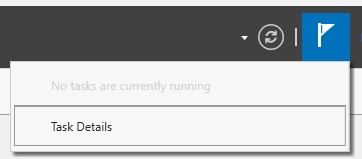
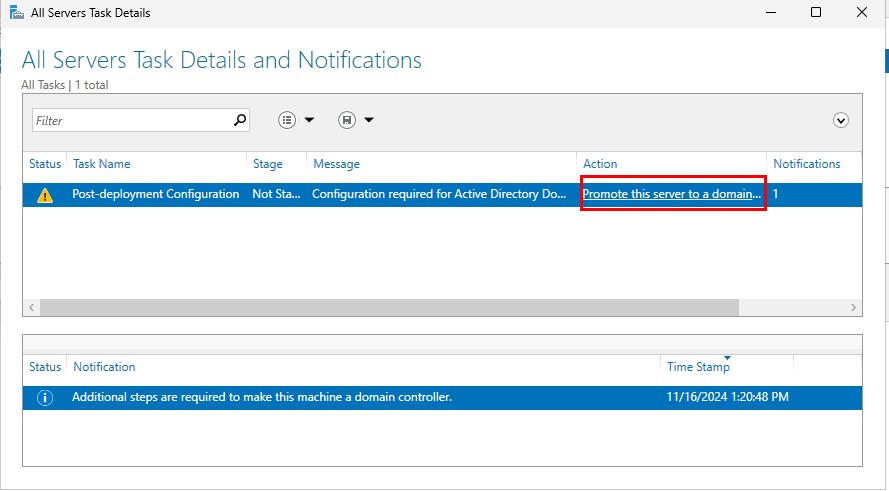
A message notification will appear for configuring Active Directory, Select “More”.

Select “Promote this server to a domain...”.
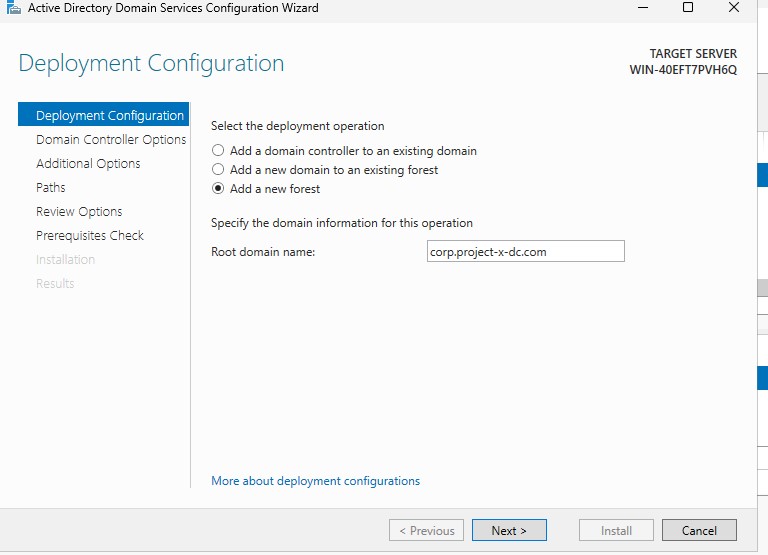
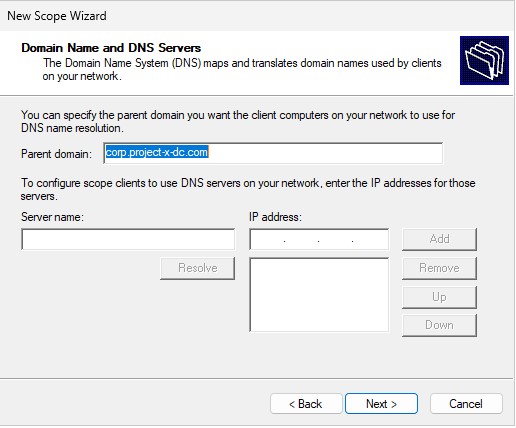
Select “Add a new forest”. Then enter a root domain name, corp.project-x-dc.com.
- If you can recall from earlier, this is the name we will assign to this domain controller.
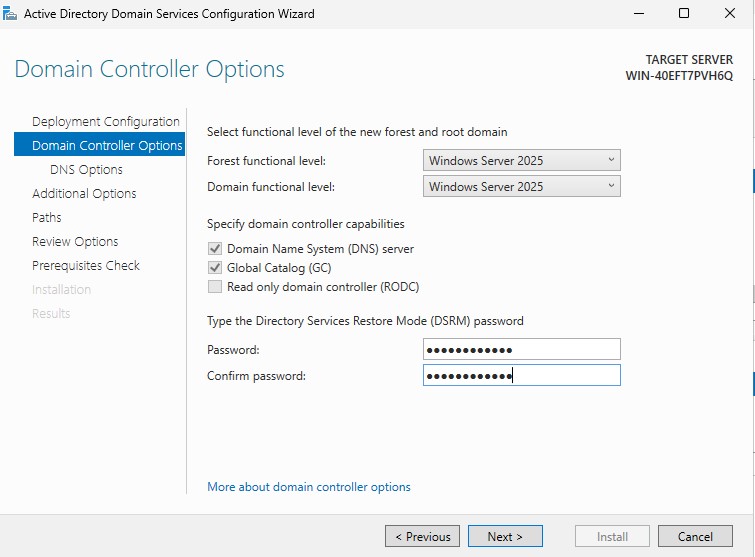
Leave the default options, for the Directory Services Restore Mode (DSRM) password, use the Administrator password (@Deeboodah1!). Select Next.
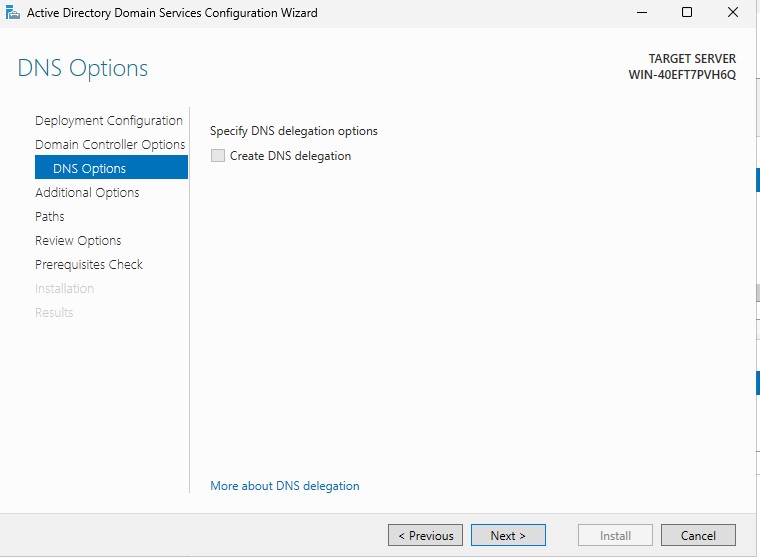
Leave the “Create DNS delegation” box blank ➔ “Next”.
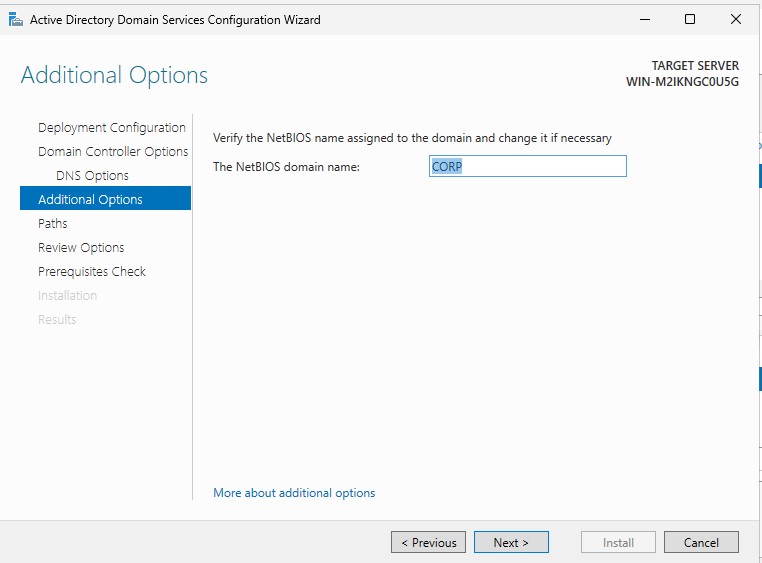
Leave the "NetBIOS domain name" to CORP, proceed with all other defaults until getting to the check screen.
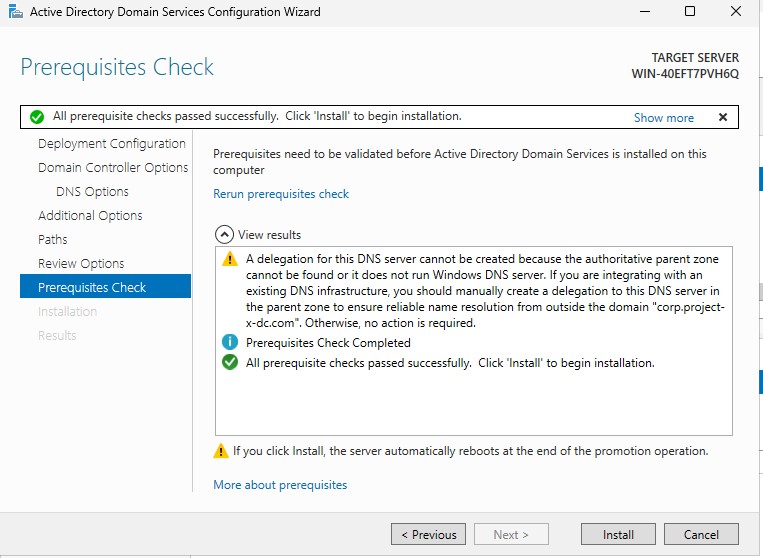
A few checks will be run through. Allow the wizard to finish, then select “Install”. Let the server restart.
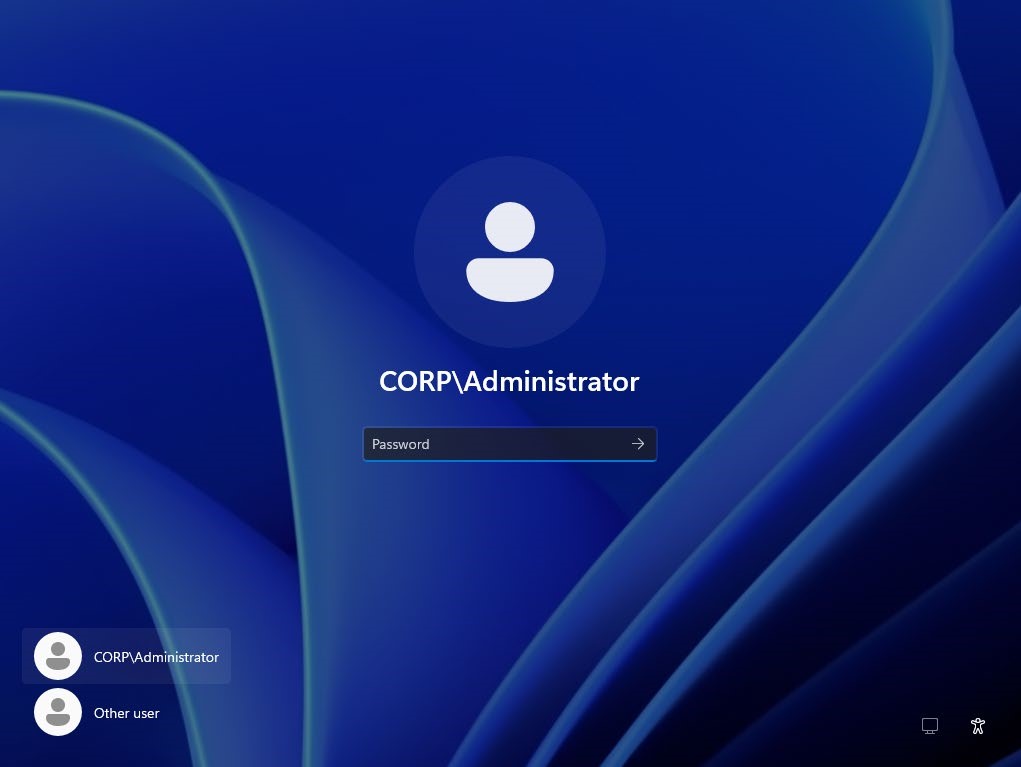
You can now login under the CORP\Administrator account. Notice how the prefix of Administrator is CORP.
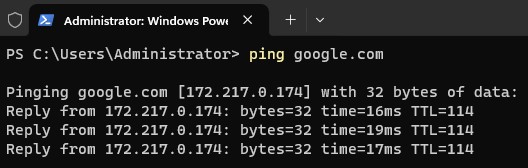
To verify this Server is apart of the domain, open a new PowerShell session, type in:
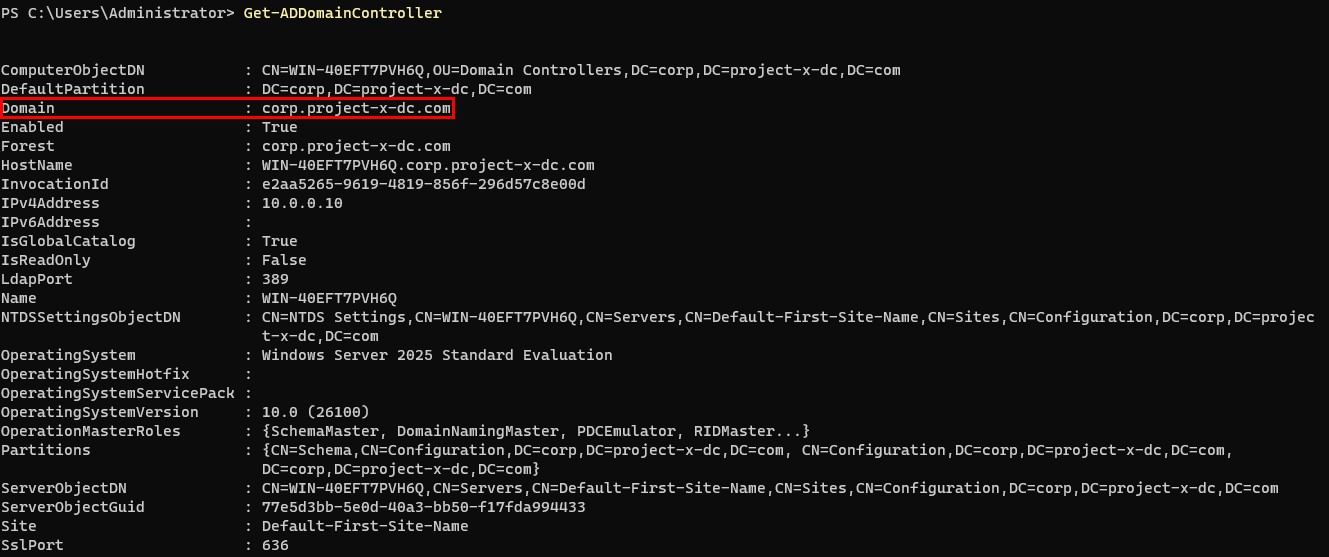
Setup DNS For Internet Access
During the feature installation, we selected DNS as one of the components. This Domain Controller will handle DNS requests for all connected devices, including workstations and other networked systems.
Why would we do this?: Many reasons (of course that's the answer!).
Ultimately, routing DNS through the DC allows for centralized management of name resolution across the network.
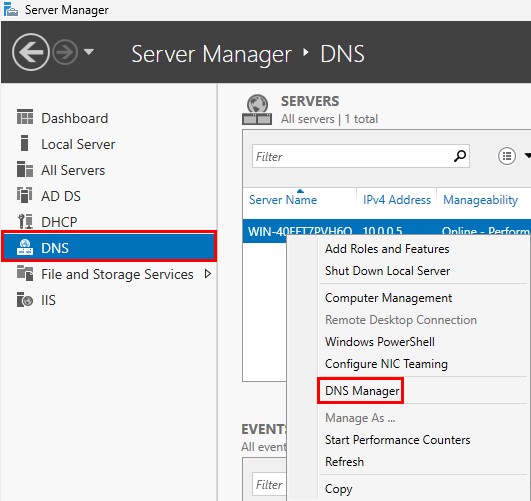
Go to “Server Manager” ➔ DNS ➔ Select the Server ➔ Right-click ➔ “DNS Manager”.
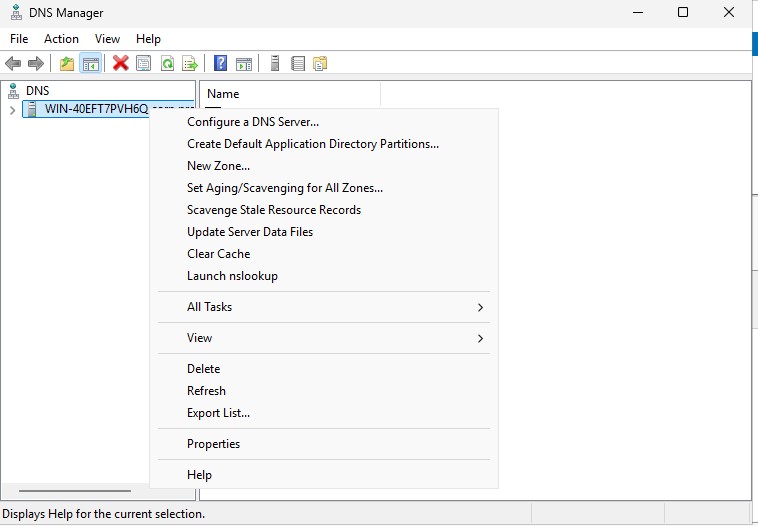
DNS Manager will appear ➔ Right-click the domain ➔ “Properties”.
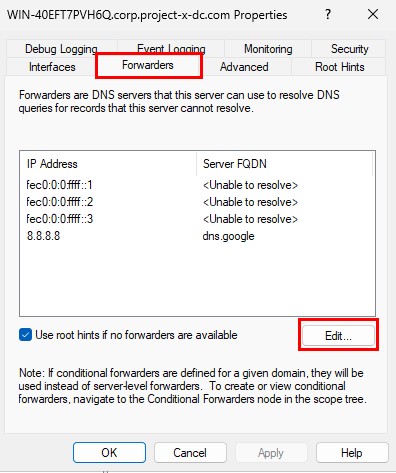
Select the “Forwarders” tab ➔ “Edit”.
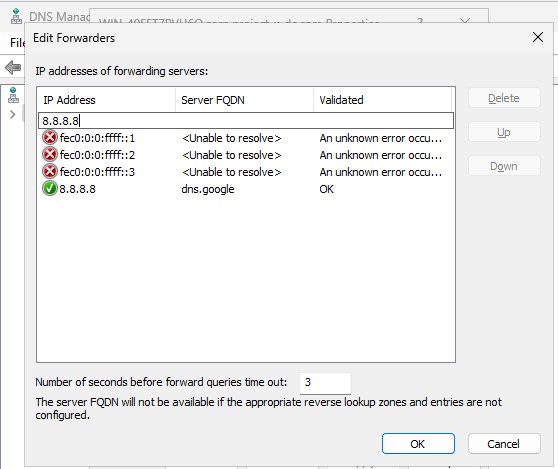
Add in 8.8.8.8 ➔ Select “OK”. This will allow us to still use the Internet from Windows Server 2025.
8.8.8.8: Is Google's DNS server address. What we are doing here is basically forwarding all DNS requests to Google, then it's Google responsibility to route to the proper web server.
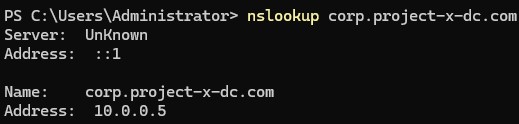
Open a PowerShell session. Enter:
nslookup: Allows us to see the domain name to IP address mapping.
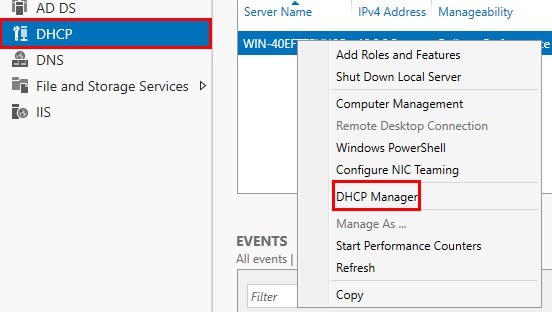
Setup DHCP
Another feature installation we selected was DHCP. This component allows the Domain Controller to assign IP addresses to its connected workstations, servers, and devices. We do this to assign additional control and centralized management to the Domain Controller.
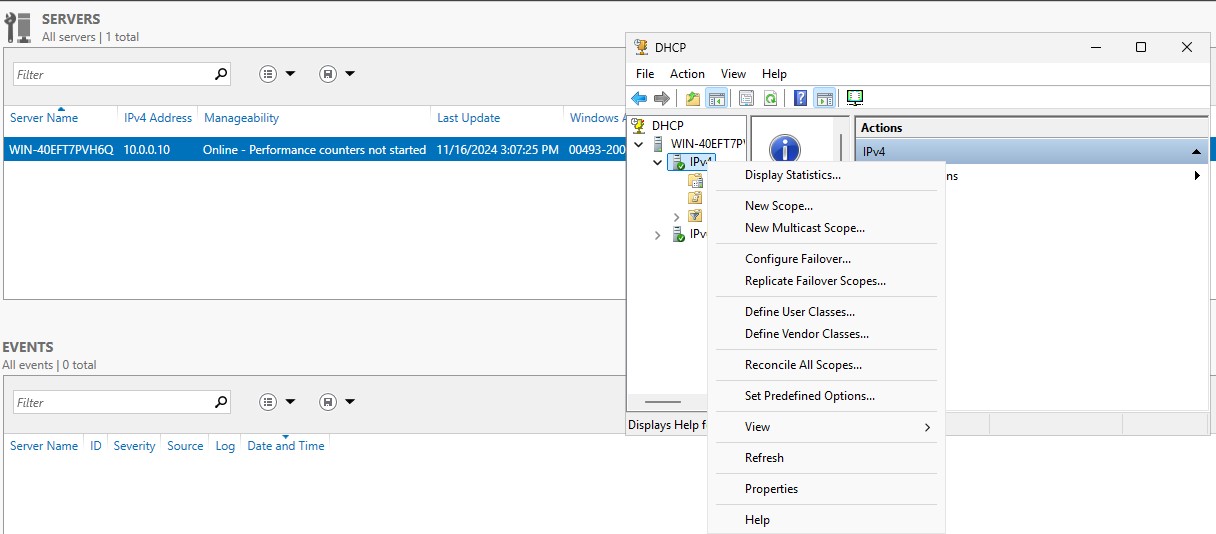
Navigate to “DHCP” ➔ “DHCP Manager”.
Navigate to “IPv4” ➔ “New Scope”.
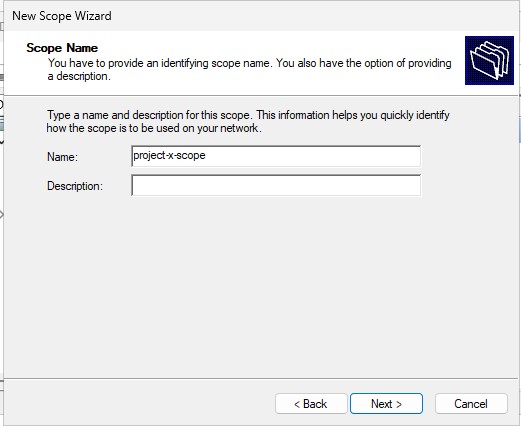
Add project-x-scope.
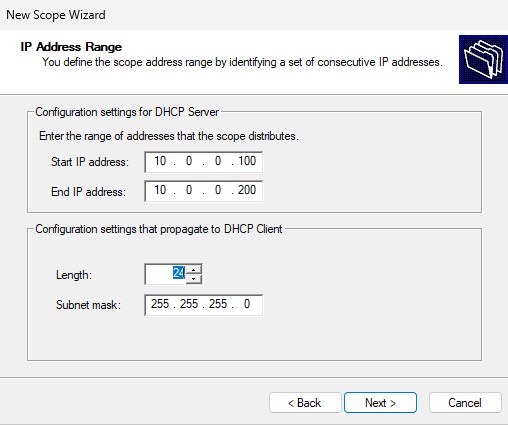
Enter the following addresses for leasing. Select “Next”. And
- Start IP address:
10.0.0.100 - End IP address:
10.0.0.200 - Subnet mask:
255.255.255.0
Run through all the defaults (don’t worry about excluding IP addresses or lease expiration).
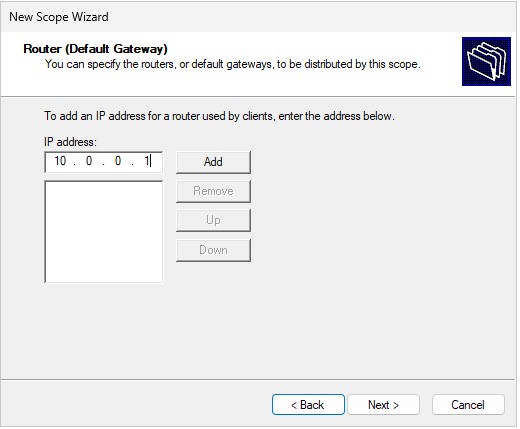
Add 10.0.0.1 for the Router IP.
👉 Remember assigning
10.0.0.1as the Default Gateway when assigning a static IP address to this server? Why are we saying Router IP then? The Default Gateway is the Router IP. Devices forward their requests to the Default Gateway or Router.
Keep default.
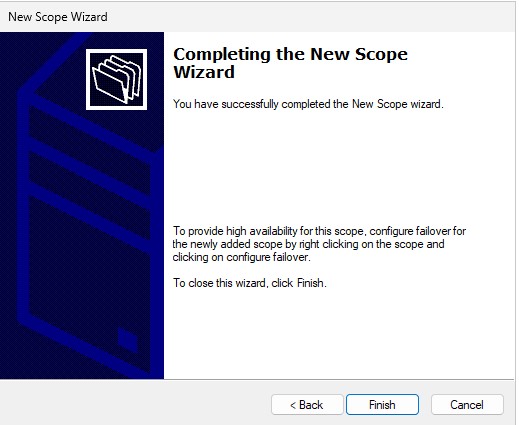
Run through all the other dialogue box defaults, until finished.
Add User Accounts in Active Directory
Now we are going to provision some new objects. Quiz time, what are objects?
Objects are computers, servers, and user accounts.
The user accounts will be associated with a specific workstation. These will be set up and logged into under the [project-x-linux-client] and [project-x-win-client].
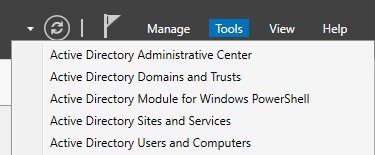
Navigate to “Server Manager” ➔ “Tools” ➔ “Active Directory Users and Computers”.
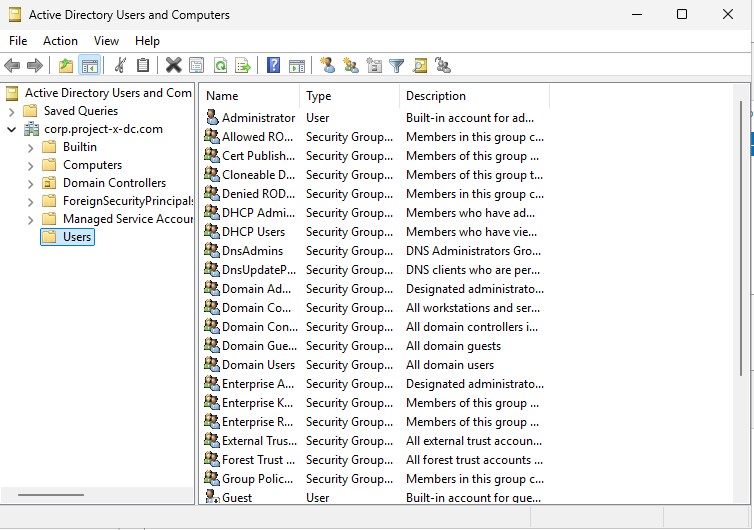
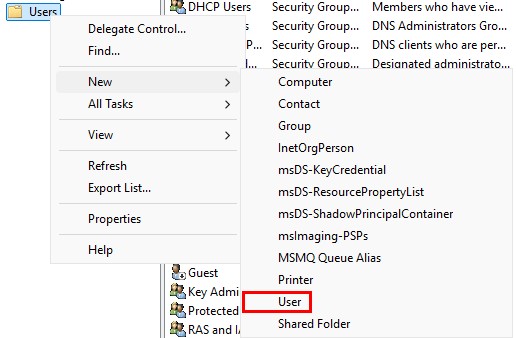
Navigate to “Users” ➔ “New” ➔ “User”.
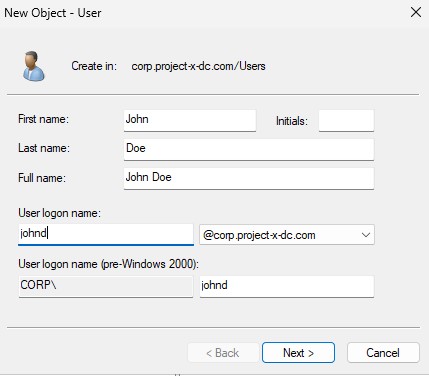
Add in the user information.
👉 Refer to the “Project Overview” guide for more information on default usernames and passwords.
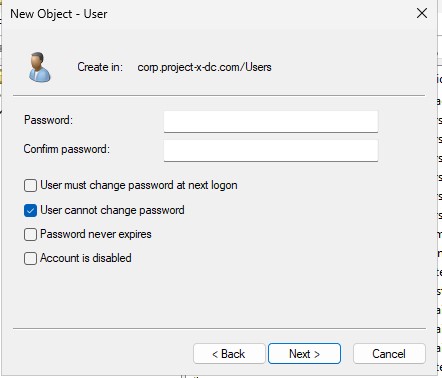
Select “User cannot change password” ➔ “Next”. Run through all default configuration settings.
You will see the new users created. Success!
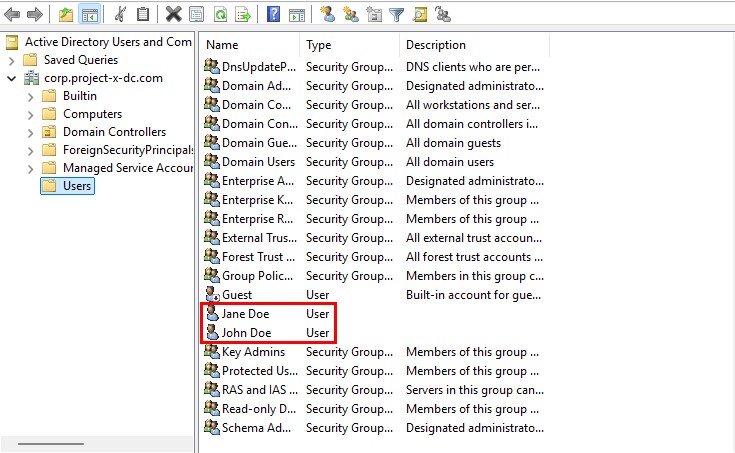

And don't forget...
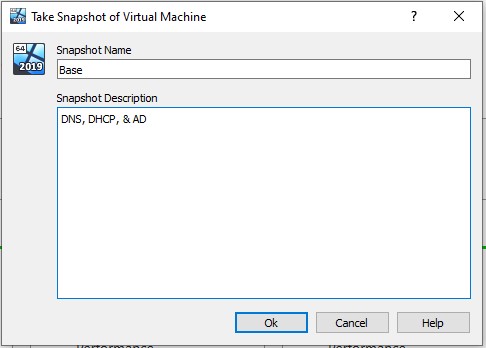
📷 Take Snapshot!